
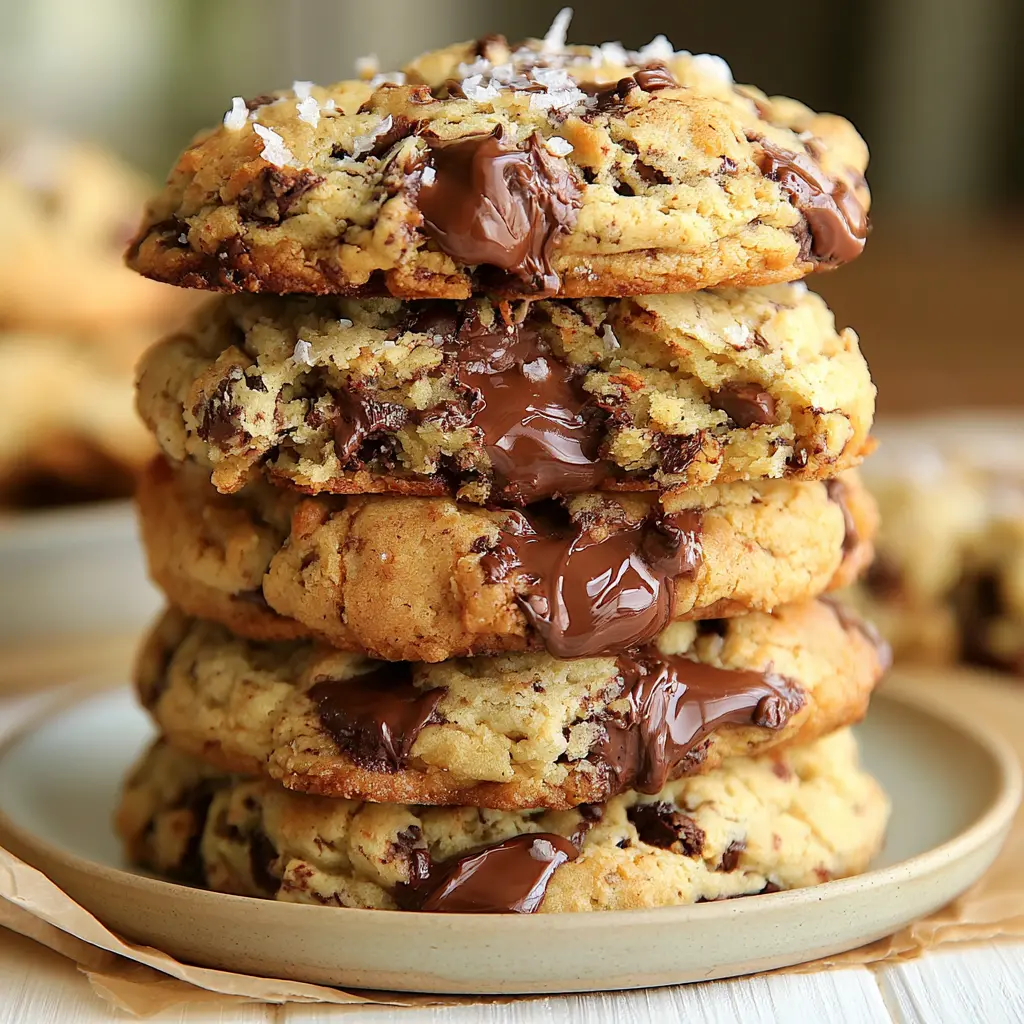
Why These Are the Best Chocolate Chip Cookies
Fall officially arrives in less than three weeks. The first cool evening in Fresno pulls everyone into the kitchen, and I can’t think of a better way to welcome it than a warm tray of chocolate chip cookies. That smell, warm butter and sugar and melting chocolate, it’s the smell of home.
I’ve been chasing the perfect chocolate chip cookies for a long time. The cakey ones. The dry ones. The batch that spread into one giant cookie while my girls watched it happen. My daughter Lucia still brings that one up. But this recipe, this is the one that finally clicked.
Here’s what you get:
- Thick, bakery style cookies with crispy edges and a bendy, chewy center
- Double the chocolate in every single bite
- Simple ingredients from any grocery store
- A 30-minute chill for maximum thickness
These are thick, bakery style chocolate chip cookies. A sprinkle of flaky salt on top makes people close their eyes, and I’ve heard the “best chocolate chip cookies I’ve ever had” comment more than once. The chocolate chip cookie has been an American icon since Ruth Wakefield invented it at the Toll House Inn in 1938. Nearly a century later, this is my version of that chase, and I think Ruth would approve.
Key Ingredients for Chewy Chocolate Chip Cookies
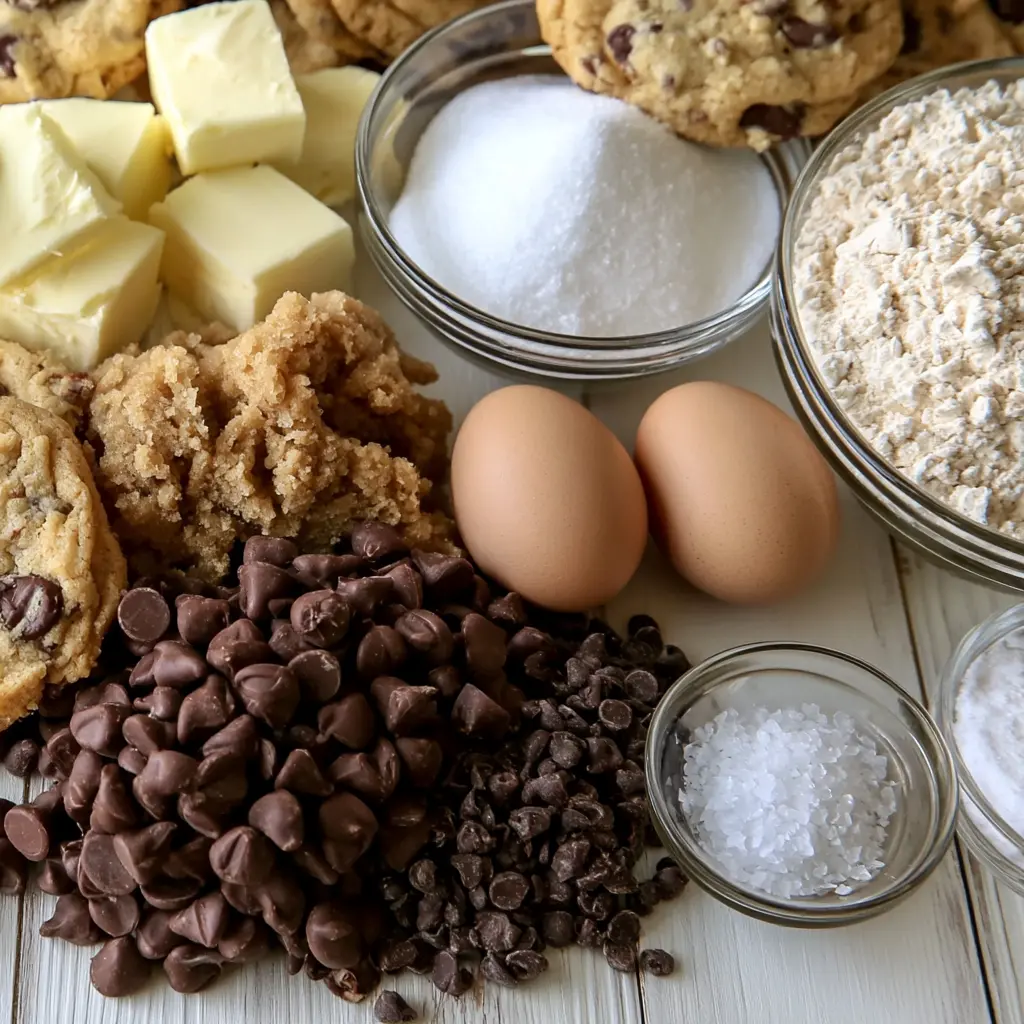
This recipe keeps things simple, but every ingredient is doing a job. Let me introduce you to the players.
Cold unsalted butter. This is the surprise move. Instead of room temperature butter, you beat cold cubes right into the sugars. It takes a few extra minutes, but cold butter keeps the dough firm in the oven. Firm dough makes thick cookies.
Brown sugar vs granulated sugar. This recipe uses double the brown sugar. Brown sugar holds onto moisture, which keeps the centers chewy. The white sugar helps the edges crisp. Together they give you that crispy edges, chewy center situation everyone fights over.
- Low-protein all-purpose flour. If you can find White Lily, use it. Less protein means less gluten, and less gluten means a softer, more tender crumb.
- Cornstarch. Just a teaspoon and a half, but it’s the texture secret. It softens the crumb and helps the cookies stay thick.
- Baking soda, not baking powder. Baking soda gives the cookies that nice spread and golden color. Keep it fresh, old baking soda loses its power.
- Double chocolate. A bag of regular semi-sweet chocolate chips plus a bag of minis. The minis melt into every crevice, the big ones give you those gooey pulls.
Any chocolate you love works here, chips, chunks, or a chopped-up bar. We’ll get fancy later. Trust me on this one.
How to Make Bakery Style Chocolate Chip Cookies
This dough comes together fast, and it’s forgiving. Here are the four stages that matter.
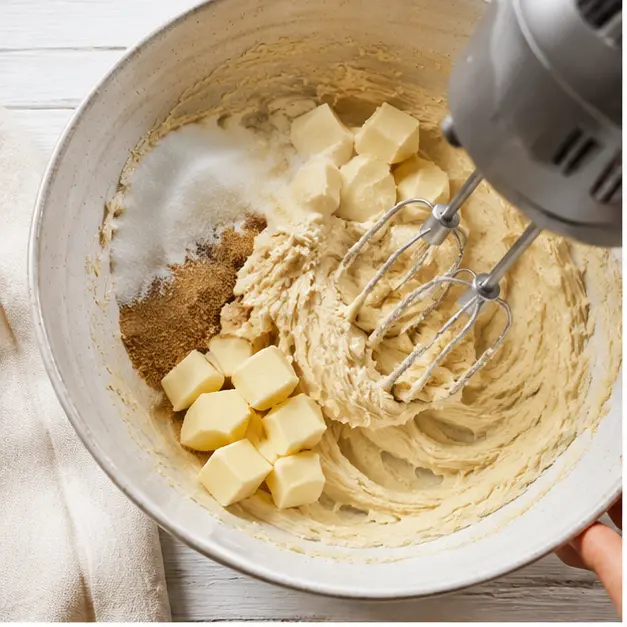
Cream the cold butter and sugars. Beat the cold cubed butter with both sugars for a full 3 to 5 minutes. You’re looking for a pale, fluffy, almost ribbony texture. When you lift the beater, the mixture should fall back in a slow, thick ribbon. Add the eggs one at a time, beating well after each one.
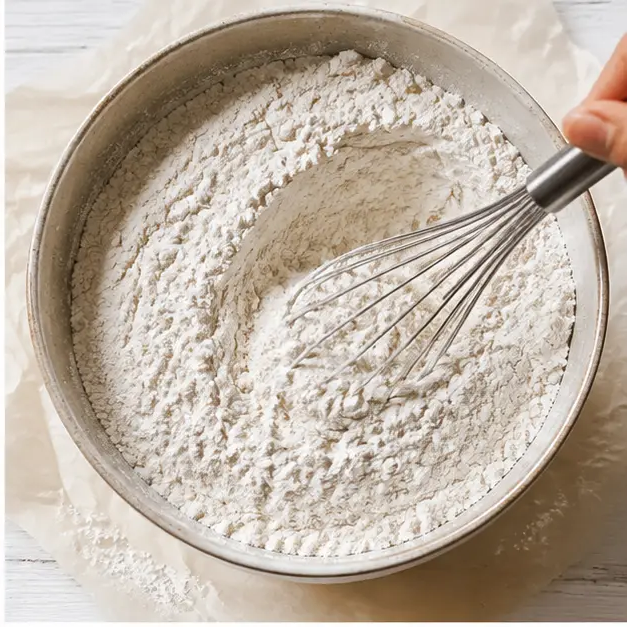
Whisk the dry ingredients. Spoon the flour into your measuring cup and level it off, this step matters more than you think. Add the baking soda, cornstarch, and fine salt, then whisk until everything’s evenly combined. Dump the dry mix into the butter mixture all at once and mix until just combined. Do not overmix, or the cookies turn tough.
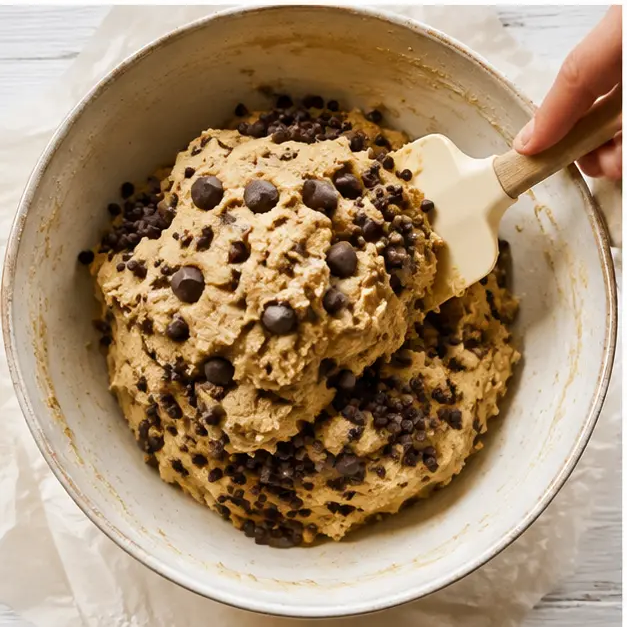
Fold in double the chocolate, then chill. Fold in both the regular and mini semi-sweet chocolate chips until they’re evenly distributed. Cover the bowl and refrigerate for 30 minutes. Cold dough spreads less, which means thicker cookies. That chill also lets the flavors settle into something deeper.
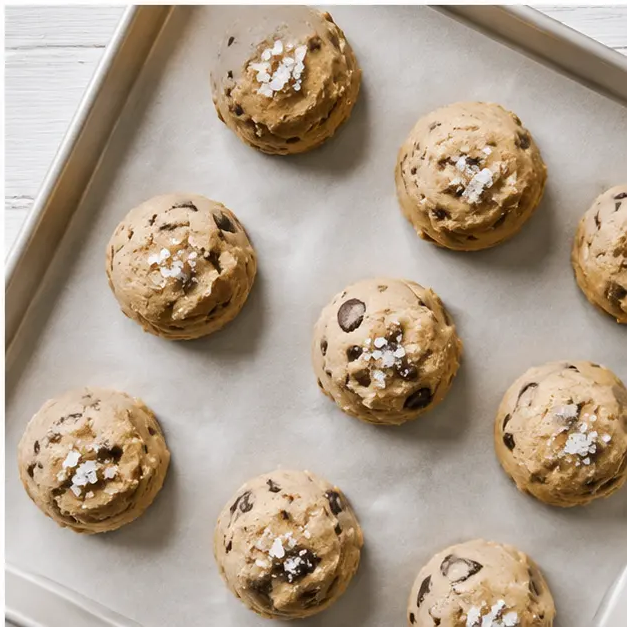
Scoop big and bake hot. Preheat the oven to 400°F and line a light colored baking sheet with parchment paper. Scoop the dough into generous 6-ounce portions, two or three balls per pan, 6 to 8 inches apart. Sprinkle each with a pinch of flaky salt. Bake for 12 to 15 minutes, until the edges are golden brown and the centers are just set.
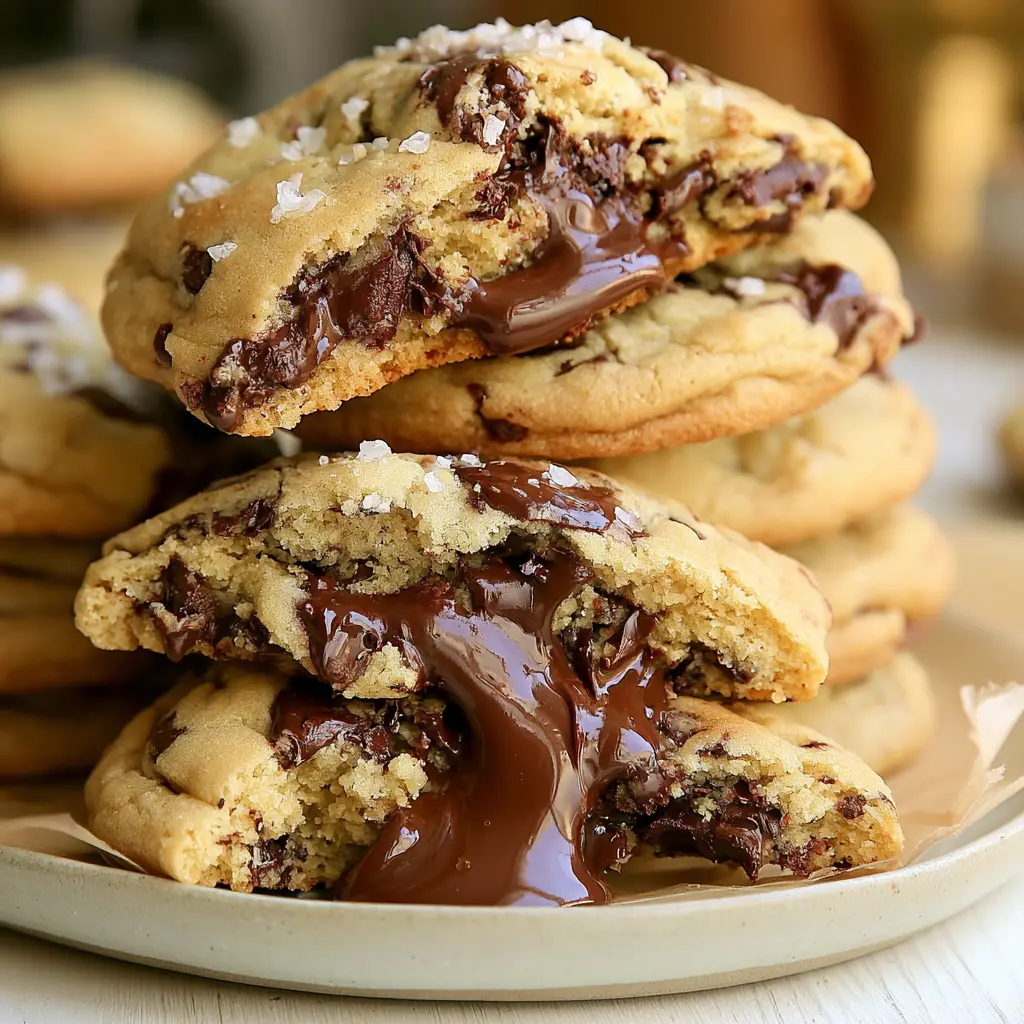
Here’s the part most people get wrong: pull them before they look done. The centers should still look soft and slightly underdone. Those soft centers finish setting as the cookies cool on the hot pan, and that’s where the chew comes from. Let them rest there for 5 minutes, then slide the whole parchment onto a wire rack. This is where it all comes together.
Pro Tips for Thick and Chewy Cookies
A few things I’ve learned from making chocolate chip cookies for decades. Small changes, big difference.
- Use a light colored baking sheet. Dark pans soak up heat and over-brown the bottoms before the centers set.
- Parchment paper is your friend. No sticking, no greasy pans, and the cookies slide right off.
- Stick to the cookie scoop size. Six-ounce portions are generous, and that big size is part of the bakery look.
- Keep the remaining dough chilled. Warm dough spreads. While one batch bakes, the rest waits in the fridge.
- Underbaked is better than overbaked. Those slightly soft centers turn into the chewy middle after cooling.
- Don’t skip the flaky salt. That tiny crunch against the sweet chocolate is the move that makes people close their eyes.
Chocolate Chip Cookie Variations
Once you’ve mastered these chocolate chip cookies, feel free to play. This dough handles swaps well.
- Dark chocolate chunks. Swap the regular chips for dark chocolate chunks or a chopped bar for deeper, richer pockets of chocolate.
- Milk chocolate. Sweeter and creamier, great if you’re feeding a crowd of kids.
- Toasted nuts. Fold in a cup of chopped walnuts or pecans along with the chips. Totally optional, but lovely.
- Brown butter chocolate chip cookies. If you love the brown butter versions you’ve seen around, try this cold-butter approach first. The texture is thicker and the flavor stays clean and buttery. Two different cookies, both worth making.
- Gluten-free. A 1:1 gluten-free flour blend is your best bet, though I’ll be honest that I haven’t tested it on this exact dough.
Now’s the perfect time to practice your batches. By Halloween, you’ll be platter-ready.
How to Store and Freeze Chocolate Chip Cookies
These chocolate chip cookies stay chewy for days, which is practically a miracle in cookie form. Store them in an airtight container at room temperature for up to 3 days. To keep them extra soft, tuck a slice of sandwich bread into the container. The cookies drink in the moisture from the bread. It’s an old trick, and it works.
For a warm treat later, pop one in the microwave for about 15 seconds. It’s like a fresh-baked cookie all over again. Tomás knows better than to ask if they’re done, he just waits by the microwave.
Cookie dough freezing is the real make-ahead win here. Scoop the dough into balls, flash-freeze them on a parchment-lined sheet, then transfer to a freezer bag for up to 3 months. Bake straight from frozen at 400°F, adding 1 to 2 minutes to the bake time. No thawing, no fuss.
Troubleshooting Chocolate Chip Cookies
Common Cookie Problems, Solved
❌ Flat cookies that spread into discs. → Your dough was too warm or the chill got skipped. This recipe needs cold butter and the full 30-minute chill. Cold dough spreads less, period.
❌ Dry, crumbly, or cakey cookies. → Overbaked, or too much flour. Pull the tray at 12 minutes when centers still look soft, and spoon your flour into the cup instead of scooping.
❌ Burnt edges, raw centers. → Your pan is too dark or the oven runs hot. Switch to a light colored baking sheet and check at 12 minutes.
❌ Chocolate chips sinking to the bottom. → Use both sizes of chips and fold gently. The minis stay suspended in the dough while the big ones give the pulls.
When you pull your first tray of chocolate chip cookies out, don’t be surprised if they disappear before they cool. That’s the whole point, isn’t it? Go make your own kitchen memory tonight, that warm, chocolatey, everyone-gathered-around-the-counter kind. And if you bake these, I want to hear about it. You can find me and my latest baking adventures on Pinterest, come say hi and show me those chocolate pulls.
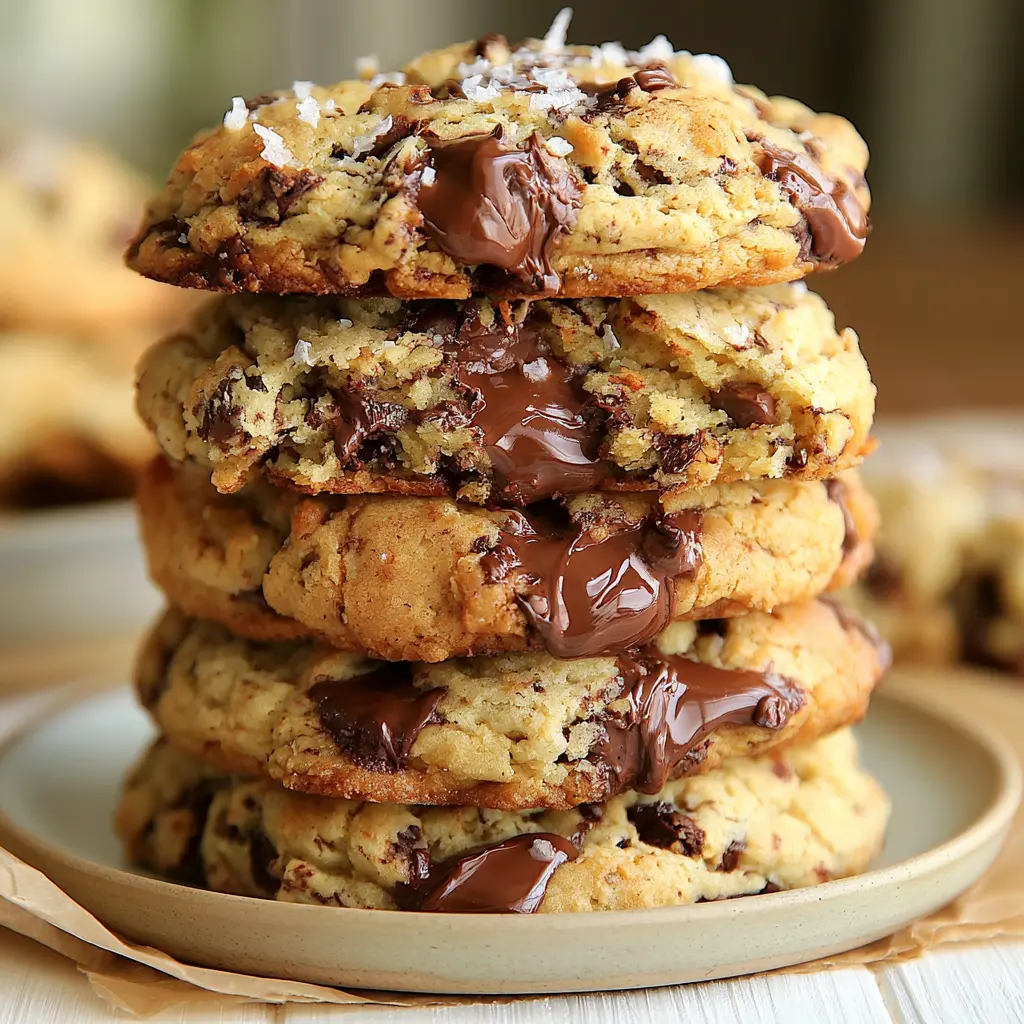
Thick and Chewy Bakery Style Chocolate Chip Cookies
Ingredients
Method
- In a large bowl, beat the cold cubed butter with the white sugar and brown sugar using an electric mixer on medium speed until completely blended, about 3 to 5 minutes. Scrape down the sides, then add the eggs one at a time, beating well after each addition.
- In a separate bowl, spoon the flour into a dry measuring cup and level it off for an accurate measure. Add the baking soda, cornstarch, and fine salt, then whisk until thoroughly combined.
- Add the dry mixture to the butter-sugar mixture all at once and mix until just combined. Do not overmix. Fold in both chocolate chips until evenly distributed, cover the bowl, and refrigerate the dough for 30 minutes.
- Position a rack in the middle of the oven and preheat to 400 degrees F. Line a light colored baking sheet with parchment paper.
- Scoop the chilled dough into 6-ounce portions. Place 2 to 3 dough balls 6 to 8 inches apart on the prepared baking sheet and sprinkle each with a generous pinch of flaky or coarse salt. Bake for 12 to 15 minutes until the edges are golden brown and the centers are just set. Let the cookies cool on the pan for 5 minutes, then transfer the entire parchment sheet with cookies to a wire rack. Keep the remaining dough refrigerated while baking in batches.
- Store the cookies in an airtight container at room temperature for up to 3 days. For a warm treat, microwave a cookie for about 15 seconds before serving.
Nutrition
Notes
Tried this recipe?
Let us know how it was!Chocolate Chip Cookies FAQ
Expert Notes & Data Insights
After decades of baking and more cookie experiments than I can count, here’s the deeper breakdown. The why behind this recipe, for those of you who are as curious as I am.
Cold Butter Is a Structure Play, Not a Style Choice
I know most cookie recipes say room temperature butter, but cold butter is doing real work here. When cold cubes get beaten into the sugars, they stay as tiny solid pieces distributed through the dough. In the oven, those pieces melt slowly, creating pockets of steam that lift the cookie before the structure sets. Room temperature butter melts into the dough before baking, which means less lift and more spread. If you want thick, cold is the answer.
The Brown Sugar Math
Brown sugar brings molasses, and molasses pulls moisture from the air and holds onto it. That moisture is what keeps the center soft and bendy long after the cookies cool. This recipe doubles the brown sugar, and that’s the single biggest factor in the chewy texture. The smaller amount of granulated sugar helps the edges crisp and gives the cookies their golden color. It’s a balance, and the brown sugar is winning on purpose.
Cornstarch and Low-Protein Flour, the Softness Duo
Cornstarch is pure starch, and starch gets in the way of gluten. Less gluten, softer crumb. Same thing happens with low-protein flour. Regular all-purpose flour has more protein, which means more gluten, which means tougher cookies. White Lily and other southern flours keep the protein around 9 percent, and that lower number keeps these cookies tender instead of chewy-tough. If you only have regular all-purpose, it still works beautifully, just mix gently and stop when the flour disappears.
Why Flaky Salt Belongs on Top
Flaky salt isn’t about making the cookie salty. It’s about contrast. The crystals sit on the surface, crunch between your teeth, and reset your palate so the next bite of chocolate tastes even more chocolatey. It’s the same reason salted caramel exists. A pinch per cookie right before baking, and people will ask what you did differently.
The Numbers That Matter
These are the details I’ve dialed in through years of baking and paying attention when things went wrong:
- Oven at 400°F. Hot enough to set the edges quickly while the centers stay soft. Anything cooler gives the dough more time to spread into a disc.
- 12 minutes is a real checkpoint. At 12 minutes, the centers are around 190°F, the temperature where starch sets. Pull them then for a gooey center that finishes firming up as it cools on the pan.
- 6 ounces of dough per cookie. That generous size gives you the craggy bakery look and that soft middle that bends instead of breaks.
- 30 minutes of chill, minimum. Cold dough spreads less. That’s not a myth, it’s just how butter behaves, and it’s the easiest thickness fix there is.
Baking is part science and part memory. The science gets you a perfect cookie, but the memory is what brings everyone to the kitchen. I hope this recipe becomes one of those kitchen memories for you. The first tray coming out of the oven, the chocolate pulls, the flaky salt crunch, the quiet moment when someone takes a bite and closes their eyes. That’s the whole point.
Go make your kitchen smell like butter and chocolate. And when you do, come find me on Pinterest and show me how they turned out. Happy baking.
How do you make gooey chocolate chip cookies?
Pull them out when the centers still look soft and slightly underdone. This recipe bakes at 400°F for 12 to 15 minutes. At 12 minutes, the edges should be golden and the centers puffy but barely set. They finish cooking on the hot pan. That’s the whole gooey secret, trust me.
Why do cookies spread and flatten?
Usually it’s warm dough or old baking soda. This recipe starts with cold cubed butter and needs its full 30-minute chill, that’s non-negotiable. If your cookies spread into discs, check the chill first, then test your baking soda. Also spoon the flour into the cup, don’t scoop it.
Why didn’t my cookies flatten?
Too much flour is the usual reason. When you scoop the measuring cup into the bag, you pack in extra flour and the cookies stay puffy and round. Spoon the flour in and level it off for an accurate measure. If they’re still too puffy, they may just need another minute in the oven.
Can you bake chocolate chip cookie dough from frozen?
Yes. Scoop the dough into 6-ounce balls and freeze them on a parchment-lined sheet until firm, then transfer to a freezer bag. They’ll keep for up to 3 months. Bake frozen at 400°F, adding 1 to 2 minutes to the bake time. No need to thaw, just bake and enjoy.
Can I halve this recipe?
You can. Cut every ingredient in half, and beat the egg in a small bowl first so you can add about half of it. The chill time and bake time stay the same. It makes a smaller batch, which is honestly perfect for a Tuesday night craving.
Does 1 cup of flour weigh 120 grams?
For low-protein all-purpose flour like White Lily, a spooned and leveled cup weighs around 120 to 125 grams. Weighing is the most accurate route if you have a scale. If not, spoon the flour into the cup and level it with a knife. Just don’t scoop.
Can I scoop and roll the dough before chilling?
Yes, and I actually prefer it that way. Scoop the dough into balls first, arrange them on a parchment-lined pan, and chill them there. Cold dough balls are easier to handle, and they bake up just as thick and chewy. The 30-minute chill still applies.
Can I chill the dough in the freezer instead of the refrigerator?
You can, but the fridge is more even. The freezer sets the outside quickly while the center stays soft, which can lead to uneven baking. Twenty minutes in the freezer works in a pinch. The full 30 minutes in the fridge is worth the wait.
Why did my cookies flatten?
Let’s run through the usual suspects: the chill got skipped, the butter sat out too long, or the baking soda is past its prime. This recipe was built around cold butter and a 30-minute rest in the fridge. Skip either and you’re back to flat discs. The chill is your flat cookie fix.
Why are my cookies so puffy?
Puffy cookies are almost always a flour measuring problem. Scooping the cup into the bag packs in 20 to 30 percent extra flour. Spoon and level instead. If they’re still too puffy, they might be slightly underbaked, so give them another minute and check again.
Can I freeze chocolate chip cookie dough?
Absolutely, and it’s the best make-ahead move there is. Scoop the dough into balls, flash-freeze them on a parchment-lined sheet, then store in a freezer bag for up to 3 months. Bake from frozen with 1 to 2 extra minutes. Practice your batches now and you’ll be platter-ready by Halloween.
Can I make these gluten-free?
I’ll be honest, I haven’t tested a gluten-free version of this exact dough. A 1:1 gluten-free baking blend could work, but the texture will change since low-protein wheat flour does a lot of the work here. If you try it, come back and tell me how it went.
Keep them in an airtight container at room temperature for up to 3 days. To keep them chewy, tuck a slice of bread into the container, the cookies absorb the moisture. For a warm treat, microwave one for about 15 seconds. It’s like fresh-baked all over again, no oven required.
Does this recipe work for high-altitude baking?
Yes, with two small adjustments. Bake at 425°F instead of 400°F and start checking at the 10-minute mark. High altitude can also make dough spread more, so keep that 30-minute chill non-negotiable. If the dough still feels loose when you scoop it, work in an extra tablespoon of flour. Your cookies will turn out just as thick and chewy.