
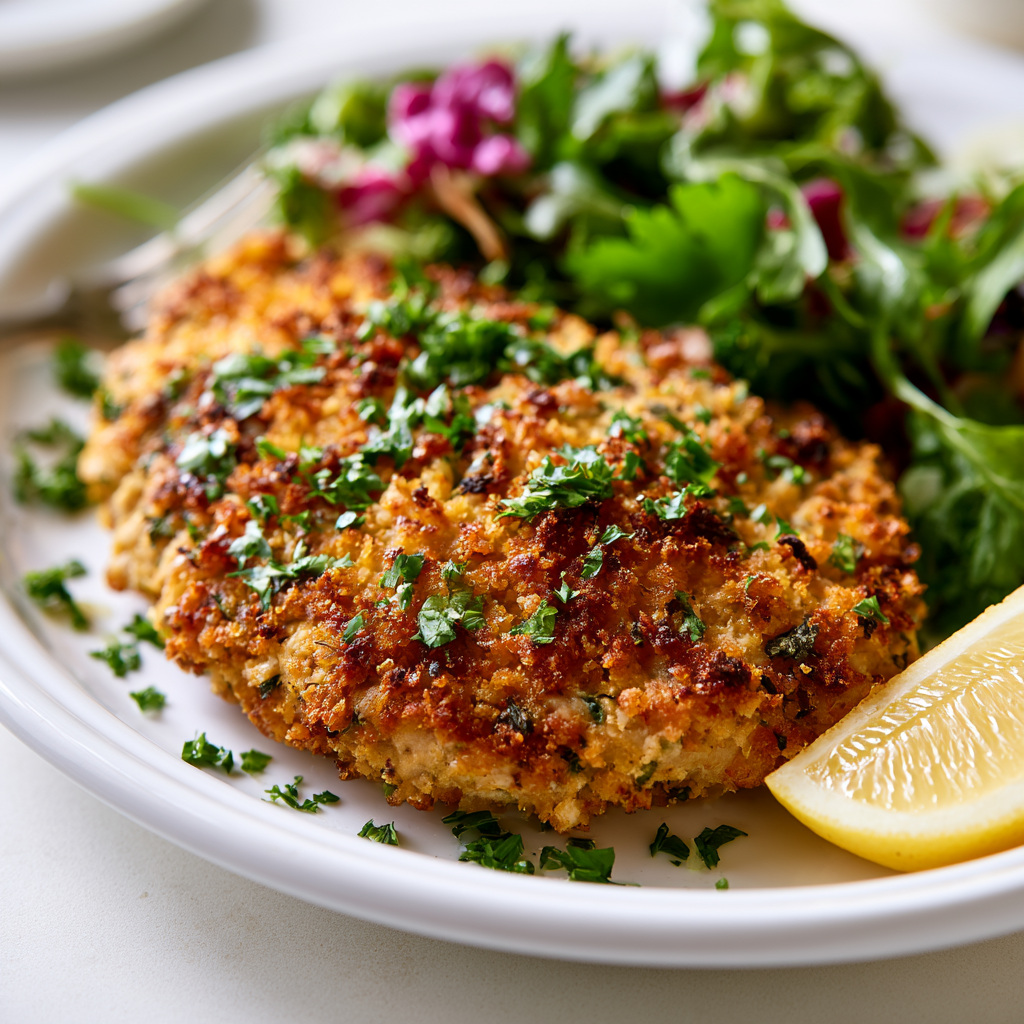
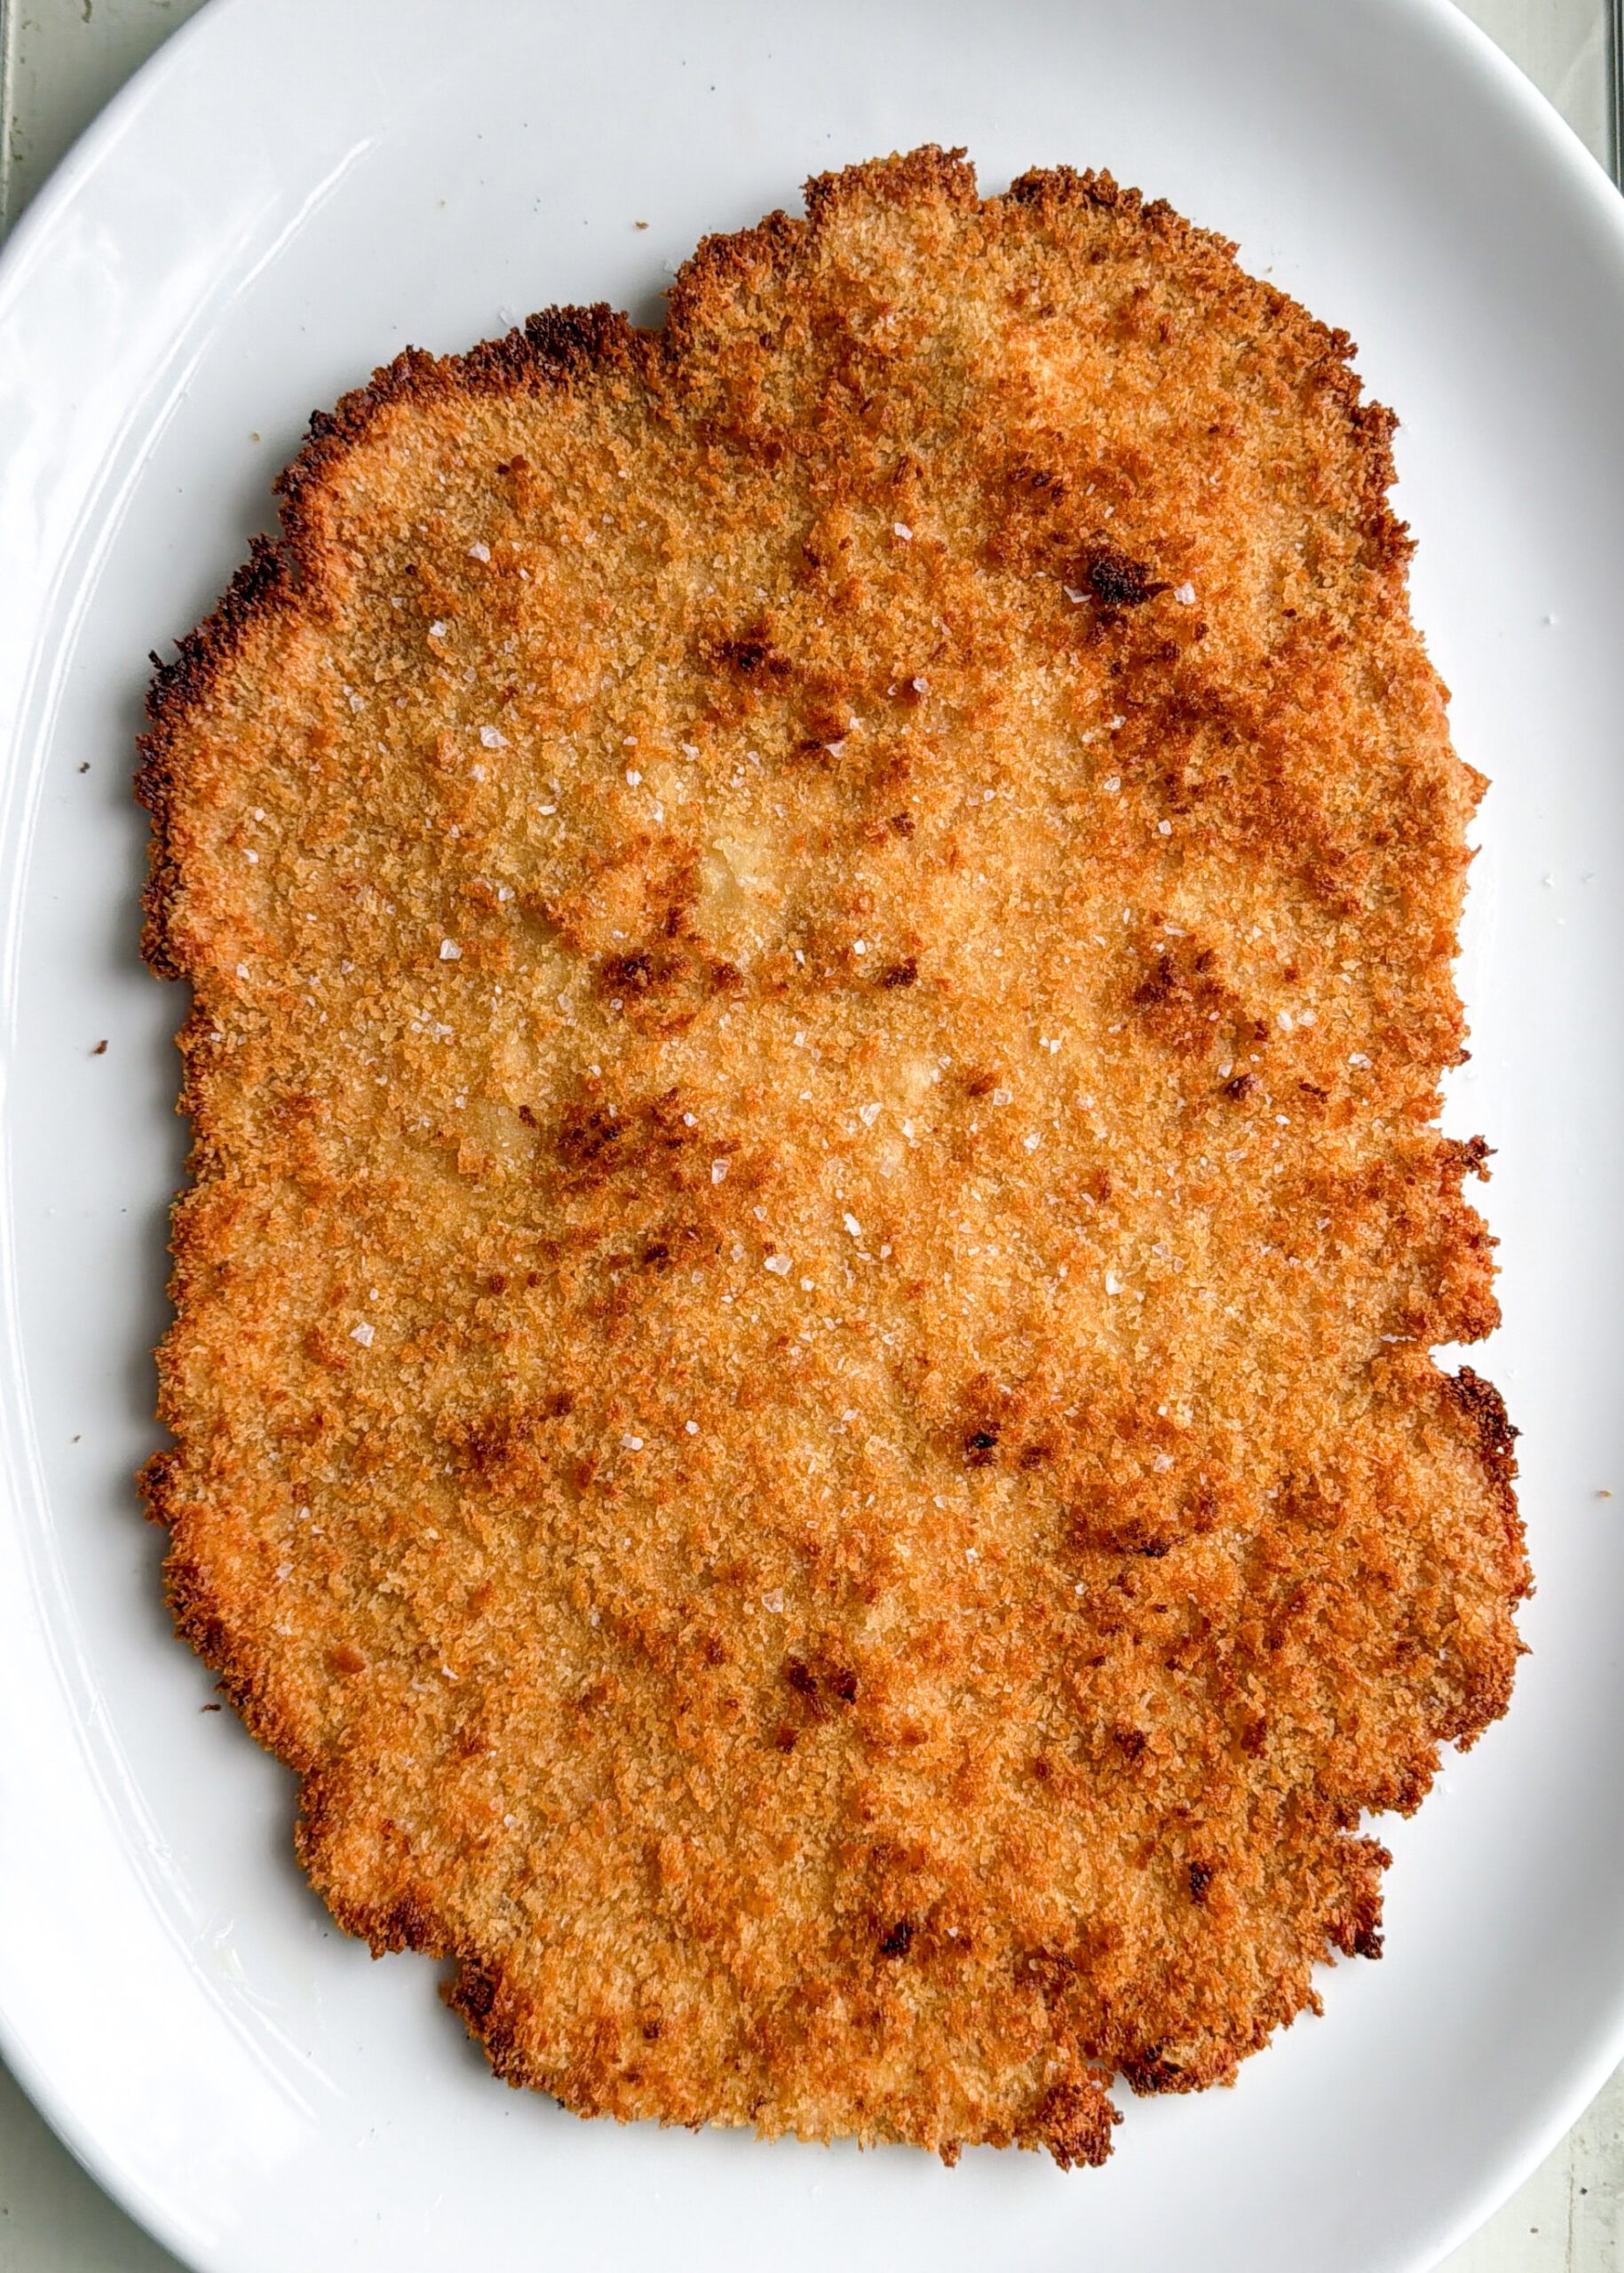
California-Style Giant Chicken Cutlet with Crunchy Panko Crust
Ingredients
Method
- In a medium bowl, combine the ground chicken, kosher salt, garlic powder, and onion powder. Mix gently with your hands until just incorporated; do not overwork. Let rest for 5 minutes while you set up your breading station.
- Lay a large sheet of parchment paper on a work surface and dust it generously with flour. Place the seasoned meat in the center and press it into a very thin, large oval, about 1/4-inch thick, aiming to nearly fill a standard half-sheet pan. Lightly dust the top of the meat with more flour.
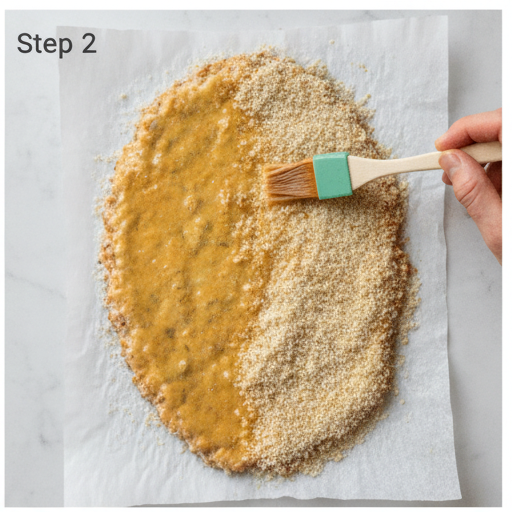
- Brush the top surface of the meat with the egg wash. Evenly sprinkle about half the panko over the egg wash, pressing gently so the crumbs adhere. Spray the panko generously with avocado oil until it looks fully hydrated and glossy—this is crucial for a crispy oven-fried texture.
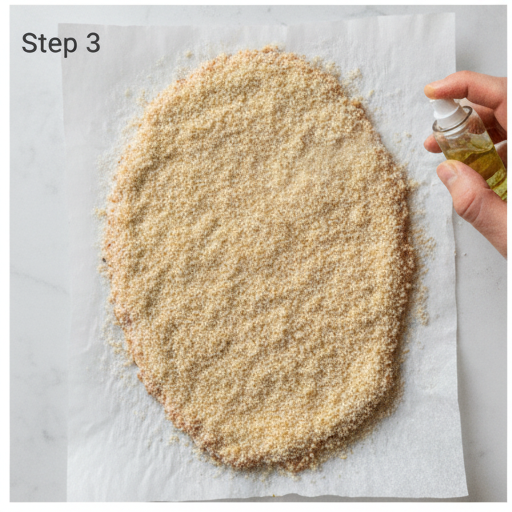
- Place a second sheet of parchment on top of the cutlet, then carefully flip the entire stack. Peel away the top parchment to reveal the uncoated side. Brush with remaining egg wash, cover with the rest of the panko, press gently, and spray again with avocado oil until the crumbs are fully moistened.
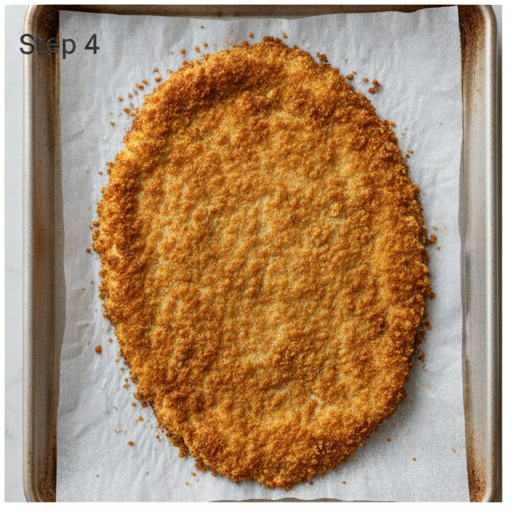
- Lightly spray a large sheet pan with avocado oil. Transfer the cutlet from the parchment to the prepared pan. Bake in a preheated 450°F convection oven (or use the air fryer setting) for 15 minutes, until the crust is set and starting to brown.
- Switch the oven to broil and cook for 4 to 5 minutes, watching carefully, until the cutlet is deeply golden brown and shatteringly crisp.
- Remove from the oven and immediately sprinkle with flaky sea salt. Let rest for 1 to 2 minutes, then slice and serve.
Nutrition
Notes
Tried this recipe?
Let us know how it was!Why You’ll Love This Giant Chicken Cutlet
The first time I tried to make a giant chicken cutlet, I ended up with a sad, burnt mess. You know the drill uneven cooking, a crust that fell off in the pan, and meat that was either raw in the middle or dry as a bone. I almost gave up on the whole idea of making a restaurant-quality cutlet at home.
But then I figured out the trick. This giant chicken cutlet recipe uses ground chicken instead of a whole breast, which means you get perfectly even thickness every single time. No more pounding a breast into submission with a mallet, hoping you don’t tear a hole in it. And the best part? It’s oven-fried, so you get that shatteringly crisp panko crust without the mess of deep frying.
This recipe went viral for a reason. It’s the kind of dish that makes people say, “Wait, you made this at home?” when you bring it to a summer cookout. I’ve made it for backyard gatherings, quick weeknight dinners, and even fancy date nights at home. It always delivers.
You’re gonna love how simple this is. Seriously. Let me show you how it’s done.
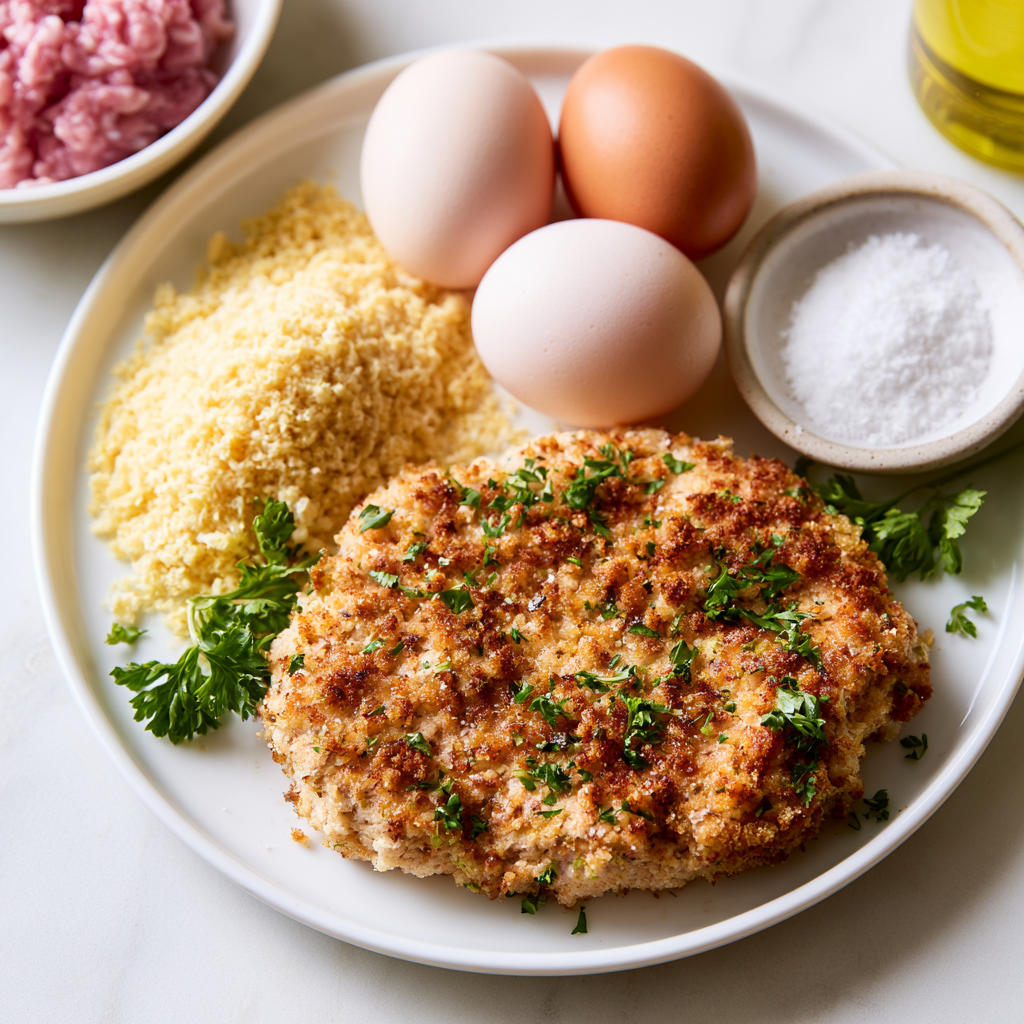
Ingredients for Giant Chicken Cutlet
The beauty of this recipe is the short ingredient list. You probably have most of this stuff in your pantry right now. Here’s what you need:
- Ground chicken or ground turkey: 1 pound, 93% lean works best. Not too fatty, not too lean.
- Kosher salt, garlic powder, and onion powder: The simple seasoning trifecta. Don’t skip the salt it makes all the difference.
- All-purpose flour: For dusting the meat and helping the egg wash stick.
- Eggs: Beaten with a tablespoon of water to make the egg wash. This is the glue that holds the panko on.
- Panko breadcrumbs: 2 cups, from one standard box. Panko gives you that extra-crunchy texture that regular breadcrumbs just can’t match.
- Avocado oil spray: This is the secret weapon. You need to hydrate the panko thoroughly so it gets crispy in the oven. Don’t skip this.
- Flaky sea salt: For finishing. Maldon is my go-to, but any flaky salt works.
That’s it. No fancy ingredients, no trips to a specialty store. You can grab everything at Ralphs or Trader Joe’s on your way home.
How to Make Giant Chicken Cutlet
Making this viral chicken cutlet is easier than you think. The key is taking it step by step and not rushing. Let me walk you through it.
Prepare the Meat Mixture
Start by combining the ground chicken with the kosher salt, garlic powder, and onion powder in a medium bowl. Use your hands to mix gently and I mean gently. Overmixing is the enemy here. It can make the cutlet dense and tough instead of tender and juicy. Just mix until everything is incorporated, then let it rest for 5 minutes while you set up your breading station.
I like to get my parchment paper, flour, egg wash, and panko all ready before I touch the meat. It makes the whole process flow so much smoother.
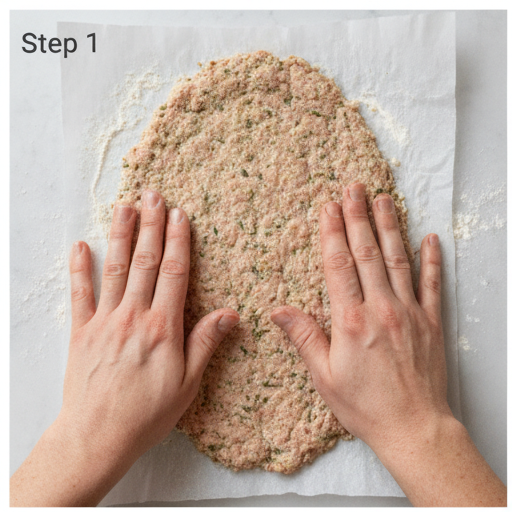
Shape the Cutlet
Lay a large sheet of parchment paper on your work surface and dust it generously with flour. Place the seasoned meat in the center and press it into a very thin, large oval. You want it about 1/4-inch thick, aiming to nearly fill a standard half-sheet pan. If your parchment paper is too small, just use your countertop I won’t tell.
Lightly dust the top of the meat with more flour. This helps the egg wash stick and prevents the panko from sliding off later.
Bread the First Side
Brush the top surface of the meat with the egg wash. Then evenly sprinkle about half the panko over it, pressing gently so the crumbs adhere. Here’s the crucial part: spray the panko generously with avocado oil until it looks fully hydrated and glossy. This is what creates that oven-fried texture. If the panko looks dry, add more spray. You want it to look wet and shiny.
Flip and Bread the Second Side
Place a second sheet of parchment on top of the cutlet, then carefully flip the entire stack. Peel away the top parchment to reveal the uncoated side. Brush with the remaining egg wash, cover with the rest of the panko, press gently, and spray again with avocado oil until the crumbs are fully moistened.
This flipping technique is a game-changer. It keeps your hands clean and ensures both sides get an even coating.
Bake and Broil
Lightly spray a large sheet pan with avocado oil. Transfer the cutlet from the parchment to the prepared pan. Bake in a preheated 450°F convection oven (or use the air fryer setting) for 15 minutes, until the crust is set and starting to brown. Then switch the oven to broil and cook for 4 to 5 minutes, watching carefully, until the cutlet is deeply golden brown and shatteringly crisp.
The broil at the end is what takes it from good to great. It gives you that deep golden color and extra crunch that makes this giant chicken cutlet so addictive.
Pro Tip: Temperature and Resting
Internal temperature: The cutlet is done when it reaches 165°F in the center. Use an instant-read thermometer to be sure.
Resting: Let the cutlet rest for 1 to 2 minutes after baking. This lets the juices redistribute and the crust set. Don’t skip this step it makes a huge difference.
Tips for the Crispiest Crust
Getting that perfect crunch is all about technique. Here are my best tips for a shatteringly crisp panko crusted chicken:
- Hydrate the panko thoroughly. This is the number one tip. Spray the panko with avocado oil until it looks wet and glossy. Dry panko won’t crisp up in the oven.
- Press the meat thin. Aim for 1/4-inch thickness. Thicker cutlets take longer to cook and can end up dry before the crust is done.
- Use a convection oven if you have one. The circulating air helps the panko get extra crispy. If you don’t have convection, just increase the baking time by a few minutes.
- Don’t skip the broil. That final blast of high heat is what gives you the deep golden color and extra crunch.
- Season after baking. Sprinkle with flaky sea salt right when it comes out of the oven. The salt sticks to the hot crust and adds that perfect finishing touch.
Variations and Substitutions
One of the best things about this recipe is how adaptable it is. Here are some ways to switch it up:
- Ground turkey: Substitute ground turkey for the chicken with equal results. Just make sure it’s 93% lean.
- Gluten-free: Use gluten-free all-purpose flour and gluten-free panko. The technique stays the same.
- Dairy-free: This recipe is already dairy-free, so no changes needed.
- Make it Nashville Hot: After baking, brush the cutlet with chili oil and serve on white bread with pickles.
- The Lazy Chicken Parm: Top the baked cutlet with marinara sauce and shredded mozzarella, then broil until bubbly.
- Personal-sized cutlets: Divide the meat into 4 portions and shape into smaller cutlets. Bake for 10 to 12 minutes instead of 15.
Serving Suggestions
This giant chicken cutlet is incredibly versatile. Here are some of my favorite ways to serve it:
- The Ultimate Sandwich: Serve on a toasted brioche bun with spicy mayo, lettuce, and pickles. It’s a showstopper.
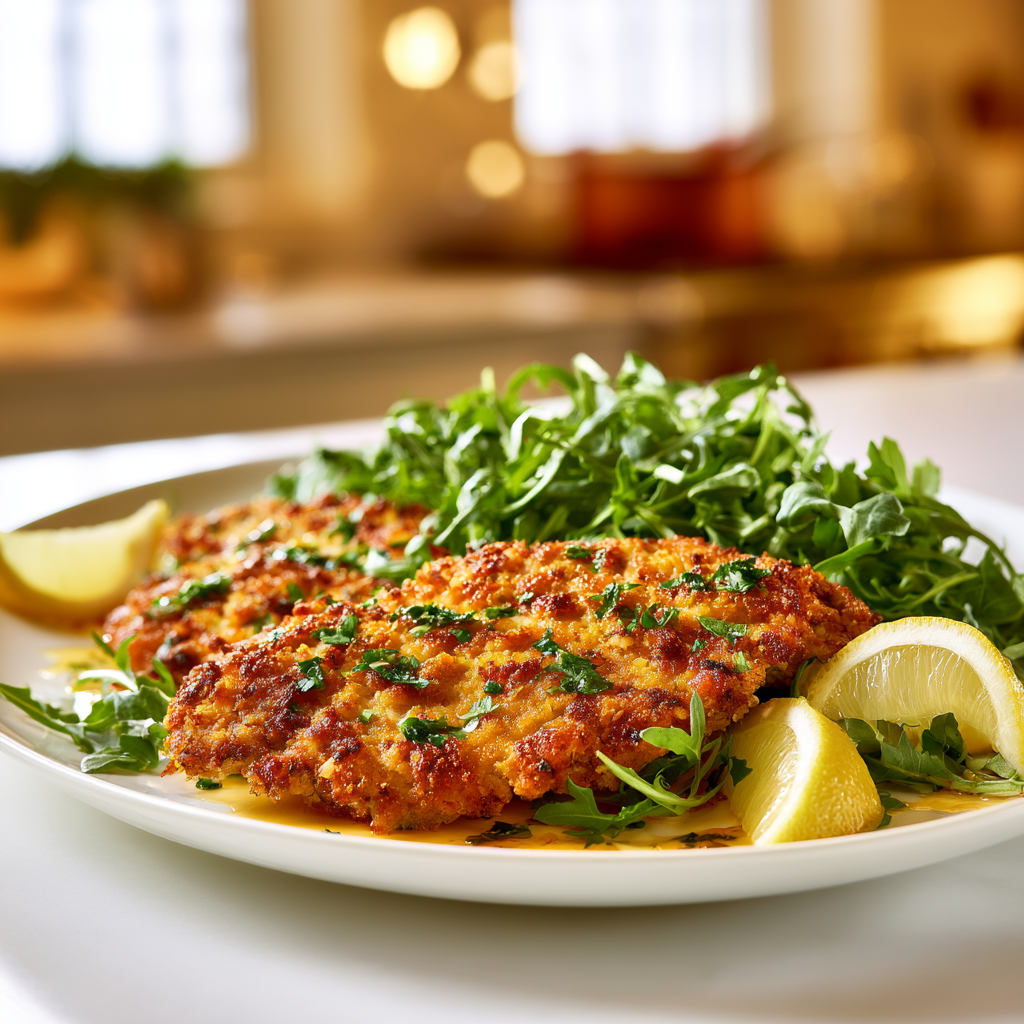
- Chicken Milanese: Top with fresh arugula, shaved Parmesan, and a squeeze of lemon. Simple and elegant.
- The Salad Upgrade: Slice the cutlet into strips and serve over a Caesar salad or mixed greens with your favorite dressing.
- The Crunch Bowl: Chop into cubes and add to grain bowls with roasted vegetables and a tangy dressing.
- Dip it: Serve with ranch, honey mustard, or your favorite dipping sauce.
For a complete summer meal, pair it with a simple side salad or some grilled corn on the cob. It’s perfect for a summer cookout chicken dish that everyone will rave about.
How to Store and Reheat
If you have leftovers which is rare in my house here’s how to keep that crispy breaded chicken from getting soggy:
- Cool completely: Let the cutlet cool on a wire rack before storing. This prevents steam from making the crust soft.
- Store in the fridge: Place in an airtight container with parchment paper between slices. It will keep for up to 3 days.
- Freeze for later: Wrap tightly in plastic wrap and freeze for up to 2 months. Thaw in the fridge before reheating.
- Reheat in the oven or air fryer: This is the key to restoring crispness. Air fry at 375°F for 4 to 5 minutes, or bake at 400°F for 8 to 10 minutes. Do not microwave it will turn the crust into a sad, soggy mess.
Frequently Asked Questions
You’ve got this. Seriously. This giant chicken cutlet recipe is foolproof once you know the tricks. The thin pressing, the generous oil spray, the final broil these are the details that turn a good cutlet into a great one. Your friends won’t believe you made it at home. And honestly? That’s the best part.
If you make this recipe, I’d love to hear about it. Drop a comment below or share your creation on social media. And if you’re looking for more easy dinner ideas, check out my other viral chicken recipes on Pinterest I’ve got plenty more where this came from.
Source: Health & Nutrition Research
When should I make this giant chicken cutlet?
This recipe is perfect for any occasion. It’s quick enough for a weeknight dinner (45 minutes total) but impressive enough for a summer cookout or date night. I especially love making it for gatherings where I want to be the person who brings the most talked-about dish.
Can I use ground turkey instead of ground chicken?
Absolutely. Ground turkey works perfectly as a substitute. Just make sure to use 93% lean turkey for the best texture. The cooking time and technique remain exactly the same, so feel free to swap based on what you have in your fridge.
Do I need a convection oven to make this viral chicken cutlet?
No, a convection oven is not required. If you’re using a standard oven, just bake at 450°F for about 17 to 18 minutes instead of 15, then broil as directed. The convection setting helps with crispiness, but the avocado oil spray does most of the work.
Can I make smaller individual cutlets instead of one giant chicken cutlet?
Yes, you can easily divide the meat into 4 portions and shape them into smaller cutlets. Reduce the baking time to 10 to 12 minutes, then broil for 3 to 4 minutes. They’re perfect for meal prep or serving to kids who prefer a more manageable size.
This looks like a chicken patty what’s the difference?
A chicken patty is usually thick, breaded, and fried, often with binders like breadcrumbs mixed into the meat. This giant chicken cutlet is pressed thin (1/4-inch), coated in panko, and oven-fried for a shatteringly crisp crust. The thinness and technique make it much lighter and crunchier.