
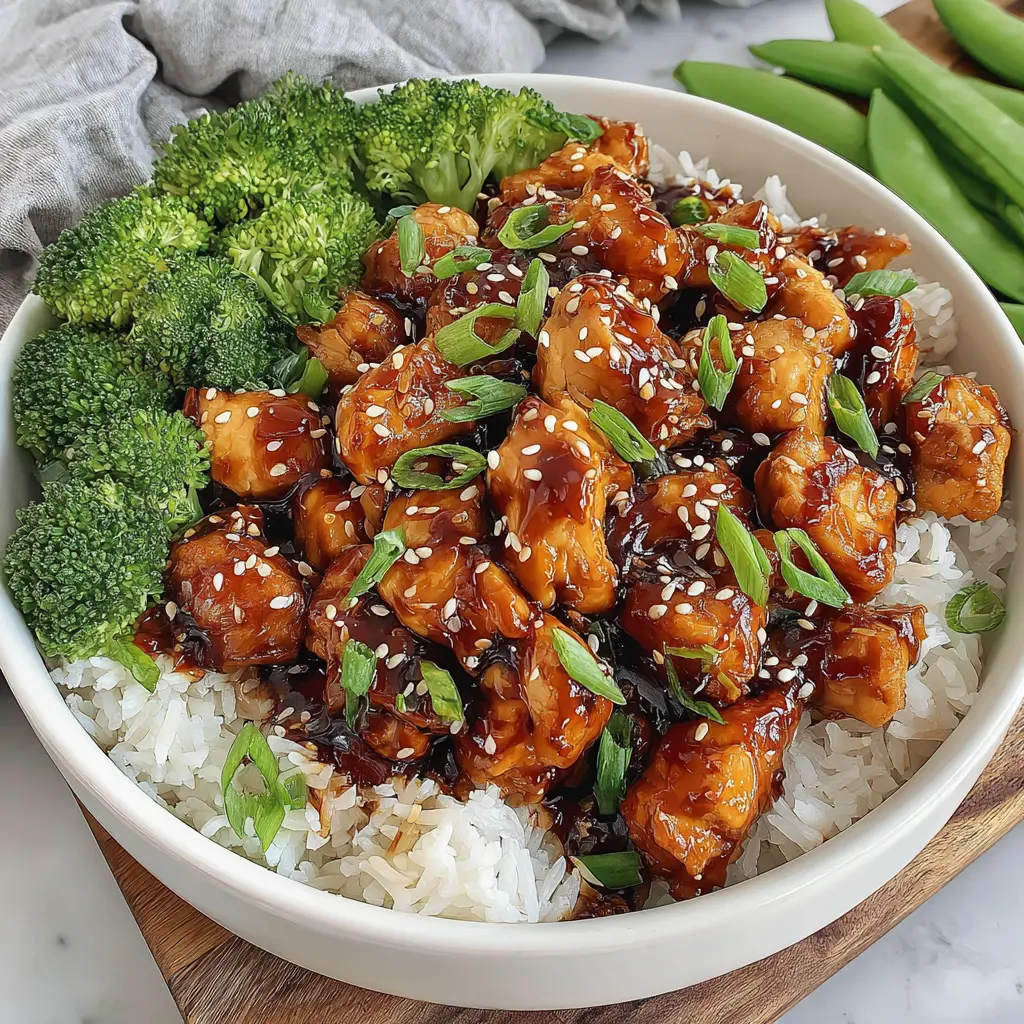
Why This Teriyaki Chicken Recipe Works
You’re standing in front of the fridge at 5:30 PM. The kids are hungry, you’re tired, and takeout sounds tempting but your wallet says no. I’ve been there more times than I can count. That’s exactly why I developed this teriyaki chicken recipe.
It’s ready in under 30 minutes. The sauce is made from scratch with pantry staples. And honestly? It tastes better than most restaurant versions I’ve had. The secret is in the balance of sweet and savory, and getting that perfect glossy glaze that coats every single piece of chicken.
This isn’t one of those fussy recipes that requires a trip to a specialty store. You probably have most of the ingredients already. And if you don’t? No big deal. I’ll show you easy swaps.
This homemade teriyaki chicken has saved my sanity on countless busy weeknights. It’s become our family’s most-requested dinner. Even my picky eater cleans her plate, which honestly feels like a miracle.
What Is Teriyaki Chicken?
Teriyaki chicken is a Japanese dish where chicken is cooked with a sweet and savory soy-based sauce. The word “teriyaki” actually refers to the cooking technique. “Teri” means luster or gloss, and “yaki” means to grill or pan-fry. So literally, it’s glossy grilled meat.
The magic happens when the sauce reduces and caramelizes on the chicken, creating that shiny, sticky coating we all love. Traditional teriyaki uses a simple combination of soy sauce, mirin (a sweet rice wine), and sugar. My version stays true to that spirit but uses ingredients you can find at any regular grocery store.
This isn’t an authentic Japanese recipe in the strictest sense. It’s more of a weeknight-friendly adaptation that works for American kitchens. And you know what? That’s perfectly fine. Good food doesn’t need a passport.
Ingredients for Teriyaki Chicken
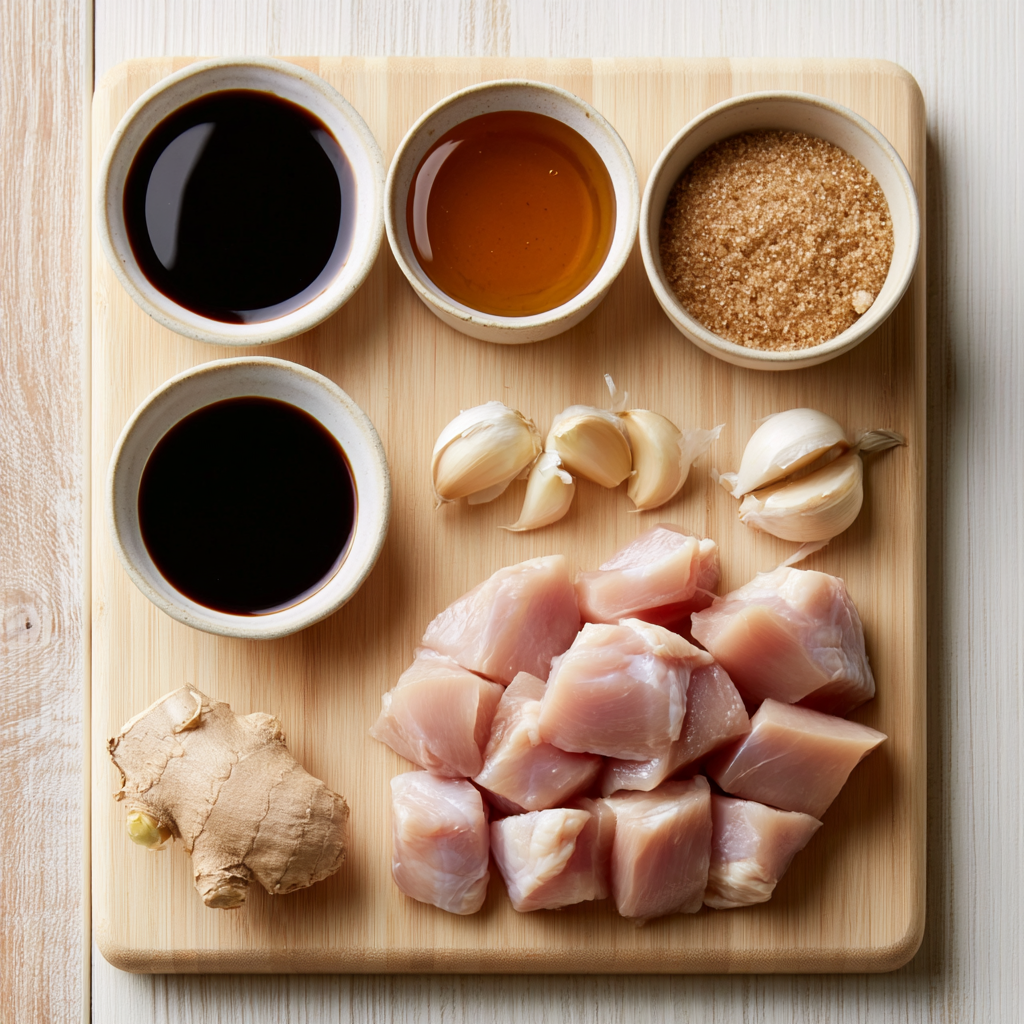
Let’s talk about what you’ll need. The ingredient list looks long, but I promise it’s mostly pantry stuff.
For the Chicken
- Boneless skinless chicken breasts, cubed I use four of them. You can also use chicken thighs if you prefer darker meat. They stay a bit juicier.
- California extra-virgin olive oil Just a tablespoon for searing. Any neutral oil works here.
For the Teriyaki Sauce
- Low-sodium soy sauce This is crucial. Regular soy sauce will make it way too salty. I learned that the hard way.
- Water Helps balance the intensity.
- Packed light brown sugar Adds sweetness and helps with that caramelization.
- Rice vinegar A little tang to cut through the sweetness.
- Sesame oil Optional, but adds a lovely nutty note.
- Ground ginger and minced garlic The aromatic backbone.
- Honey Extra sweetness and helps the glaze get sticky.
- Cornstarch This is our thickening agent. It gives the sauce that glossy, coating texture.
For Serving
- Sesame seeds and chopped green onions For garnish. Don’t skip these. They add color and crunch.
- Cooked white or brown rice The perfect bed for all that saucy chicken.
- Steamed vegetables of choice Broccoli, snap peas, carrots. Whatever you have.
Key Kitchen Equipment
You don’t need anything fancy. A large skillet or frying pan, a cutting board, a knife, and a medium bowl for whisking the sauce. That’s it. One pan, minimal cleanup. My kind of cooking.
How to Make Teriyaki Chicken
Here’s where it all comes together. I’ll walk you through the major stages. The detailed instructions are in the recipe card below, but I want to share the why behind each step.
Stage 1: Sear the Chicken
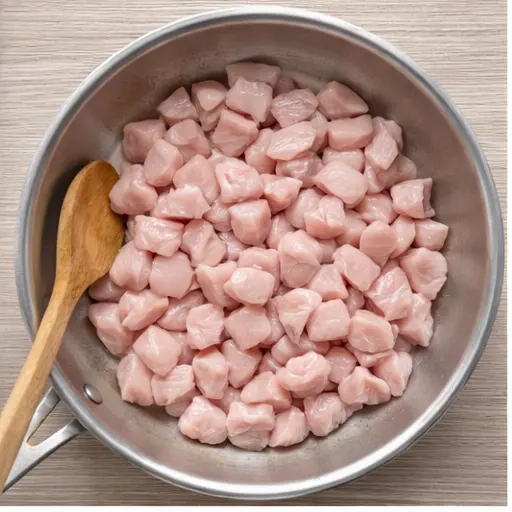
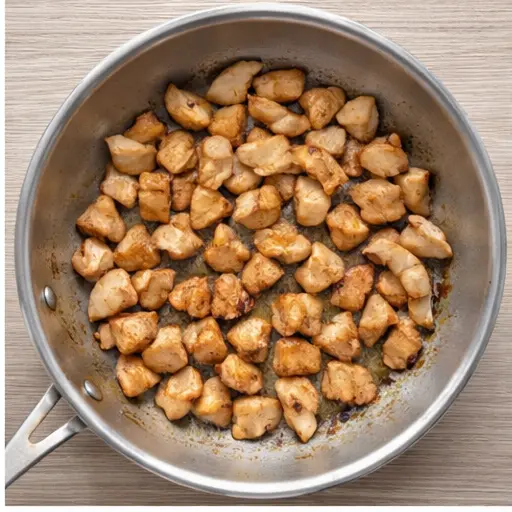
Heat your olive oil in a large skillet over medium-high heat. You want it hot but not smoking. Add the cubed chicken in a single layer if possible. Don’t overcrowd the pan or the chicken will steam instead of sear. Let it cook undisturbed for a few minutes until the bottom is golden brown. Then stir and continue cooking until it’s cooked through with no pink remaining. The smell of browning chicken fills the kitchen at this point, and it’s just wonderful.
Stage 2: Make the Sauce
While the chicken cooks, whisk together all the sauce ingredients in a medium bowl. Soy sauce, water, honey, brown sugar, rice vinegar, sesame oil (if using), ground ginger, minced garlic, and cornstarch. Make sure the cornstarch is fully dissolved. No lumps allowed. This takes about 30 seconds. Easy.
Stage 3: Combine and Thicken
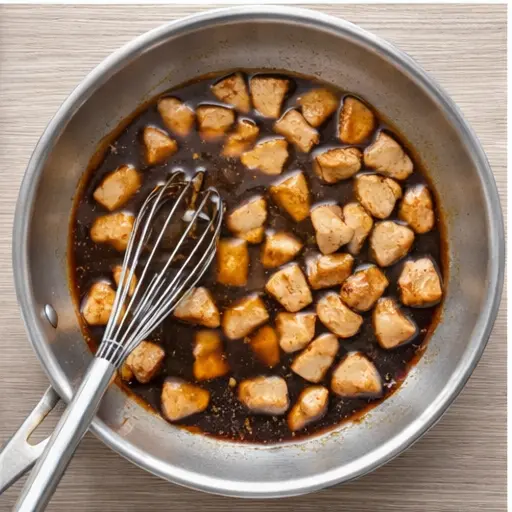
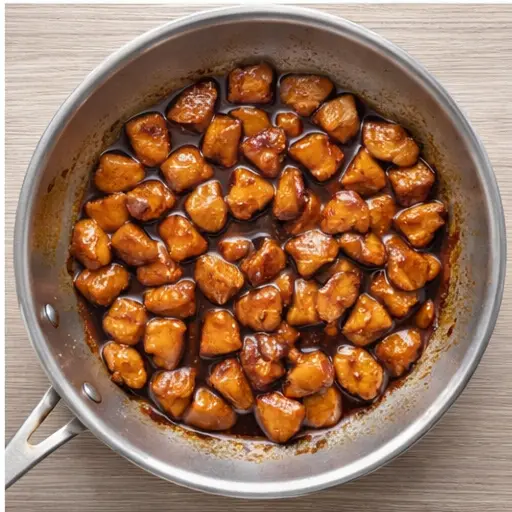
Pour the teriyaki sauce over the cooked chicken in the skillet. Turn the heat up slightly and stir constantly. This is where the magic happens. The sauce will start bubbling and thickening right before your eyes. It goes from thin and watery to a glossy, syrupy glaze in about 2-3 minutes. Keep stirring so nothing burns on the bottom. The smell at this point is incredible. Sweet, savory, gingery.
Stage 4: Serve and Garnish
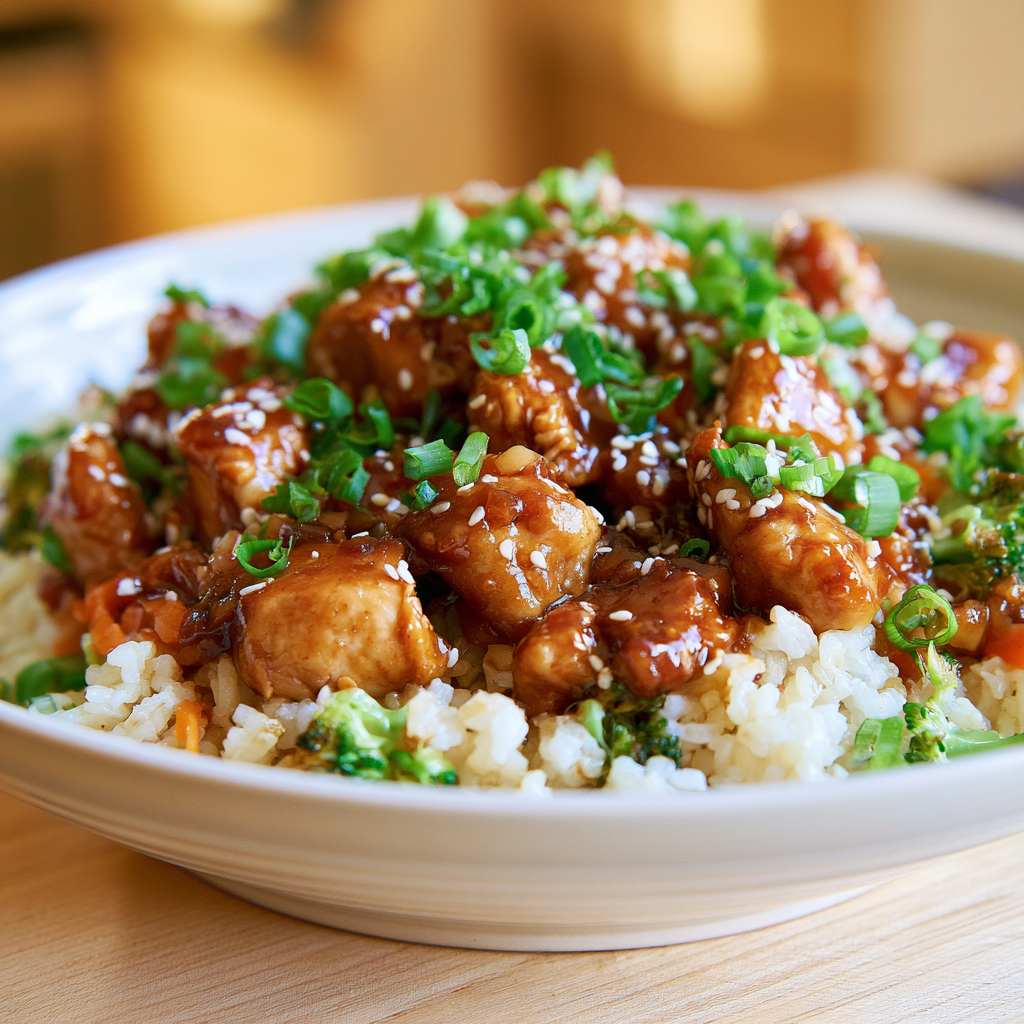
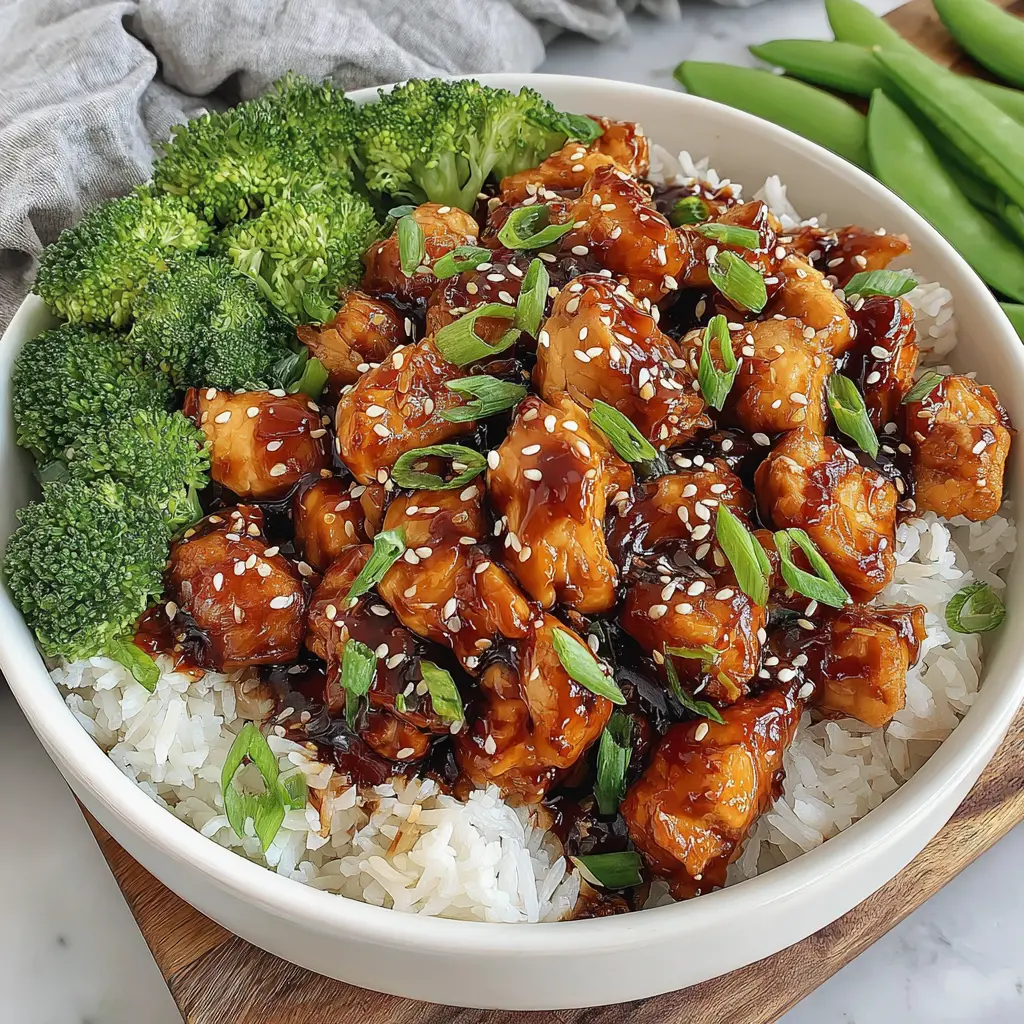
Once the sauce has thickened and coated every piece of chicken, remove from heat immediately. Serve over a bed of rice with steamed vegetables on the side. Sprinkle with sesame seeds and chopped green onions. That final sprinkle of green and white makes it look like you ordered from a restaurant. Trust me.
Recipe Tips for Best Results
I’ve made this easy teriyaki chicken dozens of times. Here’s what I’ve learned.
- Don’t overcook the chicken. Chicken breasts dry out fast. Cook just until no pink remains. A meat thermometer should read 165°F.
- Use low-sodium soy sauce. I can’t stress this enough. Regular soy sauce will make your sauce inedibly salty.
- Stir the sauce constantly when thickening. Cornstarch settles quickly. Constant stirring ensures even thickening and prevents clumps.
- If the sauce gets too thick, add a tablespoon of water at a time until it loosens up.
- Double the sauce if you like extra for drizzling over rice. Some of us are sauce people.
- Add a pinch of red pepper flakes for a little heat if that’s your thing.
Variations and Customizations
This recipe is super flexible. Here are some ways to make it your own.
- Gluten-free: Use tamari or coconut aminos instead of soy sauce. Works perfectly.
- Chicken thighs: Swap the breasts for boneless skinless thighs. They stay juicier and have more flavor.
- Extra vegetables: Toss in broccoli florets or bell pepper strips during the last few minutes of cooking.
- Spicy teriyaki: Add sriracha or red pepper flakes to the sauce.
- Meal prep: Make the sauce up to 3 days ahead and store it in the fridge. Cook the chicken fresh when you’re ready.
What to Serve with Teriyaki Chicken
This dish is a complete meal on its own, but here are some ideas to round it out.
- Steamed rice White or brown, it’s the classic choice.
- Steamed vegetables Broccoli, snap peas, carrots, bok choy. Whatever’s in your fridge.
- Simple cucumber salad Thinly sliced cucumbers with rice vinegar and a pinch of sugar.
- Miso soup A warm bowl of soup on the side is lovely.
- Edamame Steamed and lightly salted. Easy and satisfying.
Storage and Leftovers
This teriyaki chicken keeps well, which makes it great for meal prep.
- Refrigerate: Store in an airtight container for up to 3 days.
- Freeze: Freeze for up to 1 month. Thaw overnight in the fridge.
- Reheat: Gently reheat in a skillet over medium-low heat. Add a splash of water if the sauce has thickened too much. Microwave works too, but the skillet gives better results.
- Make ahead: The chicken can sit in the sauce for up to 30 minutes before serving. Or cook it completely and reheat later.
Common Mistakes and Troubleshooting
Even with a simple recipe, things can go wrong. Here’s how to fix them.
❌ Sauce is too thin
✅ Mix 1 teaspoon cornstarch with 2 teaspoons cold water to make a slurry. Stir it into the simmering sauce. It will thicken in about 30 seconds.
❌ Sauce is too salty
✅ Add a teaspoon of honey or brown sugar to balance the salt. A splash of water helps too.
❌ Chicken is dry
✅ You likely overcooked it. Next time, use a meat thermometer and pull it at 165°F. For this batch, serve with extra sauce to add moisture.
❌ Sauce is too sweet
✅ Add a splash more rice vinegar or a squeeze of lemon juice to cut the sweetness.
Frequently Asked Questions
More Chicken Recipes to Try
If you loved this teriyaki chicken recipe, you might enjoy these other quick dinners. They’re all designed for busy weeknights when you need something delicious on the table fast.
Honey Garlic Chicken Sticky, sweet, and savory. Ready in 20 minutes.
Lemon Herb Chicken Bright and fresh. Perfect for summer.
One-Pan Chicken and Rice Everything cooks together. Minimal cleanup.
I hope this recipe becomes a staple in your kitchen like it has in mine. Go ahead, make this tonight. You’ve got this. And when you do, I’d love to hear how it turned out. Tag me on Pinterest with your creation. Happy cooking!
Quick Teriyaki Chicken Rice Bowl
Ingredients
Method
- Heat the olive oil in a large skillet over medium-high heat.
- Add the cubed chicken and cook, stirring occasionally, until browned and cooked through with no pink remaining.
- While the chicken cooks, in a medium bowl whisk together the soy sauce, water, honey, brown sugar, rice vinegar, sesame oil (if using), ground ginger, minced garlic, and cornstarch until the cornstarch is dissolved.
- Pour the teriyaki sauce over the cooked chicken in the skillet. Continue cooking, stirring constantly, until the sauce thickens and coats the chicken.
- Serve immediately over rice with steamed vegetables. Garnish with sesame seeds and chopped green onions.
Nutrition
Notes
Tried this recipe?
Let us know how it was!Source: Nutritional Information
Can I use chicken breast for teriyaki chicken?
Absolutely. This recipe actually uses boneless skinless chicken breasts cubed. They cook quickly and stay tender if you don’t overcook them. Chicken thighs work great too and are a bit more forgiving.
Why did my chicken overcook?
Chicken breasts cook fast, especially when cubed. The most common reason is cooking over too high heat for too long. Use medium-high heat and cook just until no pink remains. A meat thermometer reading 165°F is your best friend here.
Can I use a non-stick pan for teriyaki chicken?
Yes, a non-stick pan works perfectly for this recipe. It helps prevent the sauce from sticking and burning on the bottom. Just be gentle with your spatula to avoid scratching the surface. Stainless steel or cast iron work too.