
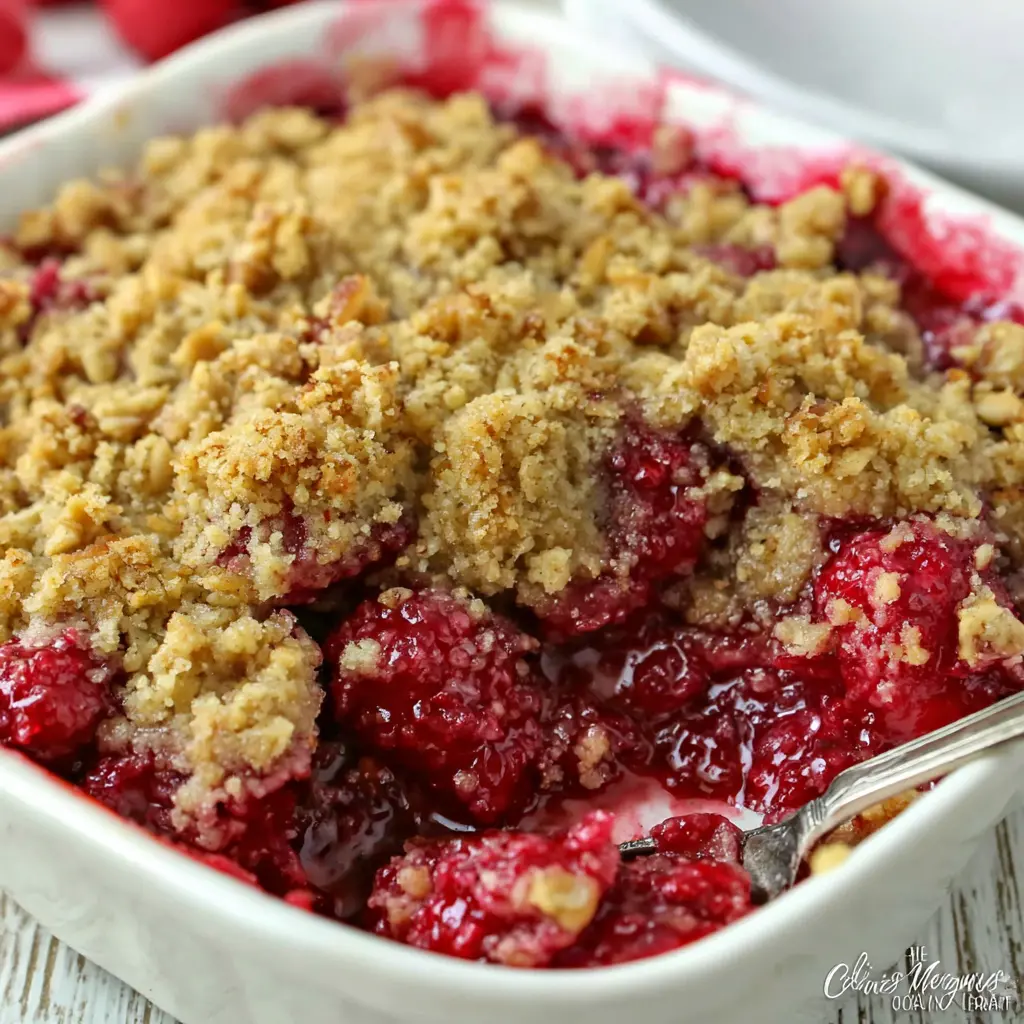
Why This Raspberry Cobbler Will Be Your New Summer Favorite
There’s nothing quite like that first peek at a pint of ripe raspberries in July. I mean, honestly, those little ruby gems are basically summer in a basket. And the first thing that pops into my head? Raspberry cobbler. Every single time.
I’ll be real with you the first time I made a cobbler, it was a disaster. Berry soup with a hockey puck for a topping. Not my finest moment. But after a few tries (and a lot of taste-testing), I landed on this recipe. And it’s the one I keep coming back to.
This isn’t just any cobbler. It’s a California Raspberry Cobbler with Walnut Crunch. The filling is perfectly jammy, not too sweet, with that bright pop of lemon. And the topping? Oh, the topping. It’s a buttery, crunchy crumb situation with walnuts that gets all golden and irresistible. It’s the kind of easy dessert that makes you look like you spent hours in the kitchen when really, it’s about 15 minutes of hands-on work.
I promise, this is the easy raspberry cobbler you’ve been looking for. No complicated techniques, no fancy equipment. Just simple ingredients doing what they do best.
Raspberry Cobbler Ingredients
Let’s talk about what you’ll need. The beauty of this recipe is that everything is pretty straightforward. You probably have most of this in your pantry already.
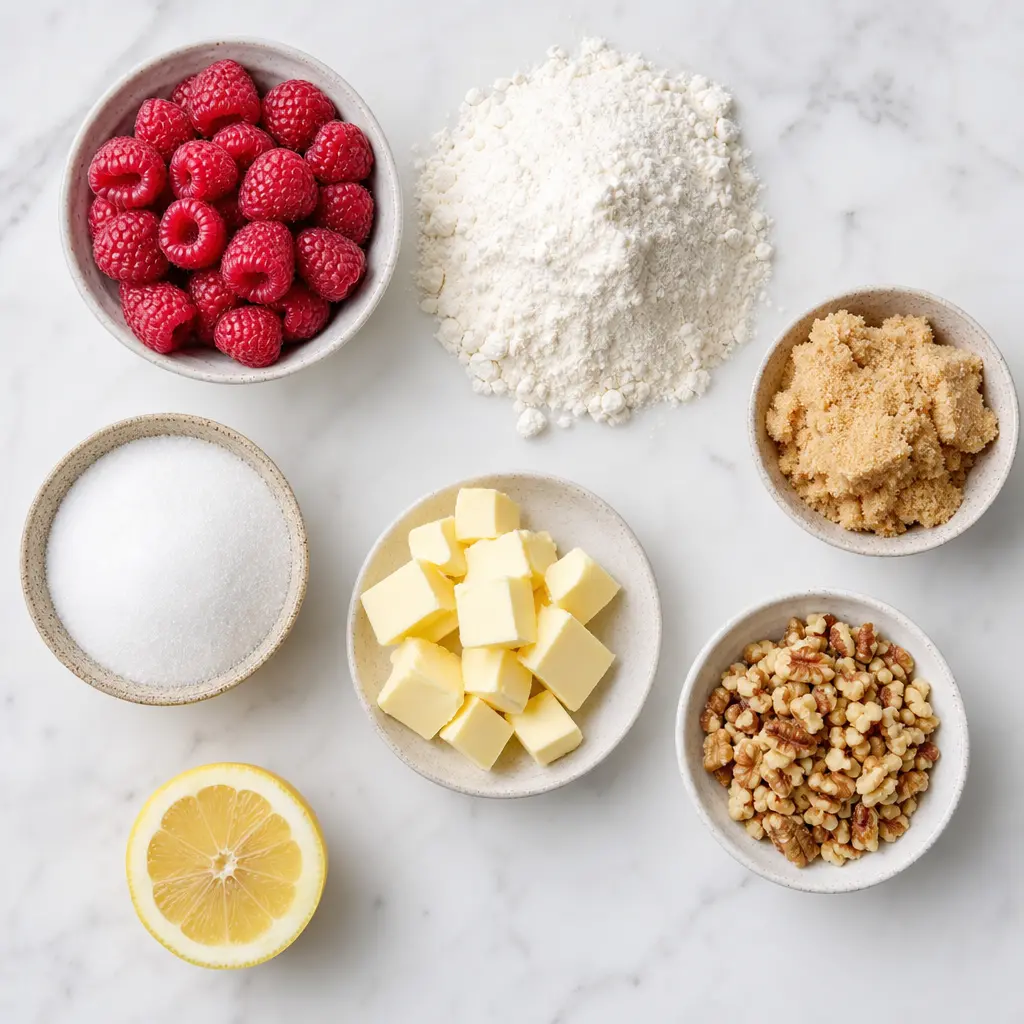
For the Crumb Topping
- All-purpose flour the base of our crumbly topping
- Light brown sugar adds that deep, caramel-like sweetness
- Granulated sugar for a touch of straight-up sweetness
- Ground cinnamon and nutmeg just a hint of warmth, nothing overpowering
- Salt balances all that sweetness
- Cold unsalted butter the key to a tender, crunchy crumb
- Chopped walnuts for that signature crunch
For the Raspberry Filling
- Fresh raspberries 6 cups, which is about 3 pints. Peak season is best, but we’ll talk frozen options too
- Granulated sugar just 1/4 cup, because the berries are sweet enough
- Chopped walnuts yes, more walnuts. They add texture to the filling too
- Fresh lemon juice and zest brightens everything up and makes the raspberries sing
A quick note on simple ingredients: I love that this recipe doesn’t call for cornstarch or any thickener. The walnuts in the filling actually help soak up some of that berry juice, and the crumb topping does the rest. It’s a beautiful, natural thing.
If you want to make a gluten free cobbler, just swap the all-purpose flour for a 1:1 gluten-free baking blend. And for a vegan cobbler, use a plant-based butter substitute. Easy peasy.
How to Make Raspberry Cobbler
Alright, let’s get to it. This is where the magic happens. I’ll walk you through the four main stages, and I promise it’s simpler than you think.
Stage 1: Prep the Oven and Dish
First things first, preheat your oven to 375°F. Lightly coat a 2-quart baking dish or a 9×9-inch pan with non-stick cooking spray. I like using a ceramic baking dish because it heats evenly and looks pretty enough to bring to the table. But honestly, a metal pan works just fine too.
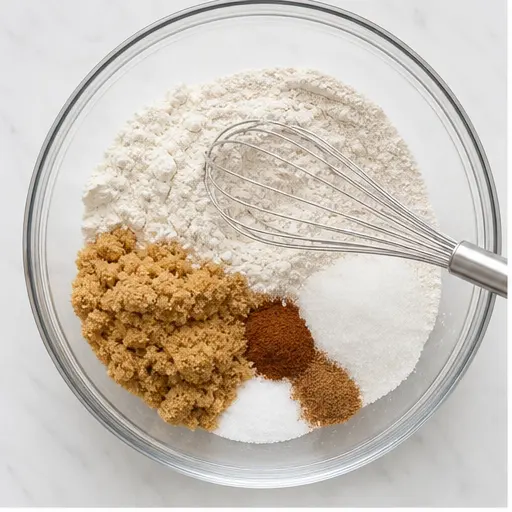
Stage 2: Make the Crumb Topping
In a medium bowl, whisk together the flour, brown sugar, granulated sugar, cinnamon, nutmeg, and salt. Make sure everything is evenly combined you don’t want a pocket of pure nutmeg in one bite.
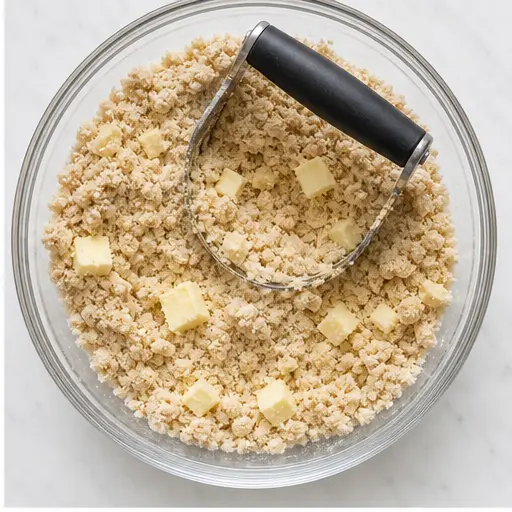
Now, here’s the important part. You need cold butter. And I mean cold. Cut it into small pieces and work it into the flour mixture using a pastry blender or your fingers. You’re looking for a texture that resembles coarse crumbs. Some pea-sized butter bits are totally fine those create those flaky, tender pockets in the topping.
Don’t overmix this. I know it’s tempting to keep going until it’s all uniform, but stop when it looks like wet sand with a few bigger lumps. Overworking the butter will make the topping tough, and nobody wants that.
Stir in the 1/4 cup of chopped walnuts. Set the topping aside while you work on the filling.
Stage 3: Prepare the Raspberry Filling
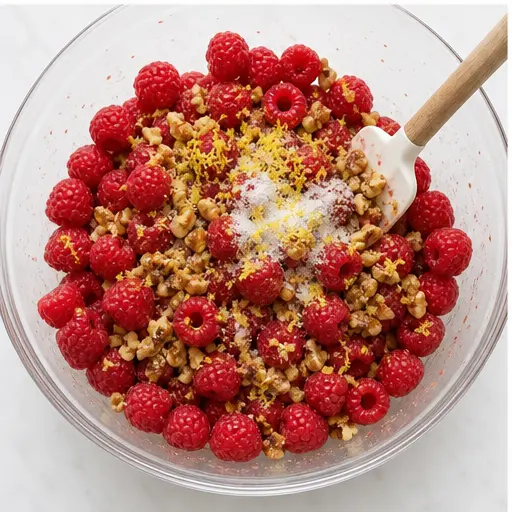
In a large bowl, gently combine the raspberries, 1/4 cup sugar, lemon juice, lemon zest, and 1 cup of chopped walnuts. I say gently because raspberries are delicate little things. You don’t want to crush them into a jam you want them to mostly hold their shape during baking.
Let the mixture sit for about 5 minutes. This gives the sugar time to start drawing out some of the berry juices, which creates that lovely syrupy base. Give it one more gentle stir, then pour everything into your prepared baking dish.
Stage 4: Assemble and Bake
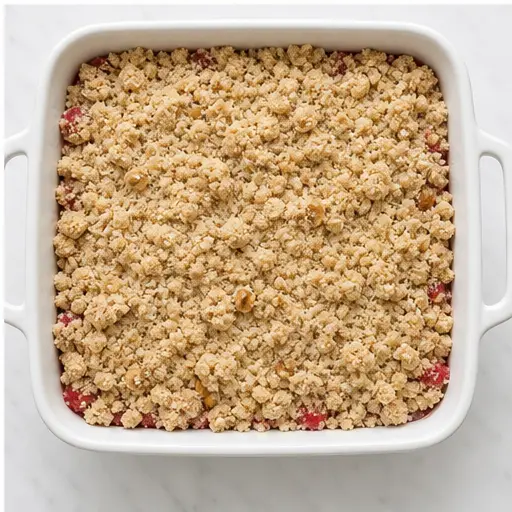
Evenly sprinkle the crumb topping over the raspberry mixture. Don’t press it down just let it fall naturally. Some berries will peek through, and that’s totally fine. It’s actually pretty.
Bake uncovered for 30 to 35 minutes. You’re looking for the topping to be golden brown and the filling to be bubbly around the edges. If the topping starts browning too quickly, tent it loosely with foil for the last 10 minutes. But honestly, at 375°F, it usually comes out perfect.
Let the cobbler cool for 10 to 15 minutes before serving. I know it’s hard to wait, but this helps the filling set up a bit so it’s not a total mess on the plate.
Expert Tips for Perfect Cobbler
I’ve made this raspberry cobbler more times than I can count, and I’ve picked up a few tricks along the way. Here are the ones that make the biggest difference.
Common Mistakes and How to Fix Them
❌ Overmixing the topping: This leads to a tough, dense crumb. ✅ Stop mixing as soon as the flour is incorporated and the butter is in pea-sized pieces.
❌ Using warm butter: Warm butter won’t create those flaky pockets. ✅ Keep your butter cold until the moment you cut it in.
❌ Not letting the filling rest: You need those 5 minutes for the sugar to work its magic. ✅ Set a timer if you have to.
❌ Skipping the cooling time: Hot cobbler is soup. ✅ Wait those 10-15 minutes, I promise it’s worth it.
If the topping gets too dark: Tent the dish loosely with foil. Remove the foil after baking to keep the topping crisp.
Using frozen raspberries? Don’t thaw them first. Just break the frozen berries apart and mix them in frozen. Add about 10-15 minutes of extra baking time since the frozen fruit will cool down the filling.
Check for doneness: The filling should be bubbling throughout, not just at the edges. If it’s only bubbling in the center, give it a few more minutes.
Serving Suggestions
Okay, so you’ve got this beautiful, bubbly raspberry cobbler. Now what? I mean, besides grabbing a spoon and digging in.
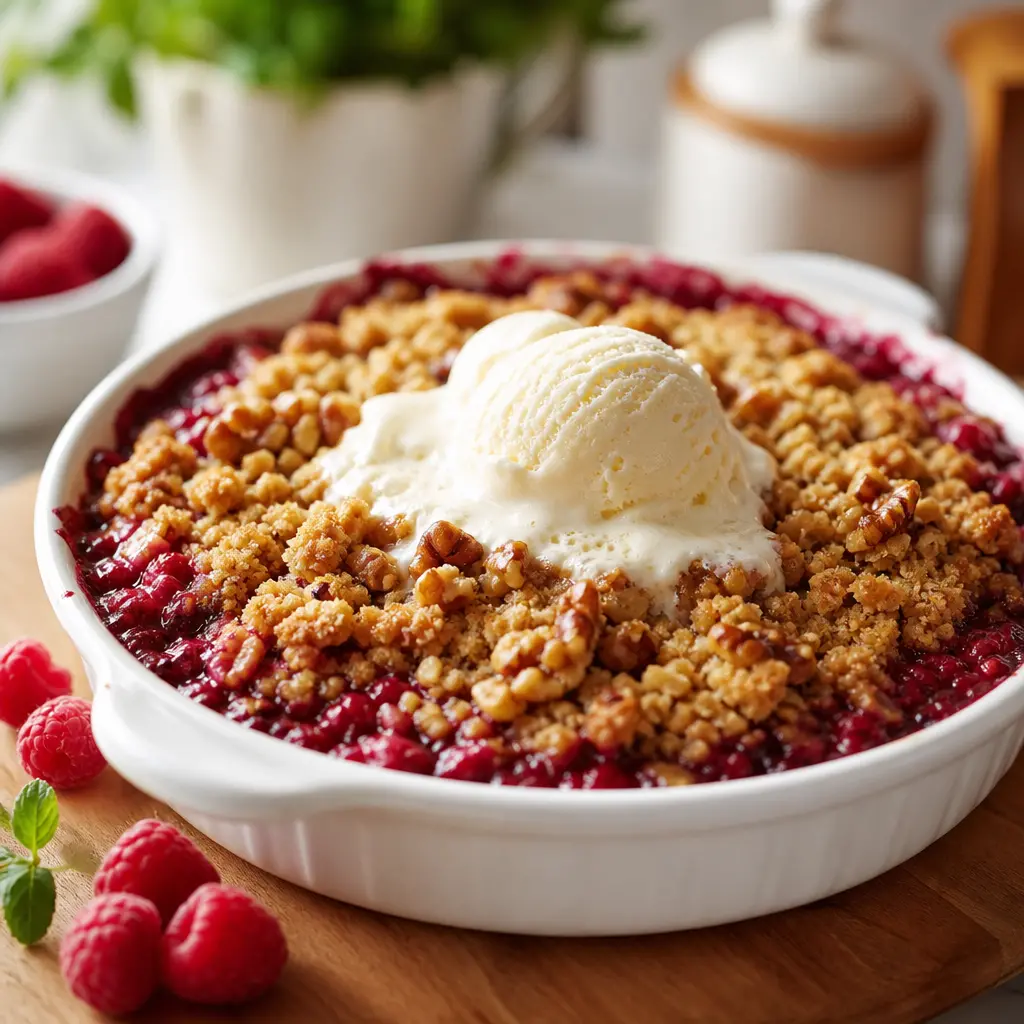
The classic pairing is a scoop of vanilla ice cream. The cold, creamy vanilla against the warm, jammy berries and crunchy topping? Absolute perfection. It’s the summer dessert of my dreams.
But if you want to mix it up, here are some other ideas:
- Whipped cream light and airy, lets the raspberry flavor shine
- Greek yogurt a tangier option that’s a little lighter
- Sweetened mascarpone for when you want to feel fancy
- A dusting of powdered sugar simple but lovely
This cobbler is also amazing for brunch. Serve it warm with a cup of coffee or tea, and watch it disappear. Honestly, it’s good any time of day. I’ve been known to have it for breakfast the next day. Don’t judge.
Storage and Make-Ahead Instructions
Let’s be real leftovers of this raspberry cobbler are rare in my house. But if you somehow have some, here’s how to handle it.
Storing Leftovers
Cover the baking dish tightly with foil or plastic wrap. Store at room temperature for up to 2 days, or in the refrigerator for up to 5 days. I prefer the fridge for longer storage, but room temperature is fine for a day or two.
Reheating
The best way to reheat is in a 350°F oven for about 10 minutes. This helps re-crisp the topping. The microwave works in a pinch, but the topping will be softer. Still delicious, just not as crunchy.
Freezing
Yes, you can freeze this cobbler! Let it cool completely, then wrap the dish tightly in plastic wrap and a layer of foil. Freeze for up to 3 months. To serve, thaw overnight in the refrigerator, then reheat in a 350°F oven until warmed through and bubbly.
Make-Ahead
This is my favorite trick. You can assemble the entire cobbler (filling and topping) a day ahead. Just don’t bake it. Cover and refrigerate, then add about 5-10 minutes to the baking time since it’ll be starting from cold. Perfect for when you’re hosting and want to minimize day-of stress.
Frequently Asked Questions
Final Thoughts
When you pull this raspberry cobbler out of the oven, you’ll be so proud of what you’ve made. The golden, crunchy topping, the bubbly, jammy berries, the smell of butter and cinnamon filling your kitchen it’s pure magic. And the best part? It’s so simple. Anyone can make this.
I’d love to see your version of this easy raspberry cobbler. Come share your photos and tag me on Pinterest I’m always looking for inspiration and love seeing what you create in your kitchens.
Happy baking, friends. And remember: a scoop of vanilla ice cream is never a bad idea.
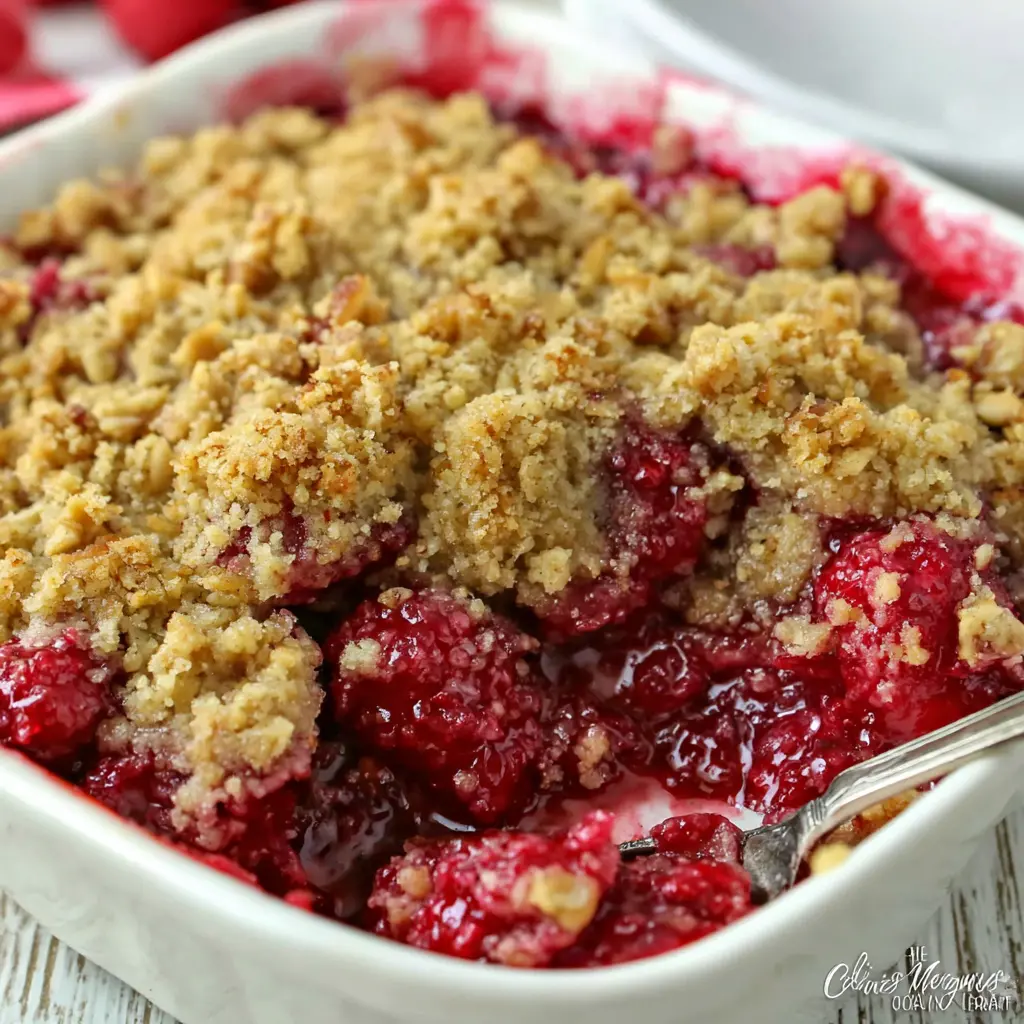
California Raspberry Cobbler with Walnut Crunch
Ingredients
Method
- Preheat your oven to 375°F. Lightly coat a 2-quart baking dish (or a 9x9-inch pan) with non-stick cooking spray and set aside.
- In a medium bowl, whisk together the flour, brown sugar, granulated sugar, cinnamon, nutmeg, and salt until evenly combined.
- Cut the cold butter into the flour mixture using a pastry blender or your fingers until it resembles coarse crumbs.
- Stir in the 1/4 cup of chopped walnuts until distributed throughout the topping.
- In a large bowl, gently combine the raspberries, 1/4 cup sugar, lemon juice, lemon zest, and 1 cup chopped walnuts. Let the mixture sit for 5 minutes, then stir once more and pour into the prepared baking dish.
- Evenly sprinkle the crumb topping over the raspberry mixture.
- Bake uncovered for 30 to 35 minutes, or until the topping is golden brown and the filling is bubbly.
- Allow the cobbler to cool for 10 to 15 minutes before serving.
- Optional: Serve warm with a scoop of vanilla ice cream.
Nutrition
Notes
Tried this recipe?
Let us know how it was!Source: Nutritional Information
What is the difference between a cobbler and a crisp?
A cobbler traditionally has a drop biscuit or batter topping, while a crisp has a crumbly, streusel-like topping with oats. This raspberry cobbler uses a crumb topping with walnuts, so it’s closer to a crisp in texture, but we’re calling it a cobbler because that’s what feels right.
Can I use frozen raspberries instead of fresh for this raspberry cobbler?
Absolutely. Don’t thaw the berries first just break them apart and mix them in frozen. Add 10-15 minutes of extra baking time since the frozen fruit will cool the filling down. The result is just as delicious as using fresh raspberries.
How do you store leftover California Raspberry Cobbler with Walnut Crunch?
Cover the dish tightly and store at room temperature for up to 2 days or in the refrigerator for up to 5 days. Reheat in a 350°F oven for 10 minutes to restore the crunch. The microwave works too, but the topping will be softer.
What can I serve with this raspberry cobbler besides vanilla ice cream?
Whipped cream, Greek yogurt, or sweetened mascarpone are all fantastic options. A dusting of powdered sugar works too. For brunch, serve it warm with coffee or tea. Honestly, it’s great on its own if you want to let the raspberry flavor shine.
How do you prevent the walnut crunch topping from getting soggy in a raspberry cobbler?
The key is not overmixing the topping and using cold butter. Also, letting the cobbler cool for 10-15 minutes after baking helps the filling set so it doesn’t soak into the topping. If reheating, use the oven to re-crisp the topping.
How long will raspberry cobbler last?
Stored properly at room temperature, it lasts about 2 days. In the refrigerator, it’ll keep for up to 5 days. You can also freeze it for up to 3 months. Just wrap it tightly in plastic wrap and foil before freezing.
Can I freeze raspberry cobbler?
Yes! Let it cool completely, then wrap the dish tightly in plastic wrap and a layer of foil. Freeze for up to 3 months. Thaw overnight in the refrigerator, then reheat in a 350°F oven until warmed through and bubbly. The topping might be slightly softer, but it’s still delicious.
What are other fruit alternatives for this dish?
This recipe works beautifully with other berries like blackberries or blueberries. You can also use sliced peaches, plums, or nectarines. Just keep the total fruit amount at about 6 cups and adjust the sugar based on the sweetness of your fruit.
Does this have to be made with whole milk?
This recipe doesn’t use any milk at all. The crumb topping is made with butter and flour, and the filling is just berries, sugar, lemon, and walnuts. So no need to worry about milk it’s naturally dairy-free if you use a plant-based butter.
Can the sugar put into this dish be reduced?
You can reduce the sugar slightly, but keep in mind that sugar affects the texture of the topping and helps the berries release their juices. I’d suggest reducing by no more than 2 tablespoons total. Taste your berries first if they’re super sweet, you can cut back a little.