
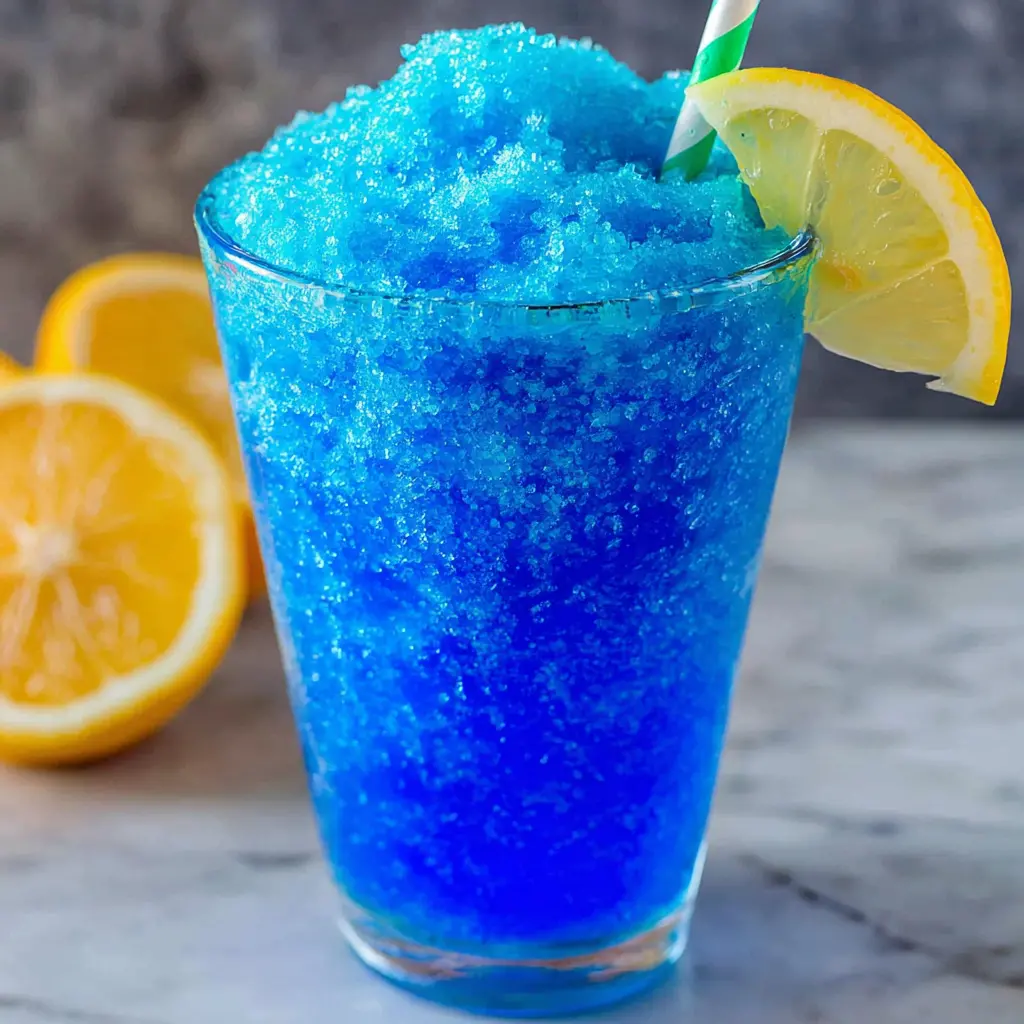
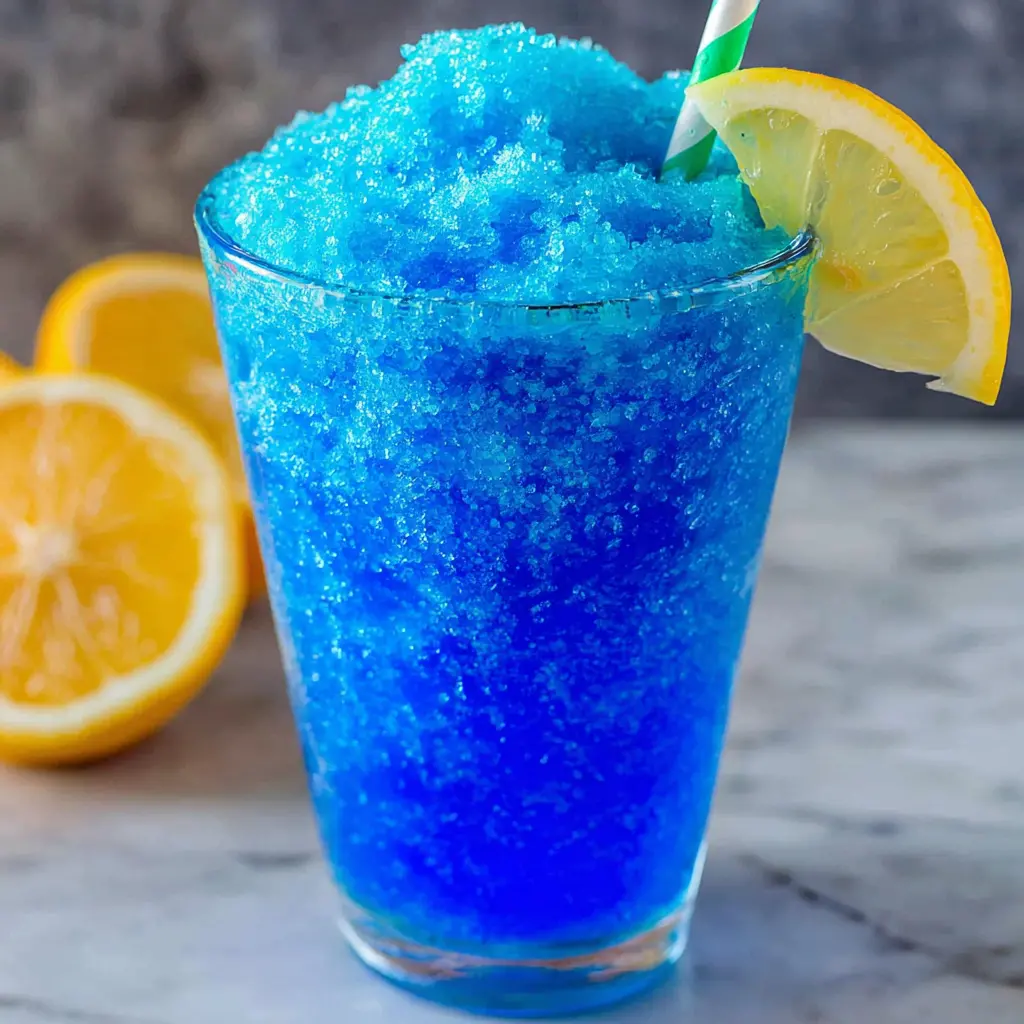
California Snow Cone Slushie Recipe
Ingredients
Method
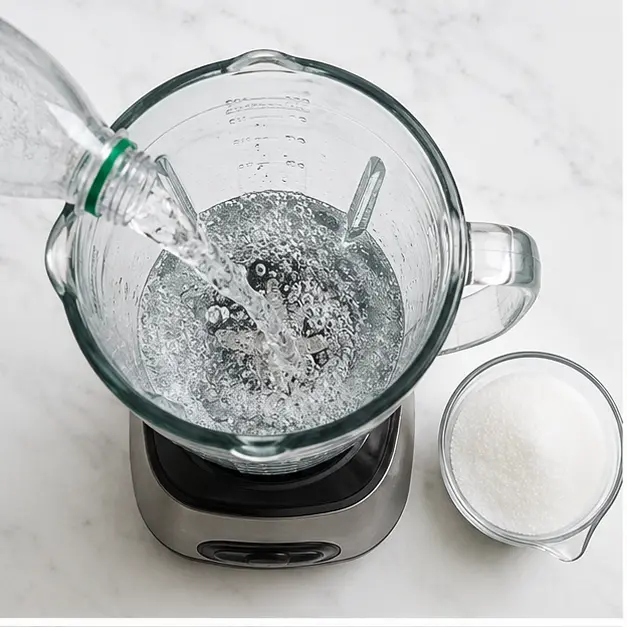
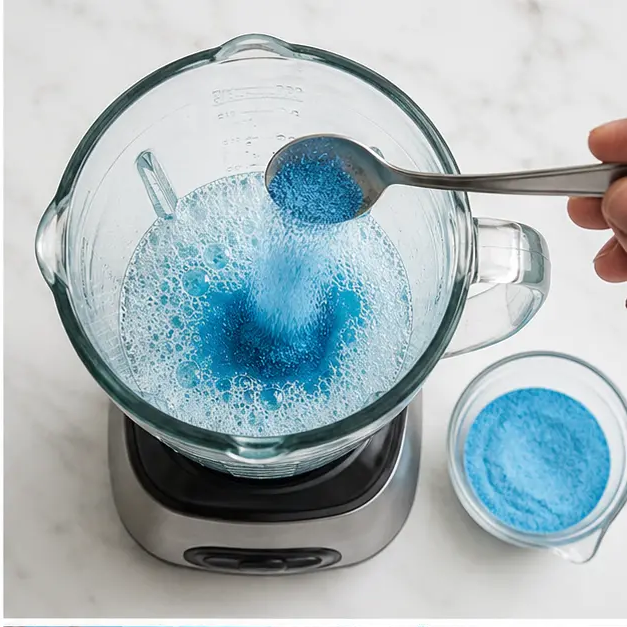
- Pour the club soda, sugar, and drink mix powder into a high-powered blender. Add 2 cups of ice and blend on high for 30 seconds.
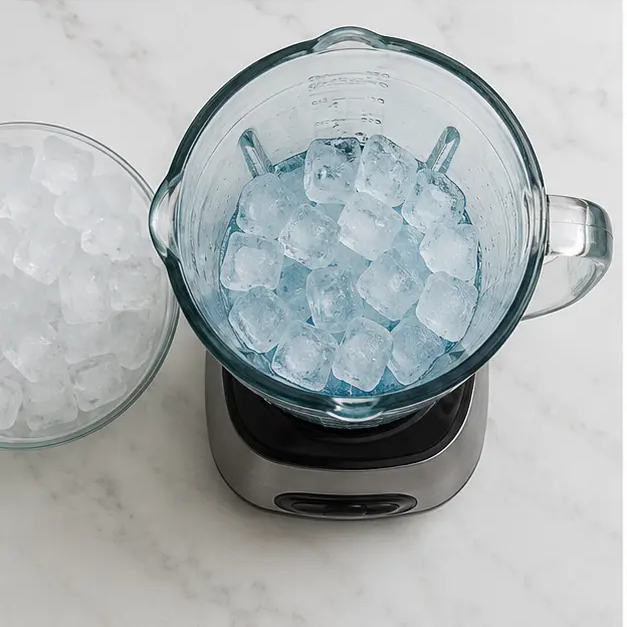
- Add another 1 cup of ice and blend for an additional 30 seconds until the slushie reaches your desired consistency. If it's too thin, add up to 1 more cup of ice and blend again.
Nutrition
Notes
Tried this recipe?
Let us know how it was!Why You’ll Love This Homemade Slushie
You know that moment when the kids are melting faster than the ice cream you forgot to put back in the freezer? Yeah, that’s exactly why I needed this slushie recipe in my life. It’s that sticky, cranky, everyone’s-hangry hour, and you need a miracle in a glass. Well, here it is.
This homemade slushie comes together in literally five minutes. Five. With just four ingredients you probably already have in your pantry. Club soda, sugar, a little packet of drink mix, and ice. That’s it. No fancy machine, no complicated syrup, no standing over a stove in the middle of a heatwave. Just toss it all in the blender and walk away. Okay, don’t walk away completely but you get the idea.
The first time I made this, I was honestly skeptical. I mean, can you really get that gas station slushie texture at home? Turns out, yes. The carbonation in the club soda is the secret weapon here. It creates those tiny, perfect ice crystals that melt on your tongue, leaving a burst of sweet fruit flavor. It’s like a snow cone, but better. And way more fun to make with the kids.
Plus, it’s a kid-friendly slushie that doesn’t come with a side of guilt. You control the sugar, you pick the flavor, and you know exactly what’s going in there. No weird preservatives, no artificial dyes (unless you want them no judgment). It’s the perfect after school snack on a hot day, or a quick cool treat after a sprinkler session in the backyard.
Ingredients You’ll Need
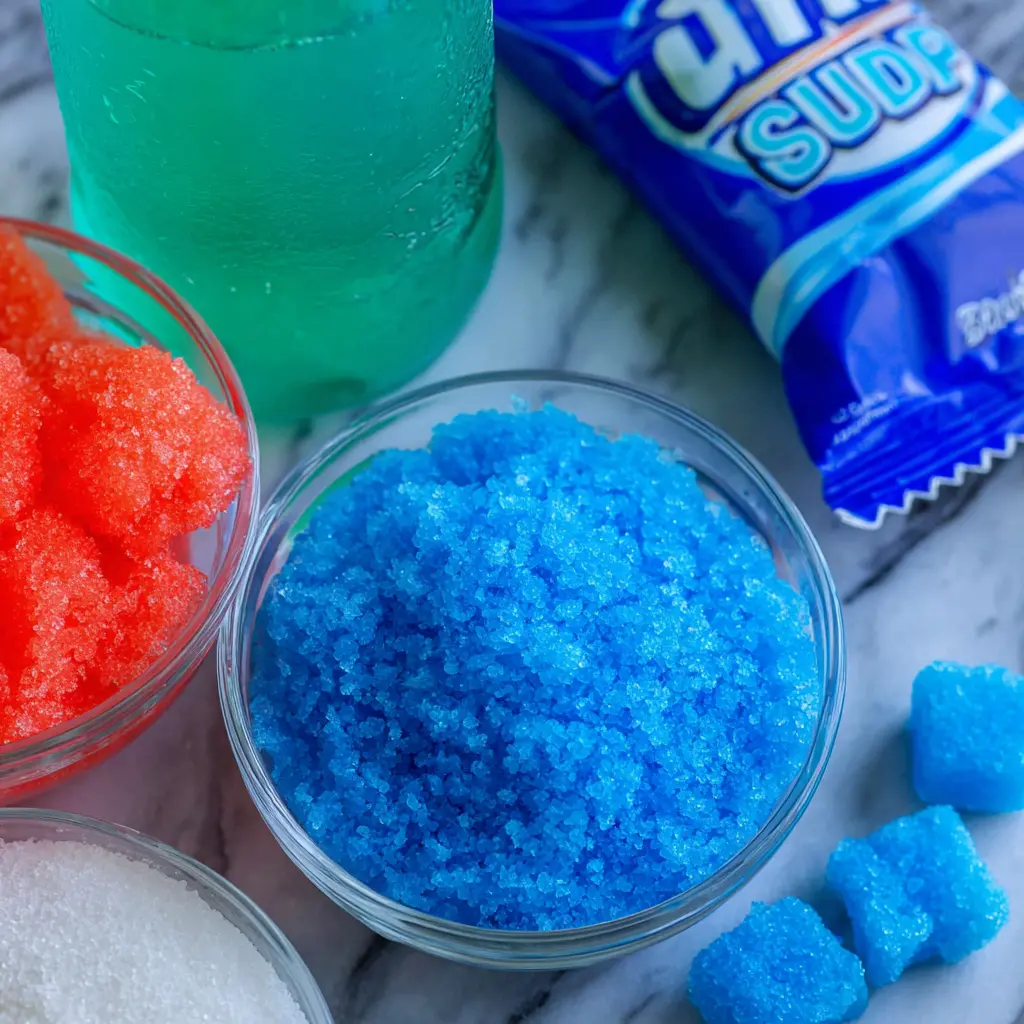
Okay, let’s talk about what goes into this easy slushie recipe. The beauty of it is how simple it is. You don’t need a list of exotic fruits or special syrups. Here’s the lineup:
- Club soda – This is the magic ingredient. The bubbles help create that perfect slushy texture. Don’t skip it! You can use sparkling water if that’s what you have, but club soda gives a slightly better fizz.
- Granulated sugar – Just plain white sugar. It dissolves right into the soda. If you’re looking for a healthy slushie option, we’ll talk about swaps in a minute.
- Drink mix powder – This is where the flavor comes from. Think Kool-Aid or any unsweetened flavor packet. You only need half a teaspoon! A little goes a long way. My kids go crazy for the blue raspberry, but cherry is a close second.
- Ice cubes – The star of the show. You’ll need about 3 to 4 cups. Crushed ice works even better if your blender struggles with whole cubes.
And that’s it. Seriously. No slushie machine required. No fancy equipment. Just a blender and a few pantry staples. I love that this is a nonalcoholic slushie that the whole family can enjoy together. It’s the perfect summer slushie for pool parties, barbecues, or just a random Tuesday when the AC can’t keep up.
Step-by-Step Instructions
Alright, let’s get blending. I’m going to walk you through the process, but don’t overthink it. This is the kind of recipe where you can relax. The blender does most of the work.
Stage 1: Build the Base
Start by pouring the club soda into your blender. Add the sugar and the drink mix powder. Give it a quick stir with a spoon if you want I usually don’t bother, the blender handles it. Then add about 2 cups of ice. This is where you want to use a high-powered blender if you have one. A Vitamix or Ninja works great, but even a regular blender can do the job if you use crushed ice.
Blend on high for about 30 seconds. You’ll hear the sound change as the ice starts to break down. It goes from a loud crunch to a smoother whir. That’s how you know it’s working.
Stage 2: Adjust the Texture
Now, add another cup of ice. Blend for another 30 seconds. At this point, you should have a thick, spoonable slushie. If it’s too thin for your liking maybe you like it more like a snow cone add up to one more cup of ice and blend again. Don’t go overboard though. Too much ice and it gets chunky instead of smooth.
Here’s a tip I learned the hard way: don’t over-blend. If you keep blending and blending, the ice melts more than it breaks down, and you end up with a watery mess. Once it looks like a slushie, stop. Taste it, adjust the sweetness if needed, and serve immediately.
Stage 3: Serve and Enjoy
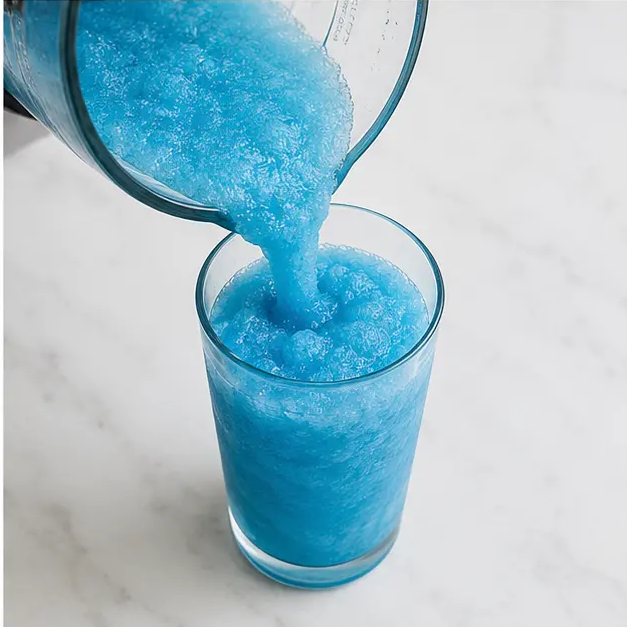
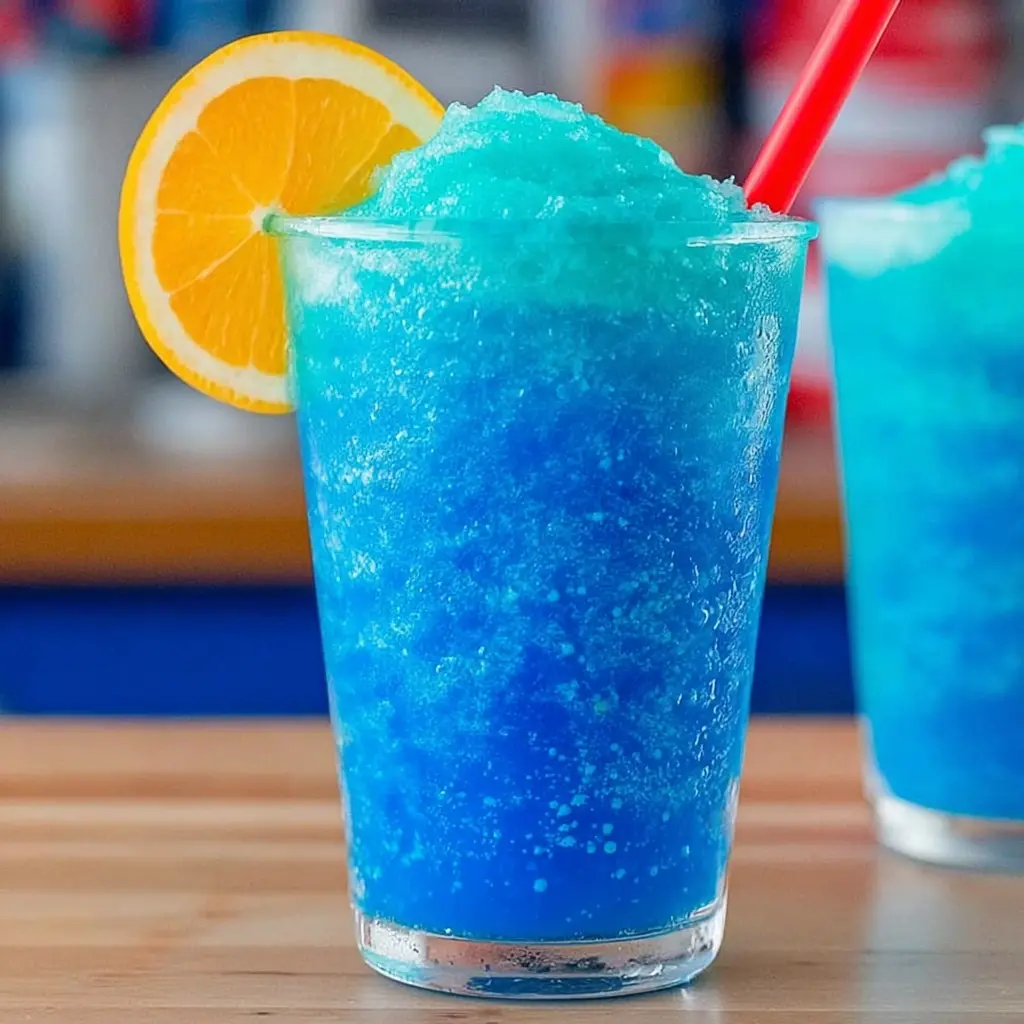
Pour the slushie into chilled glasses. I like to pop the glasses in the freezer for 10 minutes before I start it keeps the slushie cold longer. Add a straw, maybe a fun paper umbrella if you’re feeling fancy, and serve right away. The texture is best immediately after blending.
My kids love watching the color swirl into the glass. It’s like a science experiment they get to drink. And honestly? I love it too. There’s something so satisfying about that first sip when the icy crystals hit your tongue.
Stage 4: Clean Up
Okay, real talk: clean your blender right away. Sticky sugary residue is a pain to scrub off once it dries. Just rinse it with warm water and a drop of dish soap, blend for a few seconds, and rinse again. Thirty seconds, tops. Your future self will thank you.
Best Tips for the Perfect Slushie
I’ve made this blender slushie about a hundred times now, and I’ve picked up a few tricks along the way. Here are the ones that make the biggest difference:
- Use chilled ingredients. Cold club soda blends faster and doesn’t melt the ice as quickly. Keep your soda in the fridge.
- Crushed ice is your friend. If your blender isn’t a powerhouse, start with crushed ice. It blends more evenly and won’t leave annoying chunks.
- Don’t over-blend. Seriously. I can’t stress this enough. Once it looks like a slushie, stop. Over-blending = watery slushie.
- Serve immediately. This quick frozen drink doesn’t sit well. It separates and gets watery if you let it hang out too long.
- Adjust sweetness to taste. After the first blend, taste it. Add a little more sugar or drink mix if you want it stronger. It’s easier to add than to take away.
- Chill your glasses. Pop them in the freezer while you blend. It keeps the slushie cold and frosty for longer.
Oh, and one more thing: if you’re making this for a crowd, double the recipe by doubling all the ingredients except the ice. Start with the base amount of ice and add more as needed. It’s easier to control the texture that way.
Slushie Flavor Variations
This fruit slushie base is incredibly versatile. The drink mix powder opens up a world of possibilities. Here are some of my favorite combos:
- Blue Raspberry Slushie: Use blue raspberry drink mix with lemon-lime soda instead of club soda for extra zing. My kids’ absolute favorite.
- Cherry Slushie: Cherry drink mix with lemon-lime soda or light cola. Add a splash of maraschino cherry juice for extra color and sweetness.
- Strawberry Lemonade: Strawberry drink mix with lemon-lime soda. It’s like summer in a glass.
- Creamsicle Slushie: Orange drink mix with vanilla soda. Tastes just like the popsicle, but drinkable.
- Watermelon Lime: Watermelon drink mix with lime soda. Super refreshing on a hot day.
- Root Beer Float Slushie: Use A&W drink mix powder (yes, it exists!) with cream soda. Tastes like a float without the ice cream melt.
You can also experiment with other drink powders like Starburst flavors, bubble gum, or cotton candy. If you use liquid drink flavors, start with just 1/4 teaspoon they’re much stronger. For a healthy slushie option, substitute the sugar with stevia, monk fruit, or erythritol. You can also skip the sugar entirely if your soda and drink mix are already sweetened.
How This Compares to Store-Bought Slushies
Let’s be real for a second. Gas station slushies are fun, but they’re also loaded with corn syrup, artificial colors, and who knows what else. Plus, they cost like three bucks now. For that price, you can make a whole pitcher of this homemade slushie at home.
The texture is surprisingly similar. The carbonation in the club soda mimics that fine, icy crystal structure you get from a slushie machine. And because you’re blending it fresh, the flavor is more vibrant. It’s not sitting in a machine for hours getting diluted. It’s bright, bold, and exactly as sweet as you want it.
Another win? You can customize it endlessly. Want a tropical slushie? Use pineapple drink mix with coconut soda. Craving a berry slushie? Mixed berry drink mix with lemon-lime soda. The possibilities are endless, and you don’t have to leave the house. That’s a win in my book.
Storage and Make-Ahead Instructions
Okay, so here’s the thing about slushies: they’re best fresh. Like, right now. But I get it sometimes you want to make a big batch for a party or have leftovers. Here’s how to handle that.
If you have leftovers, pour them into an airtight container and pop it in the freezer. It’ll freeze solid, so don’t expect it to be slushy when you pull it out. To bring it back to life, let it sit at room temperature for 10-15 minutes, then stir vigorously or re-blend. It won’t be quite as perfect as fresh, but it’s still pretty good.
Another trick: pour leftover slushie into ice cube trays or popsicle molds. You get frozen slushie cubes you can blend later for a quick refresher, or popsicles that are way better than store-bought. My kids love this hack.
Don’t store it in the fridge it’ll just turn into sugary water. And don’t expect it to last more than a week in the freezer. The texture degrades over time. Honestly, this recipe is so quick and easy, you’re better off just making it fresh when you want it. It’s literally five minutes from craving to glass.
Frequently Asked Questions
And there you have it the easiest, most refreshing slushie recipe you’ll ever make. No fuss, no fancy equipment, just pure icy bliss in a glass. I’d love to see your creations! Tag me when your kids are covered in purple smiles it’s the best kind of mess. And if you’re looking for more summer inspiration, check out my Pinterest board for even more frozen fruit drink ideas and summer slushie variations. Happy blending!
Source: Health & Nutrition Research
Can I make this slushie without a blender?
You can, but it’s trickier. Try putting the club soda, sugar, and drink mix in a freezer-safe bag, seal it tight, and freeze for about an hour. Then massage the bag to break up the ice crystals. It won’t be as smooth as a blender slushie, but it works in a pinch. Or just use a food processor if you have one.
Can I use juice instead of soda in this slushie recipe?
Yes, but the texture will be different. Juice doesn’t have carbonation, so you’ll get a more icy, less fluffy slushie. Start with 1/2 cup juice and 1/2 cup water, then add ice and blend. You might need a little more sugar since juice is less sweet than soda. It’s still delicious, just not as light.
Why is my slushie too runny?
You probably over-blended or used too much liquid. The ice melts as it blends, so if you go too long, you get a watery mess. Next time, blend in short bursts and add ice gradually. Start with less liquid and add more as needed. Also, make sure your club soda and blender jar are cold before starting.
How can I make a sugar-free slushie?
Easy! Swap the granulated sugar for stevia, monk fruit sweetener, or erythritol. Use a sugar-free drink mix powder. Make sure your club soda is unsweetened. The texture stays the same because the carbonation does the work. You can also skip the sweetener entirely if your drink mix is already sweetened.
Can I make these slushies for a crowd?
Absolutely! Double all the ingredients except the ice. Start with the base amount of ice (about 4 cups for a double batch) and add more until you get the right texture. Blend in batches if your blender isn’t huge. Serve in chilled cups with straws. It’s a hit at birthday parties and barbecues.