
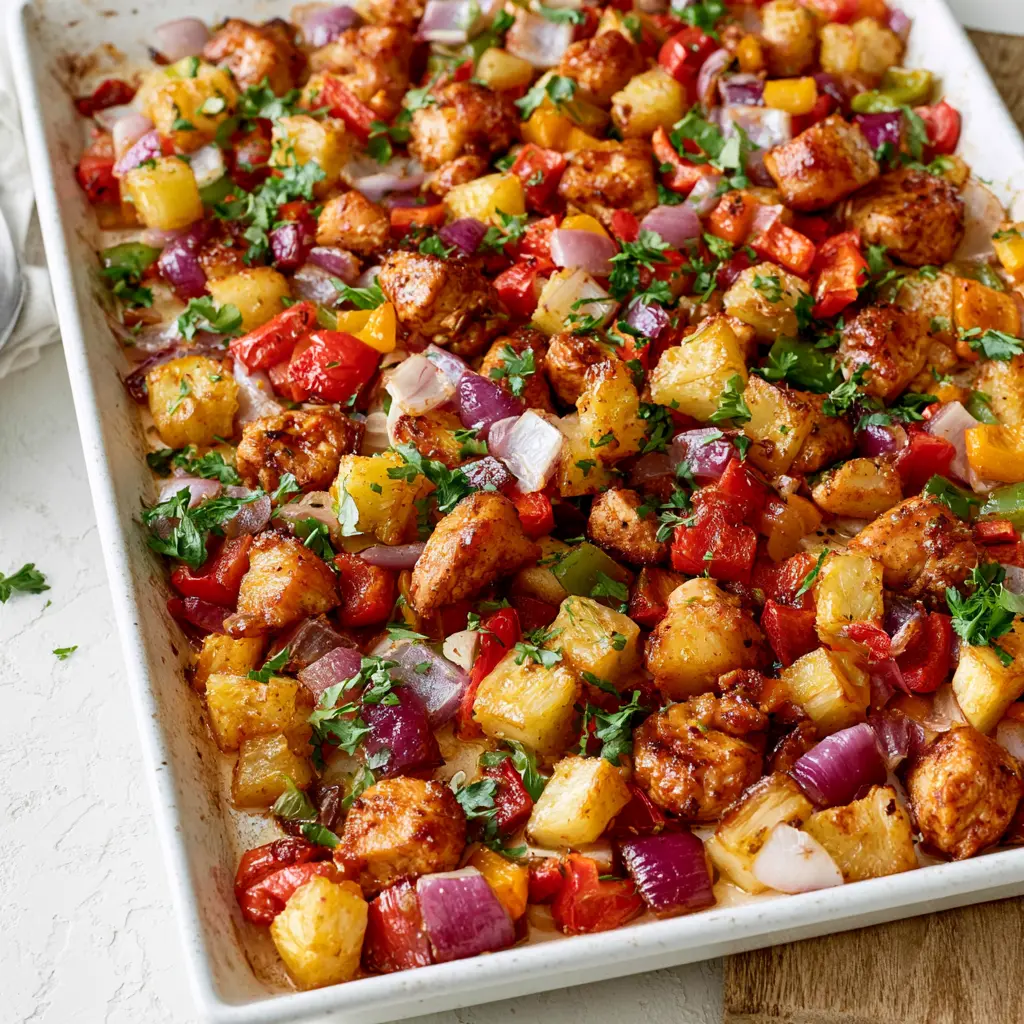
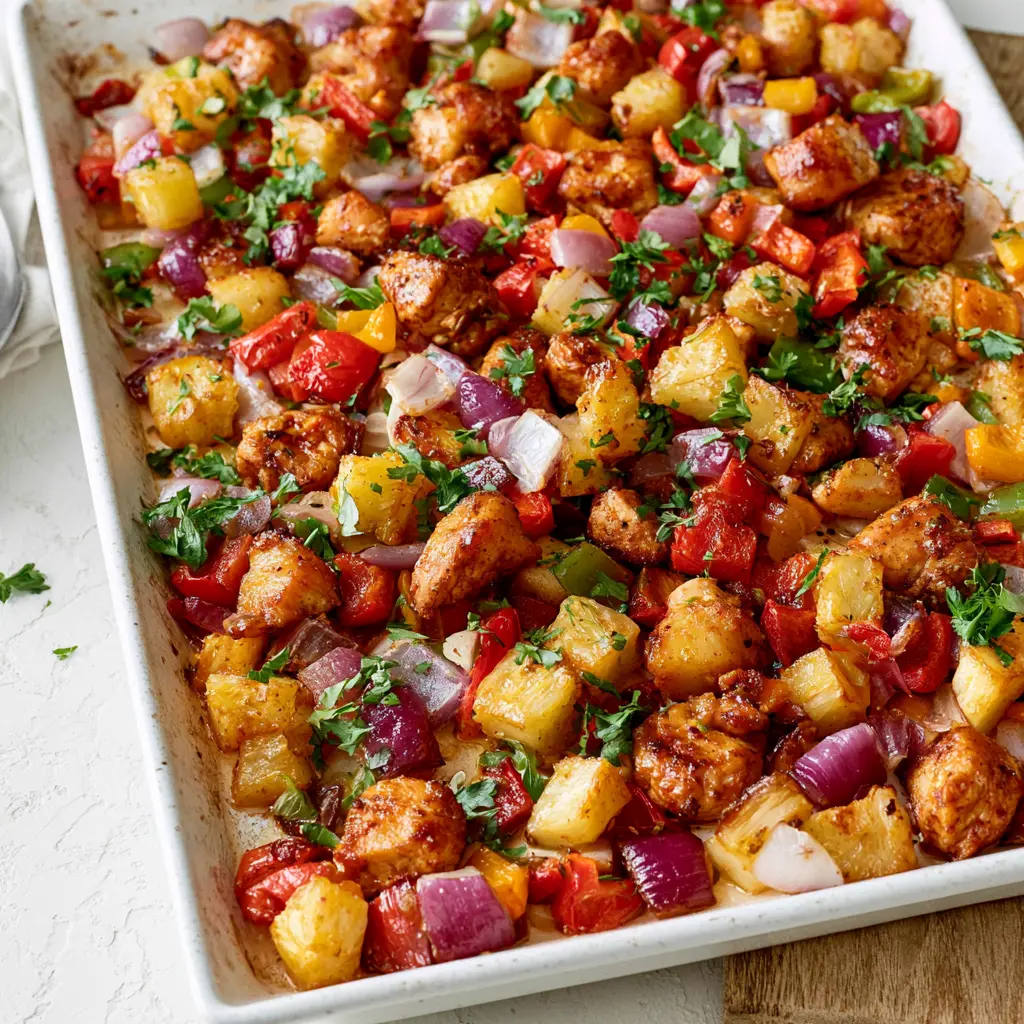
Hawaiian Chicken Sheet Pan with Roasted Pineapple and Peppers
Ingredients
Method
- Heat the oven to 375°F. In a large bowl, whisk the soy sauce, rice vinegar, ketchup, pineapple juice, brown sugar, cornstarch, garlic, ginger, and onion powder until smooth. Measure out 1/2 cup of the sauce and reserve it for later.
- Add the chicken breasts, red onion, and bell peppers to the bowl with the remaining sauce. Turn everything until the chicken and vegetables are fully coated.
- Transfer the chicken mixture to a large sheet pan and spread it out in one layer, scraping any extra sauce from the bowl over the top.
- Bake for 20 minutes. Add the pineapple chunks and the reserved sauce to the pan, then toss gently to combine. Bake for 10 more minutes, until the chicken is cooked through at 165°F and the vegetables are tender and lightly caramelized.
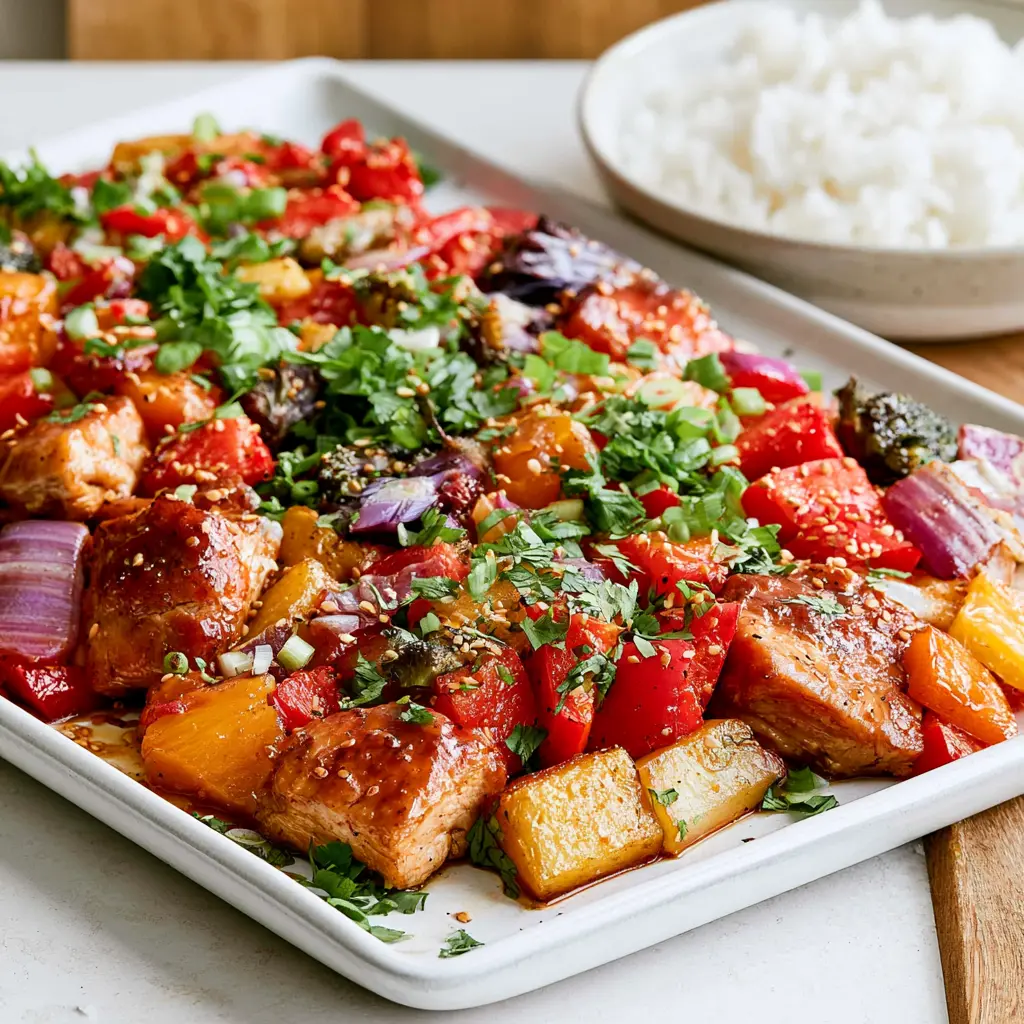
- Serve hot with rice. Finish each plate with green onions, cilantro, and sesame seeds.
Nutrition
Notes
Tried this recipe?
Let us know how it was!Why You’ll Love This Hawaiian Chicken Sheet Pan
It’s 5:45 on a Thursday. The kids are orbiting the kitchen asking what’s for dinner for the third time, you just got home, and the takeout apps are looking really, really tempting.
I’ve been there. That exact spot, more times than I’d like to admit. And honestly, that’s exactly why I started making this hawaiian chicken sheet pan recipe. It’s the dinner version of a deep breath.
No joke. You toss chicken and veggies in a sweet-savory sauce, slide a single pan in the oven, and about 30 minutes later you’ve got glossy, caramelized chicken with those little sticky edges that everyone fights over. And the cleanup? One pan. That’s it. One.
This isn’t just a dinner. It’s a rescue mission for your busiest weeknights.
What Makes This the Best Hawaiian Chicken Recipe
Let me be real with you: I’ve tested a lot of pineapple chicken recipes over the years. Some were too sweet. Some were straight-up bland. Some turned into a sticky mess that took an hour to scrub off the pan. This one nails the balance.
- The sauce brings sweet and savory together perfectly: soy sauce for salt, ketchup for tang, pineapple juice for tropical brightness, brown sugar for that deep caramelized sweetness.
- The method keeps the chicken juicy and tender, never dry or rubbery.
- The high-heat roasting gets those irresistibly sticky, candied edges on everything.
- It’s a true one-pan meal with minimal cleanup.
- The whole thing is ready in under 45 minutes, start to finish.
- Picky kids actually get excited about it, which honestly feels like a minor miracle.
And can we talk about the smell? Sweet pineapple and garlic roasting in the oven might be one of the best aromas in the world. The whole house starts smelling like a tropical vacation, which is a pretty nice win for a random Tuesday.
Simple Ingredients for Sheet Pan Hawaiian Chicken
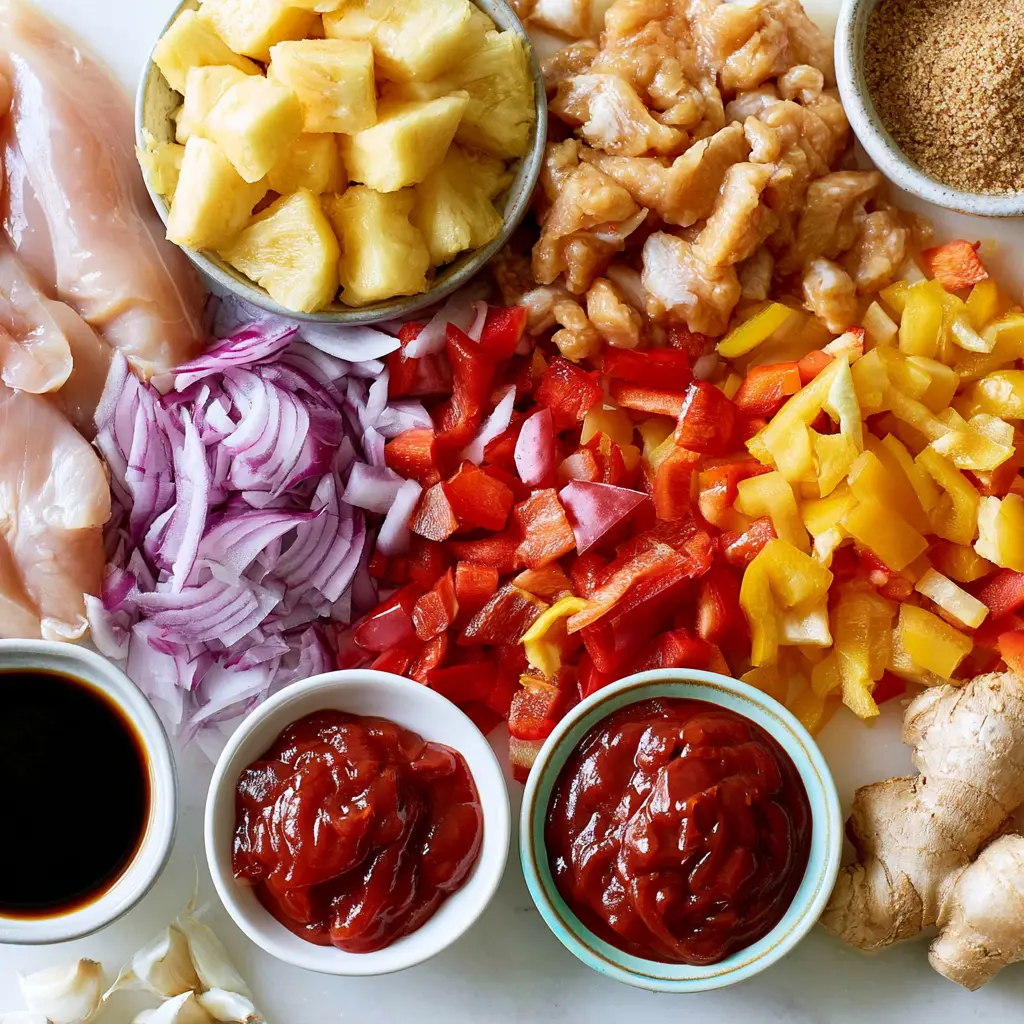
Here’s what’s great about this recipe: everything comes from the regular grocery store, no hunting down obscure ingredients. You probably already have most of this stuff in your kitchen right now.
For the sauce, you’ll need soy sauce (the base of that incredible Hawaiian marinade), unseasoned rice vinegar, tomato ketchup, pineapple juice, light brown sugar, cornstarch, garlic, ground ginger, and onion powder.
For the main event itself: boneless, skinless chicken breasts, a red onion, a couple of bell peppers (I like using orange, yellow, or red for the color and the sweetness), and fresh pineapple chunks.
Now, I’ve got to pause here and give you a comparison real quick. Fresh vs. canned pineapple is a genuine decision point. Fresh pineapple gives you better texture and sweetness, hands down. Canned works in a pinch, seriously, no judgment, but make sure you drain it thoroughly so the extra liquid doesn’t water down your glaze. If you’re making this at the height of summer when pineapples are at their peak, definitely go fresh.
For the toppings, grab some green onions, fresh cilantro, and toasted sesame seeds. These little finishes make it look and taste like a restaurant meal.
How to Make Hawaiian Chicken Sheet Pan
Alright, let’s walk through this together. I’ll break it down into the four main stages, no panic required. You’ve got this.
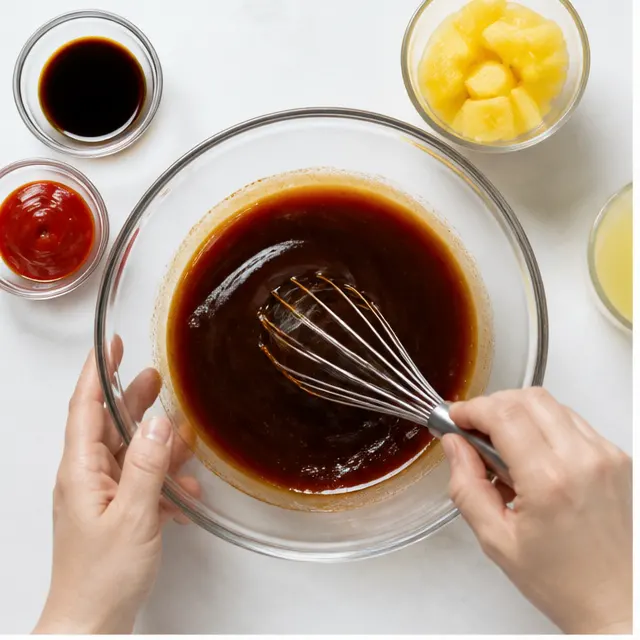
Stage One: Whisk Up the Sauce
This is the fastest part of the whole thing. In a large bowl, whisk together the soy sauce, rice vinegar, ketchup, pineapple juice, brown sugar, cornstarch, garlic, ginger, and onion powder. Whisk until everything is smooth.
Here’s the key move: measure out 1/2 cup of the sauce and set it aside for later. This reserved sauce is your finishing glaze, and it’s what keeps the chicken from drying out in the final stretch of baking. Trust me on this one.
The cornstarch in the sauce is doing some real work here. It thickens everything up as it heats, which is what gives you that glossy, sticky coating instead of a watery thin mess. No extra steps, no making a separate slurry. It’s all handled.
Stage Two: Toss and Coat the Chicken
Add the chicken fillets, red onion, and bell peppers to the bowl with the remaining sauce. Use your hands or a big spoon to turn everything until it’s all fully coated. Don’t be shy here, every single piece should be covered in that good stuff.
Then spread the whole mixture onto a large sheet pan in one even layer. Scrape every last drop of sauce from the bowl over the top. Yes, all of it. That extra sauce caramelizes in the oven and becomes part of the magic.
A quick word about the pan. I recommend using a sturdy, rimmed sheet pan. Those flimsy dollar-store pans will bend and warp in the heat, and you’ll be chasing sauce around the oven rack. A good heavy pan also helps the sauce caramelize more evenly.
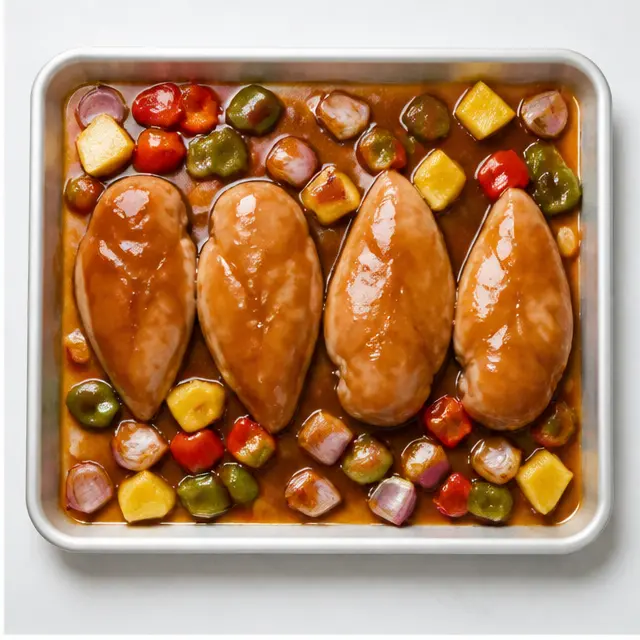
Stage Three: The First Bake
Slide the pan into the oven at 375°F and let it go for 20 minutes. This first bake is when the chicken starts cooking through and the vegetables begin to soften and release their natural sweetness.
Now, I know you’re terrified of that sticky sauce burning onto your pan. I get it. Here’s exactly how to avoid it: the sheet pan method works because the sauce has enough liquid in it (from the veggies and the chicken juices) that it won’t scorch during this first bake. The key is making sure the chicken isn’t cut too small. Leave those fillets whole or in large pieces. Smaller pieces dry out and cook faster than the sauce can handle.
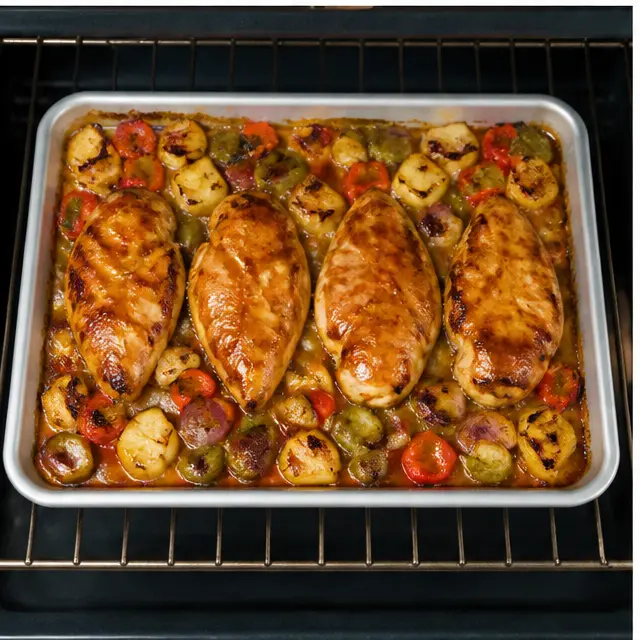
Stage Four: Add Pineapple and Caramelize
After 20 minutes, pull the pan out and add the fresh pineapple chunks and that reserved 1/2 cup of sauce. Give everything a gentle toss so the pineapple gets coated and the sauce spreads around.
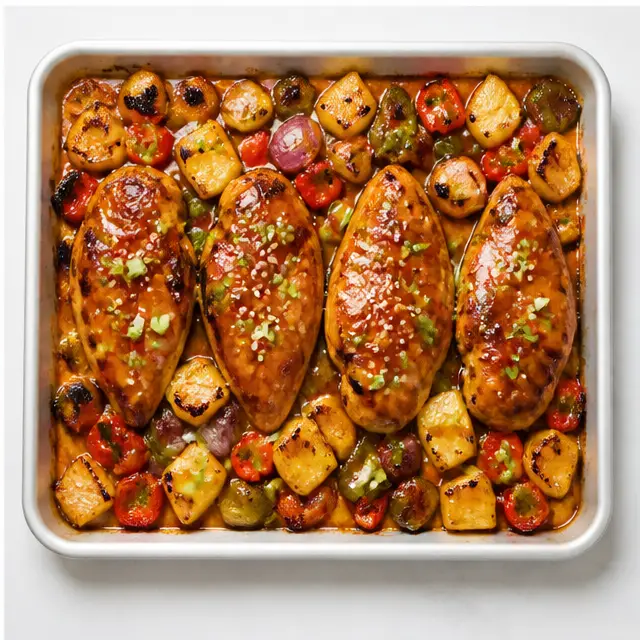
Back in the oven for 10 more minutes. This is where the magic happens. The pineapple caramelizes at the edges, the sauce thickens into a glaze, and the chicken gets those deep amber spots that look almost candied. That’s caramelization working, not burning.
The chicken is done when it hits 165°F internally, so an instant-read thermometer is your best friend here. Trust the thermometer, not your memory.
The visual cue: the edges of the chicken and vegetables will turn deep amber with slightly charred caramelized spots. The pineapple will be golden at the edges. And the whole kitchen will smell like a tropical island. That’s how you know.
Helpful Recipe Tips for Sticky, Juicy Chicken
Let me save you the mistakes I made so you don’t have to learn the hard way.
- Cut chicken into uniform sizes. If some pieces are tiny and others are huge, you’ll end up with dry bits and undercooked bits. Even pieces cook evenly.
- Use an instant-read thermometer. This is non-negotiable if you want juicy baked chicken every time. 165°F in the center, done, no guesswork.
- The pineapple goes in late. Add it at the 20-minute mark, not at the start. Fresh pineapple gives off a lot of liquid as it heats, and if you put it in from the beginning, you’ll end up steaming everything instead of caramelizing it.
- Don’t overcrowd the pan. Everything should fit in a single layer with a little breathing room. Overcrowded pans trap steam, and steam means no caramelization.
- Make the sauce ahead of time. The sauce keeps for up to 2 days in the fridge. Whisk it together the night before and dinner is even faster.
Common Mistakes
❌ Cutting chicken too small: Small pieces dry out fast, especially with a sugary glaze. Keep the fillets whole or in generous chunks that stay juicy through the bake.
❌ Skipping the thermometer: Guessing doneness leads to dry chicken. A quick probe reading of 165°F gives you perfect results every time.
❌ Using a flimsy sheet pan: Thin pans warp and cause uneven cooking. A sturdy rimmed sheet pan handles the caramelizing sauce like a champ.
❌ Setting the oven too high: It’s tempting to crank it to 425°F to speed things up, but the sugar in the sauce will burn before the chicken finishes cooking. Stick with 375°F.
Substitutions and Variations
This is where you get to make the recipe yours. I’m all about experimenting in the kitchen, and there’s plenty of room for it here.
Chicken breast vs. thighs: To be honest, this recipe was written around boneless, skinless chicken breasts. But if you’re a thigh person, go for it. Chicken thighs are more forgiving and actually have more flavor because of the extra fat. Just trim any excess fat first and note that thighs can take a few extra minutes to reach 165°F.
Canned pineapple instead of fresh: Totally works, especially when pineapple isn’t in season. The one move is to drain it thoroughly before using. Extra liquid in the can is going to thin out your glaze, and then we’re back to steaming instead of caramelizing.
Low-sodium soy sauce: If you’re watching your salt intake, swap in low-sodium soy sauce. The flavor stays pretty much the same, just with less sodium.
Vegetables: Don’t be afraid to mix it up. Zucchini slices and broccoli florets both work well on a sheet pan. Just add them at the same time as the pineapple so they don’t turn to mush.
A little heat: Scatter some sliced jalapeños over the pan before roasting if you like a bit of a kick. The sweetness of the pineapple and the spice of the jalapeño is a seriously underrated combo.
Rice options: To keep things gluten-free, just serve this over white or brown rice, which is free of gluten on its own. For a low-carb night, cauliflower rice handles the job beautifully.
Hawaiian Chicken vs. Teriyaki Chicken
Okay, let’s settle this once and for all, because I see people mix these up all the time, and honestly, it makes sense. They look similar in the bowl.
Teriyaki chicken sheet pan recipes typically use soy sauce, mirin, and sugar as the base. The flavor is savory-forward, with a sweet finish that comes straight from the soy and sugar combination.
Hawaiian chicken brings pineapple into the party. The pineapple juice and fresh chunks add a bright, fruity tartness that you just don’t get in a classic teriyaki. It’s sweeter, more tropical, and has that distinct island flavor that makes it feel like a little vacation on a plate.
Think of it this way: teriyaki is the classic suit, Hawaiian is the Hawaiian shirt. Both are awesome, but they’ve got their own personalities.
What to Serve With This Hawaiian Chicken Sheet Pan
Rice is the obvious answer, and it’s the right one. Steamed jasmine or white rice soaks up all that sweet-savory glaze at the bottom of the pan, and let me tell you, you do not want to waste that sauce.
Here are a few more good options:
- Steamed rice, white or brown, for a classic bowl
- Cauliflower rice for a lighter, low-carb option
- A quick green salad with a simple vinaigrette to cut through the sweetness
- Grilled or roasted green beans, which add a nice savory crunch to the plate
One small tip: get your rice started before you start prepping the chicken. That way, everything lands on the table at the same time, hot and ready.
Storage and Reheating
If you have leftovers (which honestly, with this chicken, is a big if), here’s how to handle them so the chicken stays juicy and the glaze stays sticky.
Storage: Store the leftovers in an airtight container in the fridge for up to 4 days.
Reheating: This is where people go wrong. The microwave will work in a pinch, but it tends to dry out the chicken and make the vegetables soft. The best move is a skillet over medium heat or an air fryer. A few minutes, just until everything is heated through, and the glaze keeps that gorgeous sticky quality.
Freezing: Yes, you can absolutely freeze this. For uncooked prep, freeze the chicken mixture (without the pineapple) in a ziploc bag, thaw in the fridge overnight, then bake as directed. For cooked leftovers, let everything cool completely, pack it in a freezer-safe container, and freeze. When you’re ready, thaw in the fridge and reheat in the skillet.
Frequently Asked Questions
I get a lot of good questions about this one. Here are the ones that come up most often.
When you make this, tell me what you threw on your sheet pan. I’m always collecting new combos, and I genuinely love to hear how people make it their own. For more easy dinner inspiration, follow along on my Pinterest boards, where I’m always pinning new weeknight winners.
Source: Learn More About This Dish
How to cook Hawaiian chicken in the oven?
This hawaiian chicken sheet pan method is the easiest: coat chicken in a soy sauce, ketchup, and pineapple marinade, bake at 375°F for 20 minutes, add pineapple and reserve sauce, then bake 10 more minutes until the chicken hits 165°F.
Can you bake chicken on a sheet pan?
Absolutely. Baking chicken on a sheet pan is one of the easiest ways to get dinner done. The key is spreading everything in a single layer, using a sturdy pan, and checking the internal temperature with a thermometer for perfectly juicy baked chicken every time.
What is the best marinade for Hawaiian chicken?
The best Hawaiian marinade balances sweet and savory: soy sauce for salt, pineapple juice for tropical sweetness, brown sugar for caramelization, ketchup for tang, plus garlic and ginger for depth. The result is that famous sticky, glossy glaze.
What’s the difference between Hawaiian chicken and teriyaki chicken?
Teriyaki chicken uses soy sauce, mirin, and sugar for a savory-sweet flavor. Hawaiian chicken adds pineapple juice and fruit, which brings a brighter, tarter, more tropical sweetness. Both are delicious, but they have completely different personalities.