
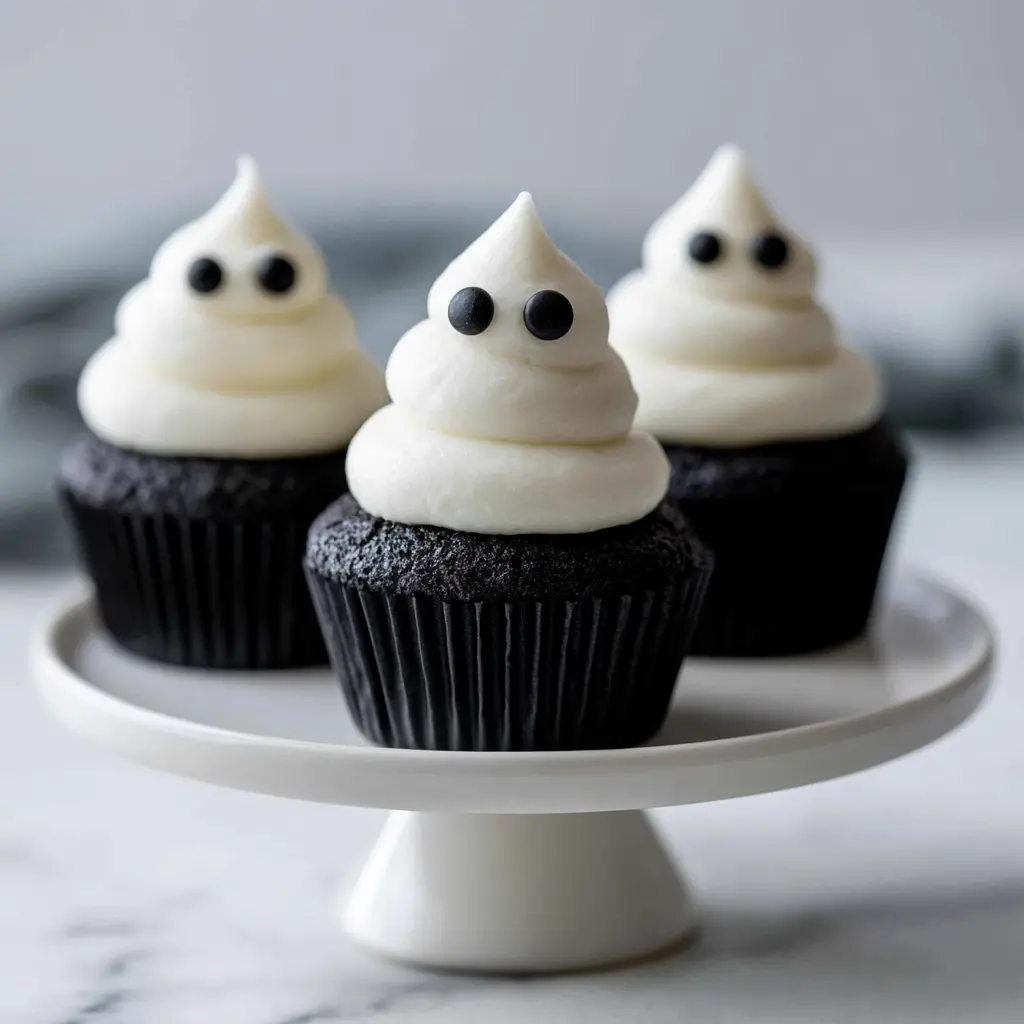
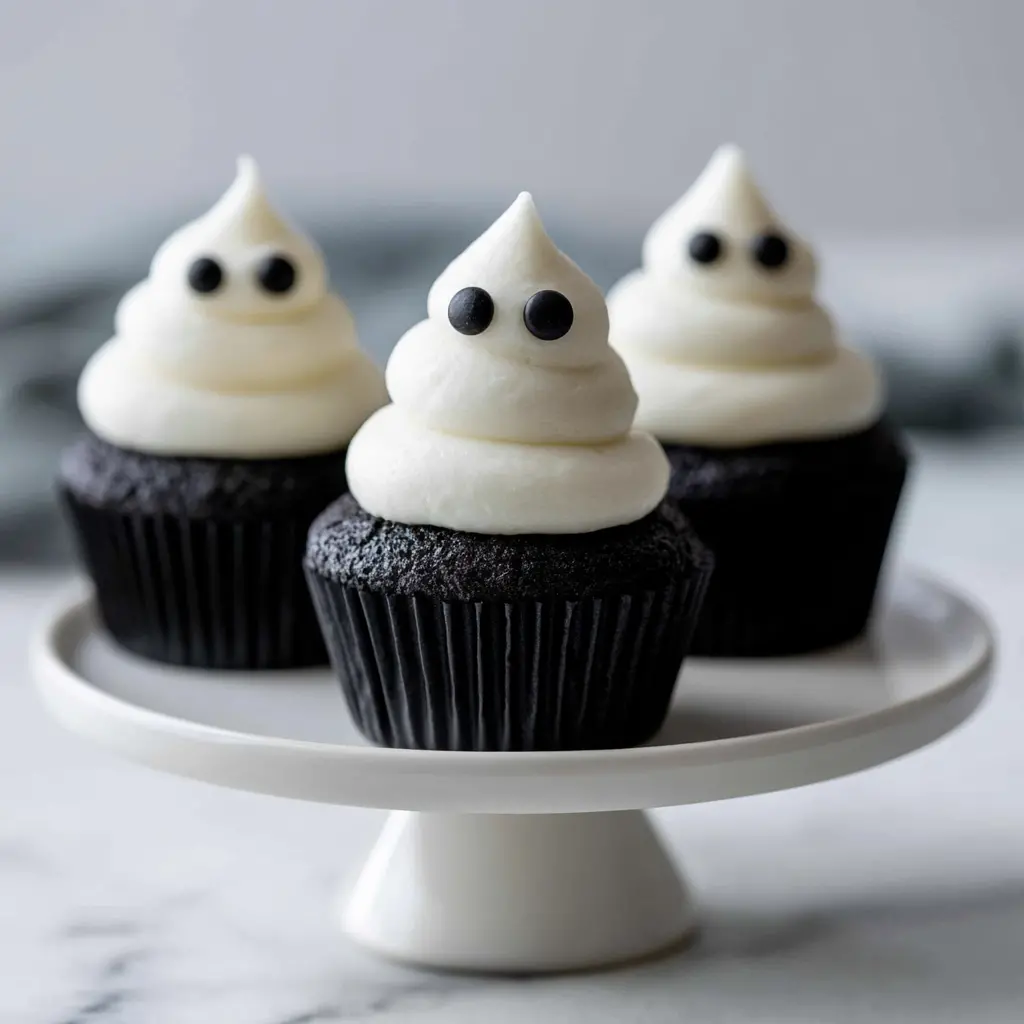
Black Cocoa Ghost Cupcakes
Ingredients
Method
- Heat the oven to 350°F and line a 12-cup muffin tin with paper cupcake liners.
- Stir the cake flour, black cocoa powder, baking powder, baking soda, and salt together in a medium bowl until combined.
- In a large bowl, whisk the vegetable oil, eggs, and vanilla extract until the mixture is smooth and evenly blended.
- Whisk in the granulated sugar, buttermilk, and white vinegar until the sugar is dissolved and the mixture is uniform.
- Pour the dry ingredients into the wet mixture and fold gently with a spatula until just combined; the batter will be thin.
- Scoop about 1/4 cup of batter into each lined cup, filling each one about halfway.
- Bake for 18 to 22 minutes, or until a toothpick inserted in the center comes out clean.
- Let the cupcakes cool in the pan for a few minutes, then transfer them to a wire rack to cool.
- Make sure the black cocoa cupcakes are completely cool before you add any frosting.
- Make sure the butter and cream cheese are both at room temperature before starting so the frosting doesn't turn lumpy.
- Beat the butter and cream cheese together with a hand mixer or a stand mixer fitted with the paddle attachment until smooth and creamy.
- Add the powdered sugar, salt, and vanilla extract, and beat on low speed until there are no dry pockets of sugar.
- Increase the speed to high and whip for 4 to 5 minutes until the frosting is airy and light.
- Beat in 1 to 2 tablespoons of heavy cream as needed until the frosting reaches a smooth, pipeable consistency.
- Frost the cooled cupcakes with the cream cheese frosting and place two candy eyes on each one.
Nutrition
Notes
Tried this recipe?
Let us know how it was!Why You’ll Love These Black Cocoa Ghost Cupcakes
Halloween is 76 days away. If you’re sitting here in August already hunting for a black cocoa ghost cupcakes recipe, let me be the first to say it: you’re not early. You’re smart.
Every October, the same scramble happens. The candy aisle gets picked over, the good cupcake liners vanish, and suddenly it’s 9 p.m. with three kids arguing over costumes while you Google frosting tricks. Not this year. Lock in this recipe now, test it once before the rush, and you’ll coast through Halloween completely relaxed.
And wait until you taste them. These black cocoa ghost cupcakes taste exactly like Oreo cookies. That’s the whole hook right there.
- A genuinely black crumb. Black cocoa powder turns the cake the color of Oreo filling, dark, dramatic, and a little gothic.
- Ghosts you can actually pipe. I promise you don’t need a piping wizard’s hands for these little guys.
- A recipe that works with real life. It’s a make ahead halloween dessert that travels, stores, and freezes without drama.
The best moment? Watching someone take their first bite. They pause, look at the cupcake, then back at you, like the cake owes them an explanation. “Why does this taste like a cookie?” That’s the black cocoa doing its thing, and it’s why these spooky halloween desserts always steal the show.
What Is Black Cocoa Powder?
Black cocoa powder is the hero of these black cocoa ghost cupcakes. If you’ve never baked with it, think of it as a dutch-processed cocoa that’s been alkalized even further. That extra processing does two things: it deepens the color until the powder is almost black, and it softens the bitterness you get from natural cocoa. The flavor lands somewhere between dark chocolate and that iconic Oreo cookie crumb. Earthy, faintly smoky, surprisingly mild.
The easiest way to describe it to guests? It tastes like Oreos. Done, conversation over.
Where to find it:
- Online: Amazon, King Arthur Baking, and specialty baking shops all stock it.
- In stores: Whole Foods and Sur La Table sometimes carry it, and a local baking supply store is your best bet.
- Budget note: one bag lasts a long time since this black cupcake recipe only uses 1/2 cup per batch.
Can’t track it down? Here’s the honest substitute strategy: use dutch-processed cocoa and add a small amount of edible black food coloring to the batter. You’ll get a deep charcoal instead of true black, and the flavor won’t be identical, but it’s a workable plan B. Just manage expectations. The color is the whole drama.
Ingredients You’ll Need
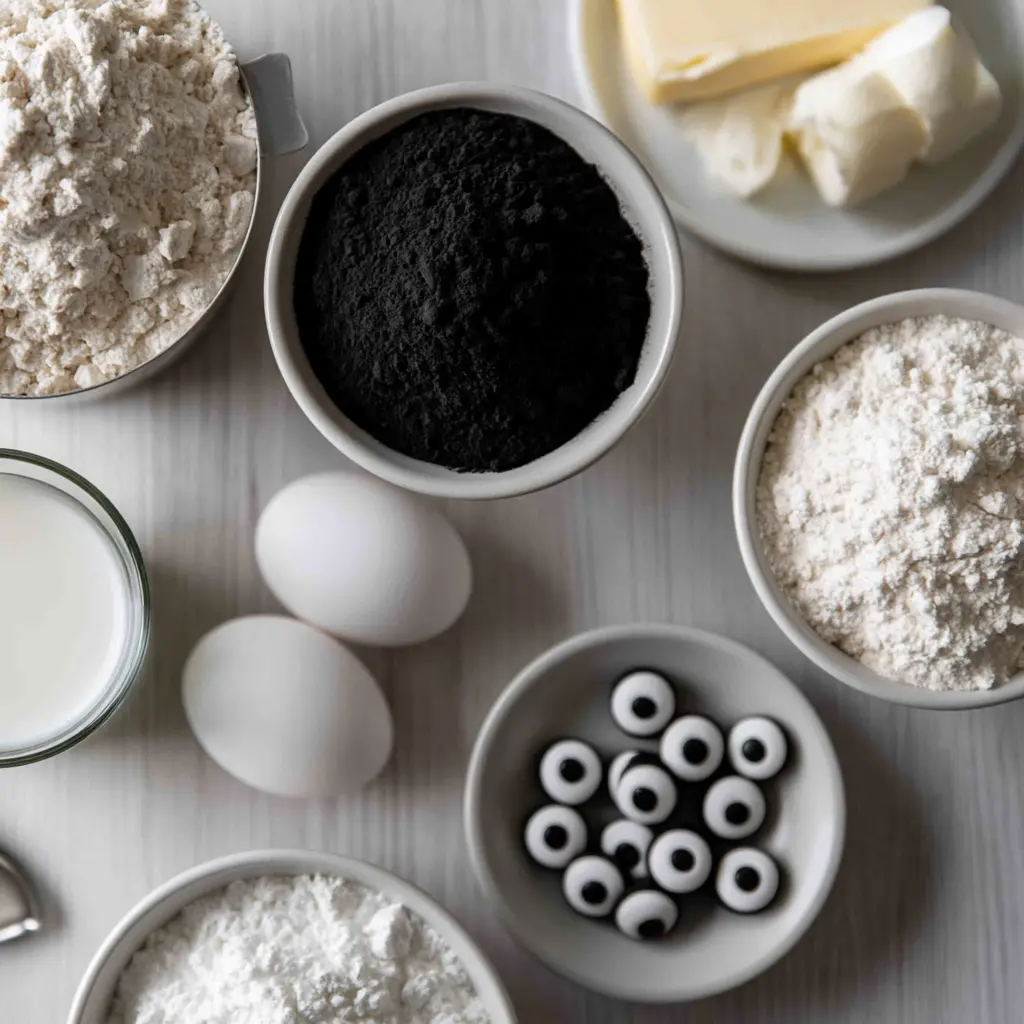
The recipe card above lists everything with exact measurements, so I won’t reproduce it here. But a few ingredients deserve a quick conversation before you start mixing.
Cake flour makes the velvet happen. It gives these black cocoa ghost cupcakes a tender, soft crumb instead of a dense one. All-purpose flour works in a pinch, but the texture will be slightly heavier. Whatever you use, spoon it into the measuring cup and level it off. Packing flour down is the fastest route to dry, tough cupcakes.
Buttermilk and vinegar are a team. The acidity in both reacts with the baking soda and black cocoa to keep the cake tender and help it rise. No buttermilk in the fridge? Make a quick DIY version by stirring 2 teaspoons of white vinegar or lemon juice into 1/2 cup of milk. Let it sit for 5 minutes and it’s ready.
Sift your black cocoa. Black cocoa is naturally clumpy, I swear it ships that way from the factory. Sift it before measuring or you’ll end up with dark specks scattered through the batter. It still tastes fine, but you’ll spot the difference in the crumb.
How to Make Black Cocoa Ghost Cupcakes
This recipe moves through four stages, and each stage has a moment where things can go sideways. I’ll point out the traps so you can skip them entirely.
Stage 1: Mix the Dry Ingredients
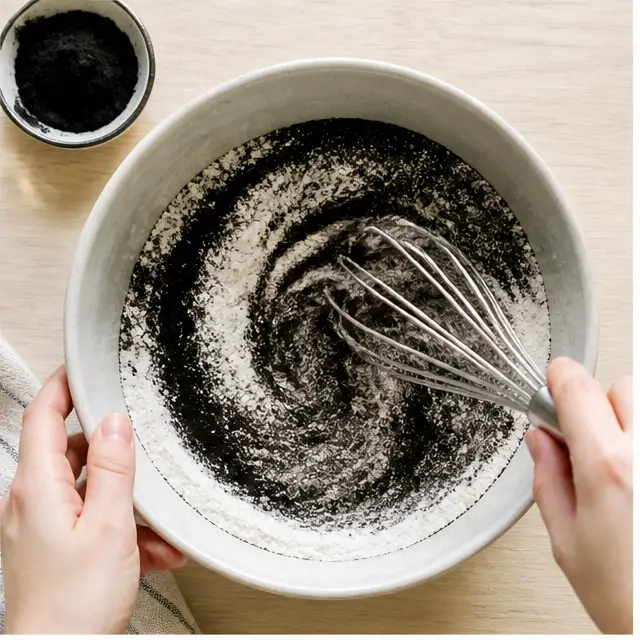
Whisk the cake flour, black cocoa powder, baking powder, baking soda, and kosher salt together in a medium bowl. Take a second to smell it while you work. There’s that earthy, almost smoky aroma, the exact scent of Oreo crumbs, and it’s your first clue that you’re making something special.
Quick check before you go further: is your baking powder fresh? Drop a pinch into a little warm water. If it bubbles, you’re good. Stale baking powder is the silent killer of cupcakes, and there’s no fixing it once they’re in the oven.
Stage 2: Whisk the Wet Ingredients and Fold
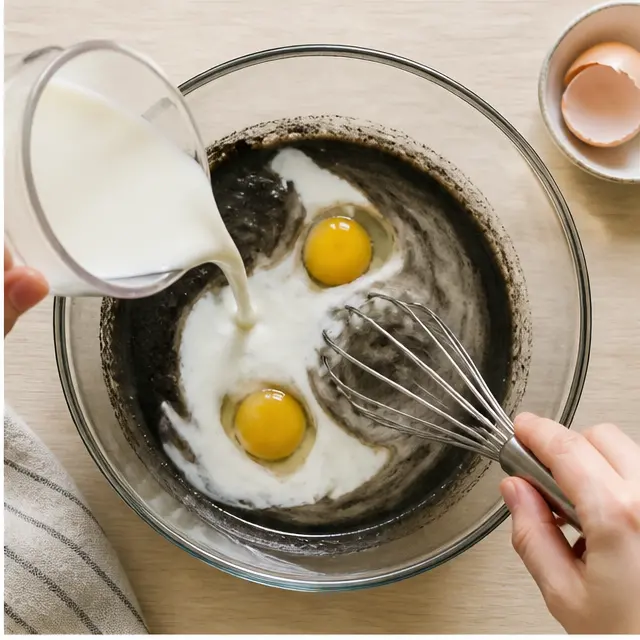
In a large bowl, whisk the vegetable oil, eggs, and vanilla extract until the mixture is smooth and fully blended. Then whisk in the granulated sugar, buttermilk, and white vinegar until the sugar dissolves. I know the vinegar seems odd. It’s not going to taste like salad dressing, I promise. It just cranks up the chemical reaction that gives these dark chocolate cupcakes their lift.
Pour the dry mixture into the wet and fold gently with a spatula until just combined. The batter will be thin, thinner than you expect from a cupcake. That’s intentional. Stop folding the second the flour streaks disappear. Overmixing builds gluten, and gluten turns a tender crumb into a rubber sole.
Stage 3: Bake and Cool
Scoop about 1/4 cup of batter into each lined cup, filling each one roughly halfway. Black or dark cupcake liners look especially good here since they blend with the dark crumb and make everything look seamless. That’s a free cupcake decorating tip from me to you.
Bake at 350°F for 18 to 22 minutes, or until a toothpick inserted in the center comes out clean. If you own an oven thermometer, use it. Home ovens run off by 25 to 30 degrees all the time, and nobody wants a pale, underbaked ghost.
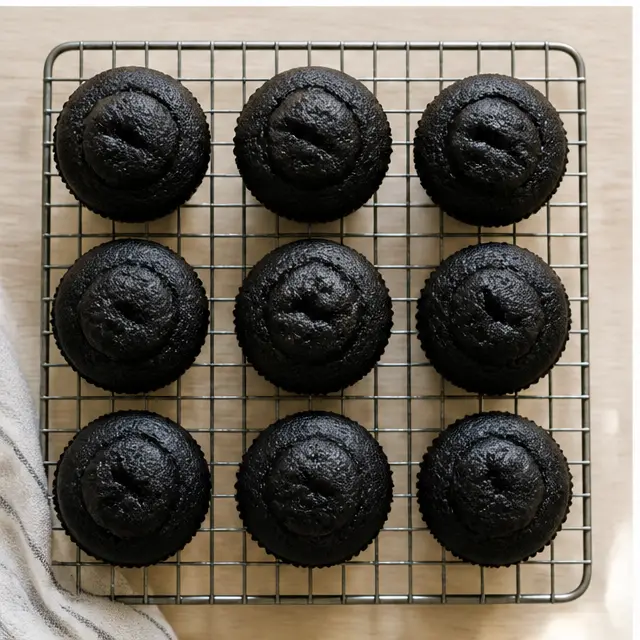
Let the cupcakes rest in the pan for a few minutes, then move them to a wire rack to cool completely. I’m going to be annoying about this: completely. If you frost even slightly warm cupcakes, the cream cheese frosting will melt into a puddle and your ghost will look like it’s having a really bad day.
Stage 4: Frost and Pipe Your Ghosts
This is where black cocoa ghost cupcakes go from chocolate cake to Halloween centerpiece. Start with the frosting: the butter and cream cheese absolutely must be at room temperature before you beat them, or you’ll get lumps. Beat them until smooth and creamy, then add the powdered sugar, salt, and vanilla. Mix on low until the sugar is incorporated, then crank the speed to high and whip for 4 to 5 minutes. That long whip is what makes the frosting airy and light instead of dense and gluey.
Beat in 1 to 2 tablespoons of heavy cream as needed until it’s smooth and pipeable. Too loose? Chill it for 15 to 20 minutes before piping. Too stiff? Add more cream a teaspoon at a time.
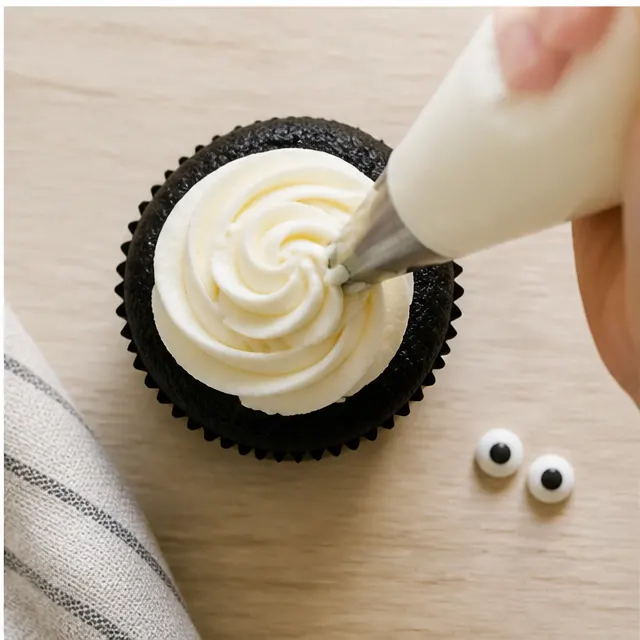
The piping ghosts technique, simplified:
- Fit a piping bag with a large round tip, or just snip a 1/2 inch opening in the corner of the bag.
- Start at the outer edge of the cupcake and pipe a tall swirl, moving in a wavy circle as you go up.
- Finish with a small peak on top. That peak is the ghost’s head.
- Press two candy eyeballs gently into the frosting near the top, just below the peak.
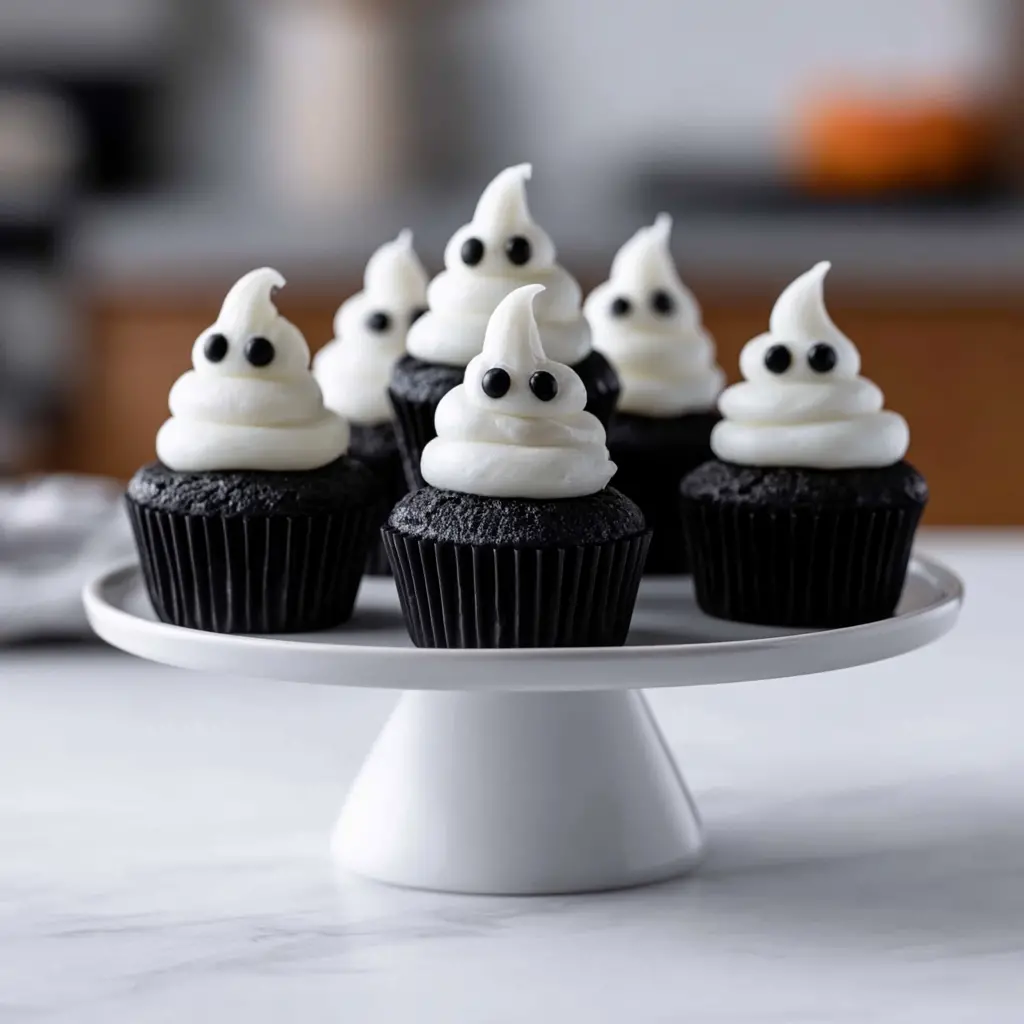
That’s it. Your ghosts will look like ghosts, not blobs, because the peak gives them a head and the eyes give them a face. Simple trick, big payoff.
If you want an even easier route, skip the piping bag. Spread a flat swirl of frosting with a knife and press the candy eyes in. Still adorable, still a ghost, half the effort. And for the marshmallow ghosts option, press a large marshmallow onto a flat swirl and add the eyes. Just know that marshmallows soften in warm weather, so the piped frosting holds up better on hot October days.
Tips for Perfect Black Cocoa Cupcakes (and Ghosts That Behave)
I’ve made these black cocoa ghost cupcakes enough times to hit every wall so you don’t have to. Here’s the honest list of mistakes and their fixes.
❌ Mistake: Packing the flour into the measuring cup. It yields dry, dense, sad cupcakes.
✅ Fix: Spoon the flour into the cup, then level it with the back of a knife. Every single time.
❌ Mistake: Using regular cocoa when you want a true black color.
✅ Fix: Use black cocoa powder. It’s the only reliable path to that deep black velvet color. Regular cocoa gives you chocolate brown, which is fine, but it’s not haunting.
❌ Mistake: Frosting cupcakes before they’re completely cool.
✅ Fix: Wait the full cooling time. Twenty extra minutes of patience saves the whole presentation.
❌ Mistake: Lumpy cream cheese frosting because the butter was cold.
✅ Fix: Pull your butter and cream cheese out of the fridge 30 to 60 minutes before baking. Room temperature ingredients blend into silk.
❌ Mistake: Piping ghosts on a hot day and watching them slowly slouch.
✅ Fix: Bake in the coolest part of the day, work quickly while piping, and keep finished cupcakes in a cool spot. The cream cheese frosting holds its shape better than marshmallow ghosts would, but it still appreciates some AC.
One more note on decorations: candy eyes are the classic move and easy to find at craft stores or online. In a pinch, mini chocolate chips work as eyes, and regular chocolate chips can make a small mouth. Cute either way. And if you’d rather skip the cream cheese, a chocolate buttercream frosting swaps in beautifully for a sweeter finish.
Storage and Make-Ahead
This recipe was designed with October in mind. You can bake the cupcakes ahead, freeze them, and assemble everything the morning of your event. That’s the beauty of a make ahead halloween dessert.
- Unfrosted cupcakes: Keep them in an airtight container at room temperature for up to 2 days. For longer, freeze for up to 2 months in a freezer safe bag. Thaw overnight in the fridge before frosting.
- Frosted cupcakes: Refrigerate in an airtight container. They’re best served at room temperature, so take them out about 1 hour before your party starts.
- Filling idea: Want to fill these ghost cupcakes? Use a cupcake corer or a small knife to remove the center, then add a spoonful of leftover cream cheese frosting. Pipe the ghost on top and the surprise stays hidden until the first bite.
If your kitchen runs warm, like mine does in August, store the finished cupcakes in the coolest spot you’ve got. Heat is the enemy of a perky ghost, and a droopy ghost is a tragedy no one needs.
Frequently Asked Questions
More Spooky Halloween Favorites
Make it work for everyone
Gluten-free: Swap the cake flour for a 1:1 gluten-free baking flour blend. The texture will be slightly different, but the black cocoa flavor holds up beautifully.
Vegan: Use a plant-based egg replacer, swap the buttermilk for dairy-free milk plus vinegar, and choose vegan butter and cream cheese for the frosting. Results vary by brand, but it’s very doable.
These black cocoa ghost cupcakes are the anchor, but the base recipe is flexible. The same black cocoa batter makes excellent cookies when you’re in the mood for something less structured. Swap the candy eyes for gold sprinkles around New Year’s and you’ve got a completely different dessert. It’s a hardworking black velvet recipe.
When you bring these black cocoa ghost cupcakes to your Halloween party, stand back and wait for the reactions. The black crumb reads as dramatic. The white ghosts read as adorable. The flavor reads as Oreos. It’s a triple threat, and you’re the one who made it.
I’d genuinely love to see how your ghosts turn out. I’m always collecting halloween baking ideas and cupcake decorating tips, and my Pinterest board is basically a spooky dessert mood board at this point. Come find me on Pinterest and share your creations with me.
Happy Halloween baking, friend. You’re going to be the most prepared person at the party.
Source: Learn More About This Dish
How long will these black velvet cupcakes last?
Unfrosted, they keep up to 2 days at room temperature in an airtight container, or up to 2 months in the freezer. Frosted, store them in the fridge for up to 3 days and let them sit at room temperature for about an hour before serving.
Do I have to use black cocoa powder?
If you want these black cocoa ghost cupcakes to actually look black, then yes. Black cocoa is the ingredient doing all the heavy lifting. Without it, you get a deep brown cupcake that reads as chocolate, not spooky. Dutch-processed cocoa plus a little black gel food coloring is the best backup plan.
What is black velvet cake?
Black velvet cake is the moody cousin of red velvet. Instead of red food coloring, it uses black cocoa powder for a dark crumb and a mild chocolate cookie flavor. It’s usually paired with tangy cream cheese frosting, exactly like this cupcake version.
Is black cocoa powder healthy?
It’s still cocoa, so it contains antioxidants and less fat than some other cocoa powders because it goes through more processing. But let’s be real, we’re putting it in a cupcake with powdered sugar and frosting. Enjoy these as a treat, not a health food.
Can I use regular cocoa powder instead of black cocoa powder?
You can, but the cupcakes will come out a lighter charcoal brown instead of true black. If the color matters for your Halloween spread, use dutch-processed cocoa and add a small amount of dark cocoa powder substitute or black gel food coloring to push it darker.
Where can I find black gel food coloring?
Craft stores like Michaels and Joann carry it, and so do specialty baking shops and Amazon. Look for gel or paste rather than liquid colors, since gel is concentrated and won’t thin out your batter. Americolor Super Black is a reliable brand.
How should I store leftover cupcakes?
Frosted cupcakes go in an airtight container in the fridge for up to 3 days. Take them out about an hour before serving so the frosting softens and the flavor comes through. Unfrosted, they stay good at room temperature for 2 days or in the freezer for 2 months.
How did you make the chocolate skulls?
These ghosts skip the skulls entirely. The decorations here are piped cream cheese frosting and candy eyes, which is way easier than melting and molding chocolate. If you love a gothic look, silicone skull molds are fun, but this recipe doesn’t need them.
Can whipped cream frosting sit at room temperature?
Whipped cream frosting doesn’t hold up long at room temperature, which is exactly why this recipe uses cream cheese frosting instead. It can sit out for about 2 hours during a party. Just refrigerate leftovers and let them rest briefly before serving.
Is whipped cream frosting stabilized?
Stabilized whipped cream usually needs gelatin or instant pudding to hold its shape. This recipe takes a simpler route. The cream cheese and butter combination holds its structure without any stabilizers. No powder packets, no extra steps.
Why is my whipped cream frosting soft?
If you’re making whipped cream frosting, everything needs to be cold, including the bowl and beaters. For the cream cheese frosting in this recipe, the opposite is true. Warm ingredients keep it smooth, and if it gets too loose, chill it for 15 to 20 minutes before piping.
Can I fill these ghost cupcakes?
Absolutely. Use a cupcake corer or a small knife to remove the center, then spoon in some leftover cream cheese frosting or your favorite filling. Pipe the ghost on top and nobody will ever know there’s a surprise inside until they bite into it.
Why aren’t my cupcakes black?
The most common culprit is using regular cocoa instead of black cocoa powder. Black cocoa is heavily alkalized, which is what produces that true black color. If you used black cocoa and they’re still not dark enough, check that your black cocoa powder is fresh and sifted properly.