
Why This Recipe Works
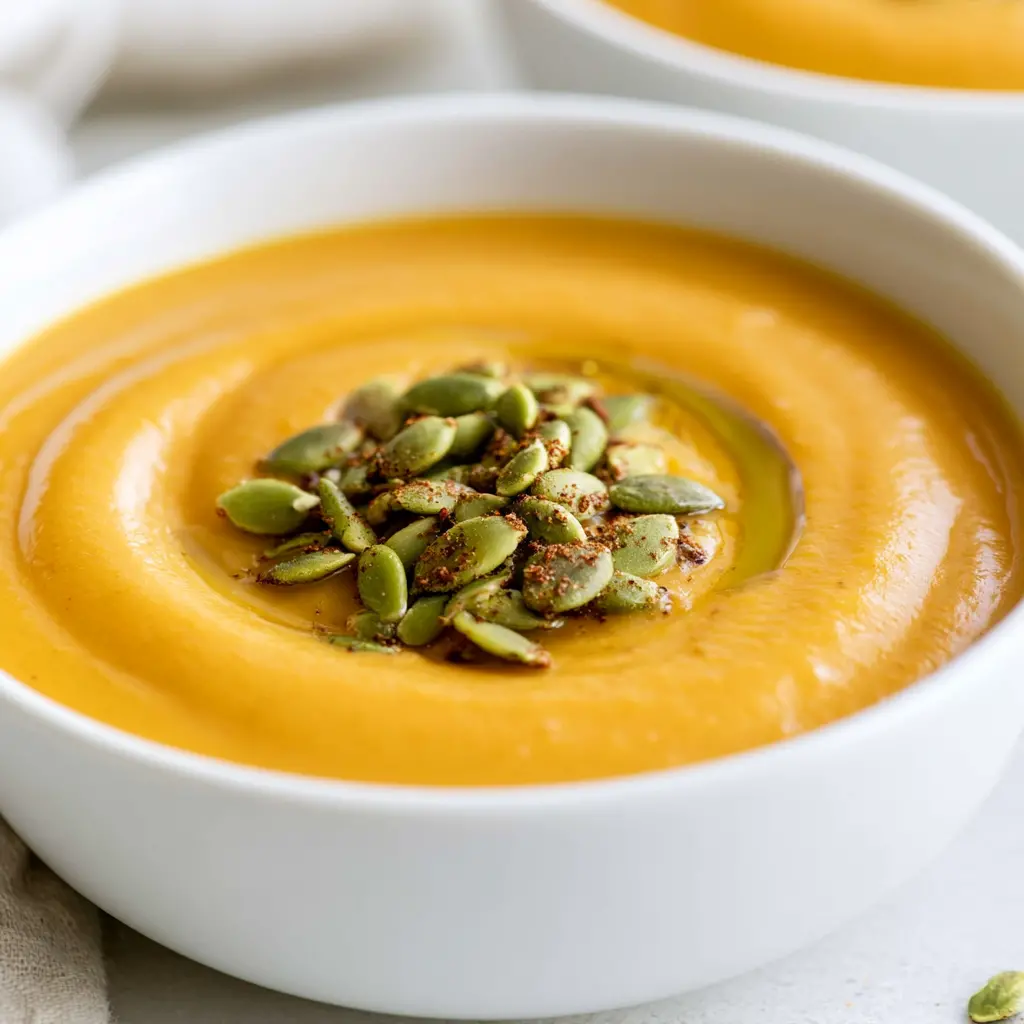
Okay, real talk: it’s August in Los Angeles, the oven is basically the last place you want to hover near, and yet I’m about to convince you that roasted butternut squash apple soup is exactly what you should make this week. Hear me out. The squash at the farmers market is already looking incredible, and this is the perfect bridge from summer to fall. Make it now, freeze it, and by October you’ll be the hero of your own table. This creamy roasted butternut squash apple soup is the one I turn to when I want something that tastes like a slow Sunday but comes together on a busy weeknight. It’s sweet and savory, it’s velvety without a drop of heavy cream, and the whole thing starts on a single sheet pan. That alone feels like cheating. Now, about that apple. People ask me all the time what the best apple for squash soup is, and I have a strong opinion: Granny Smith, and it’s not close. That tart, almost citrusy bite cuts right through the dense sweetness of butternut squash. Apple and squash flavor pairing was basically made for fall harvest soup. Add in the fact that this is a vitamin A soup recipe with serious fiber cred, and you’ve got comfort food that actually earns its keep. I haven’t always gotten this right. My first attempt at butternut squash apple soup was grainy, beige, and aggressively bland. I boiled everything in broth, blended it for way too long, and called it dinner. No caramelization. No depth. No joy. If that sounds like your past soup trauma, this recipe is your redemption arc.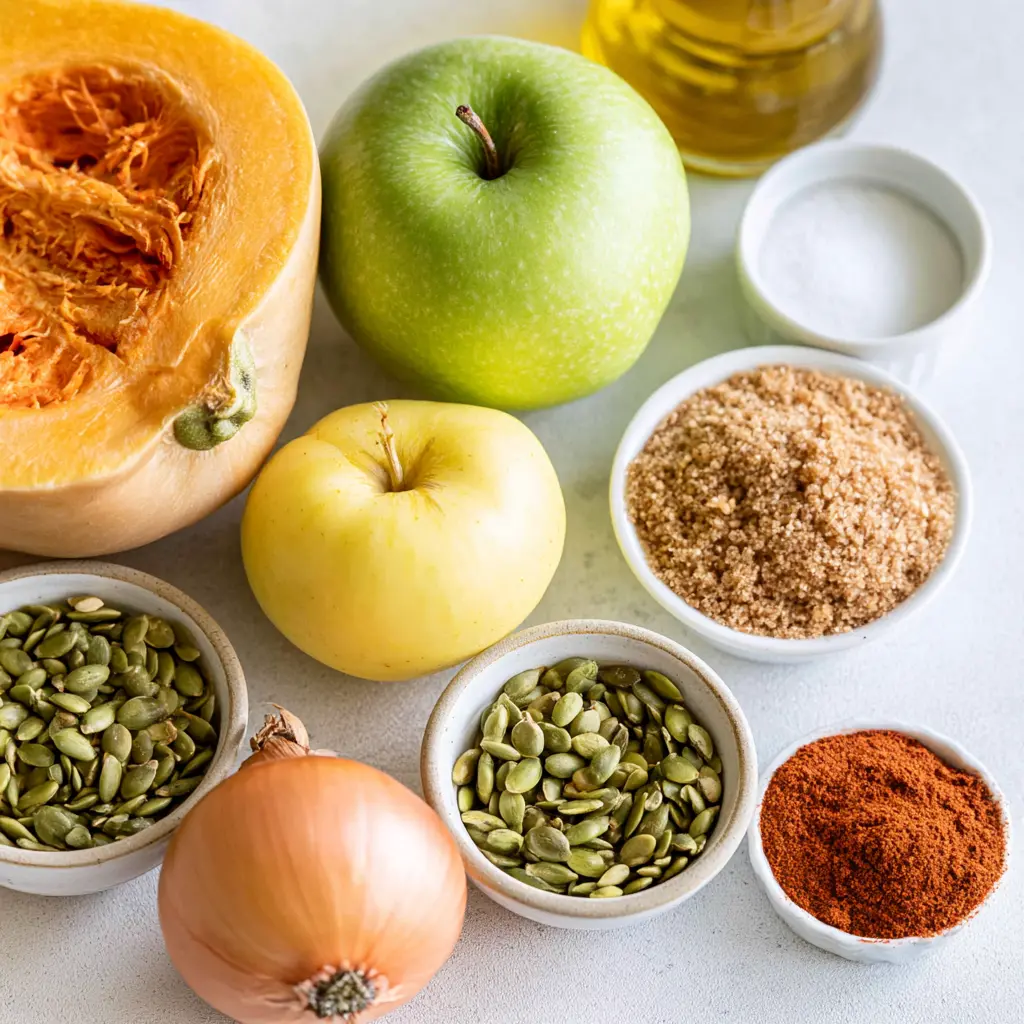
How to Roast Butternut Squash
Let’s tackle the part everyone dreads: peeling the squash. I get it, those things are rock hard. The safest method I know is to cut the squash in half crosswise first, which gives you two shorter pieces to manage, then peel each half with a sturdy vegetable peeler. This recipe calls for about 2.5 to 3 pounds of cubed squash, roughly one medium butternut. If you’re short on time, pre-cubed squash from the store works surprisingly well. Trader Joe’s and Whole Foods both sell it, and honestly, using it just means dinner gets on the table faster. No judgment here. Sheet pan roasting is where the magic happens. A hot 425°F oven caramelizes the natural sugars in the squash and the apple, creating those deep golden edges that no amount of boiling could ever achieve. The Maillard reaction does the heavy lifting, and you get a depth of flavor that tastes like you spent hours on it. A good, heavy baking sheet makes a real difference, by the way.How to Make Roasted Butternut Squash Apple Soup
This roasted butternut squash apple soup comes together in four easy stages, and most of the work is hands-off oven time. Grab your sheet pans and let’s go.Stage 1: Toast the spiced pepitas
The pepitas go in first because they need a gentler oven. Toss the green pumpkin seeds with brown sugar, salt, smoked paprika, and olive oil, then spread them on a small baking sheet. Roast at 350°F for 10 minutes, stirring once halfway. You’ll smell them before you see them: nutty, toasty, with the sugar just starting to caramelize. Watch them closely, they go from golden to burnt in a blink. Transfer them to a plate and let them cool while the rest comes together.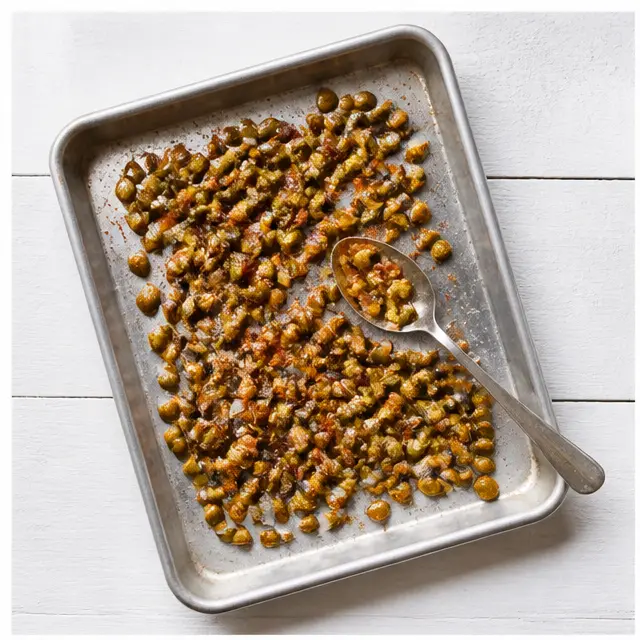
Stage 2: Roast the squash, apple, and onion
Crank the oven to 425°F and line a large rimmed baking sheet with parchment paper. Pile on the cubed butternut squash, the chopped Granny Smith apple, and the onion. Drizzle with olive oil, season with kosher salt, black pepper, and garlic powder, then toss everything right on the pan. Key move: spread it all into one even layer. Crowded vegetables steam instead of roast, and you’re here for the caramelized edges. Roast for 35 to 40 minutes, flipping once around the 20-minute mark, until the squash is fork-tender and jammy at the edges with golden caramelized spots.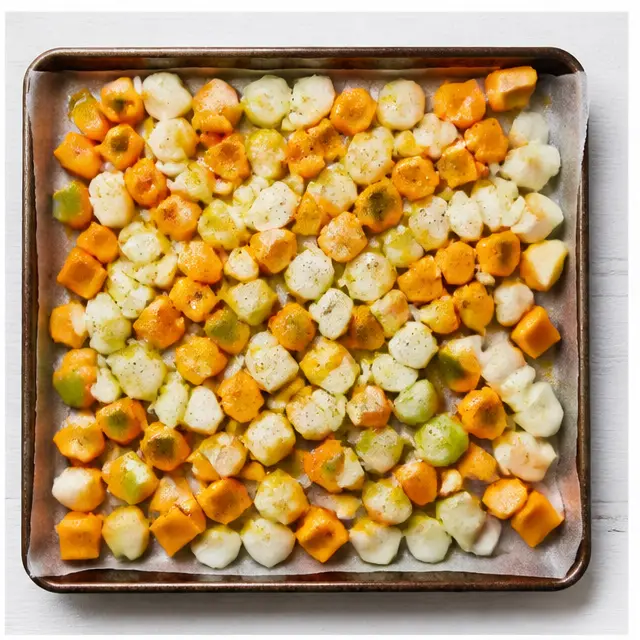
Stage 3: Simmer everything together
Scrape the roasted vegetables into a large pot or Dutch oven and pour in 3 and a half cups of chicken broth. Bring it to a simmer over medium-high, then drop the heat to low and let it bubble gently for 15 minutes. This short simmer gives the roasted flavors time to meld into the broth. The apple pretty much disappears here, which is exactly what you want. It’s doing its job in the background, that subtle tartness keeping the whole bowl interesting.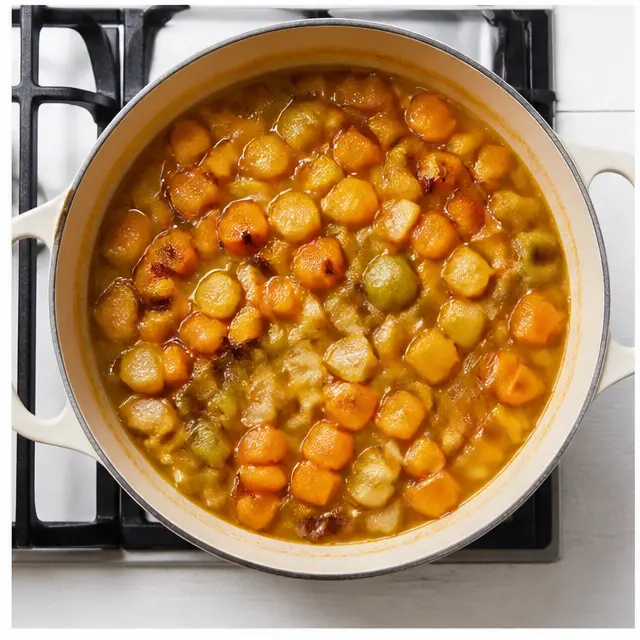
Stage 4: Blend until velvety
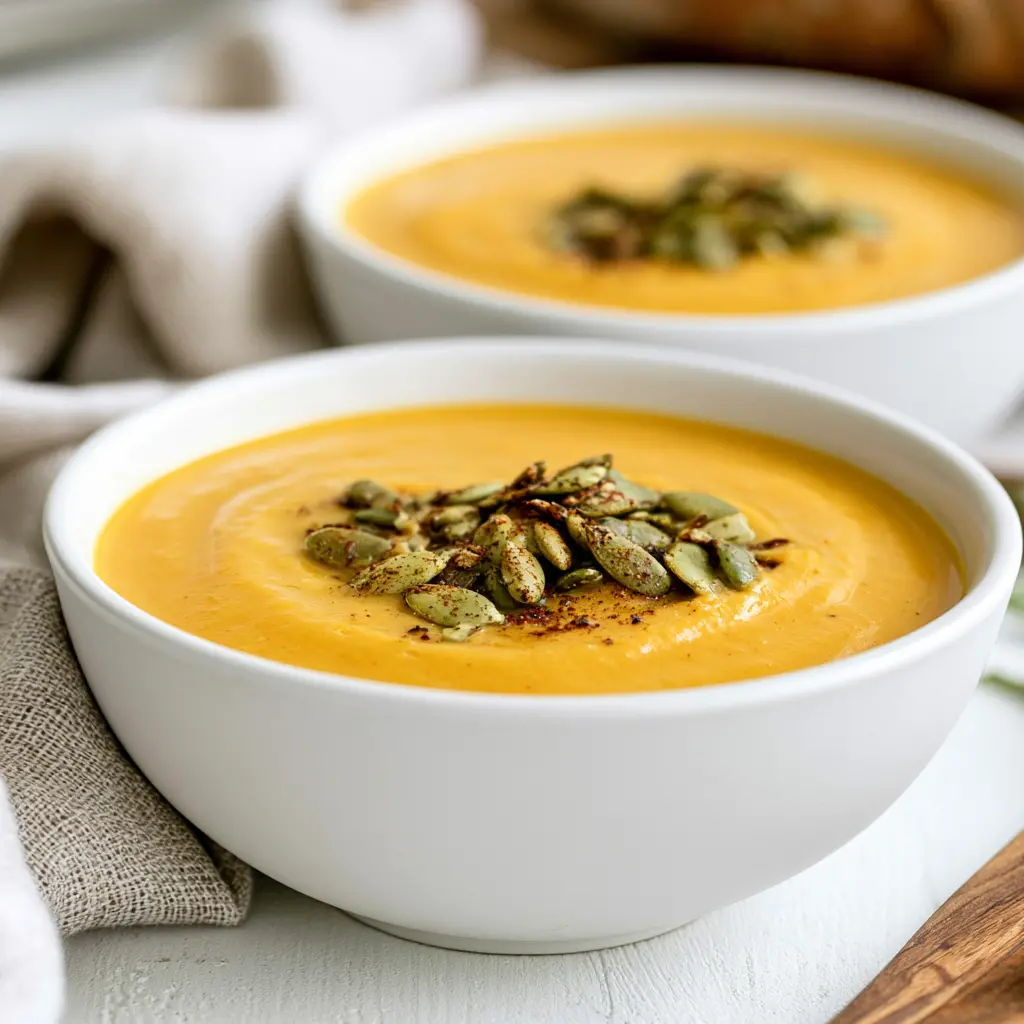
Take the pot off the heat before you blend. An immersion blender is my lazy-cook favorite, you can puree straight in the pot until the smooth soup texture is exactly where you want it. Using a countertop blender? Fill it only halfway, cover the lid with a towel, and start on low speed. Hot soup expands, and nobody wants a kitchen ceiling covered in butternut squash. Taste, adjust the salt and pepper, then add the remaining cup of broth if you prefer it thinner. Rewarm gently for about 5 minutes, ladle into bowls, and shower with the toasted pepitas.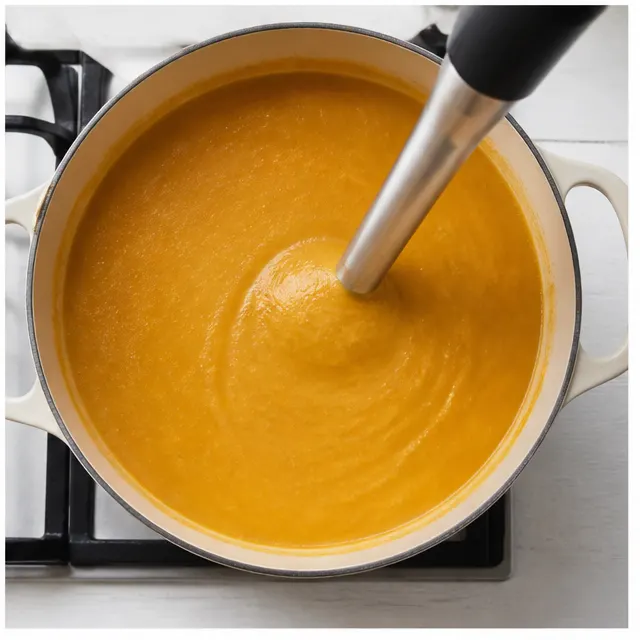
Tips for the Best Butternut Squash Soup
A few hard-earned lessons that make this roasted butternut squash apple soup turn out perfect every single time:- Don’t rush the roasting. If the vegetables aren’t caramelized, the soup tastes flat. Give them the full 35 to 40 minutes.
- Love your immersion blender. Less cleanup, and you control the texture way better than transferring hot soup in batches.
- Season at the end. Broths vary wildly in saltiness, so always taste before adding more salt.
- Make it ahead. This soup genuinely improves after a day in the fridge as the flavors settle into each other.
Common Mistakes and How to Fix Them
❌ Blending hot soup without holding the blender lid: steam pressure can pop it off and splatter everywhere. Cover the lid with a towel and start on low.
❌ Crowding the baking sheet: the vegetables steam instead of caramelizing. Use a large pan and keep everything in a single layer.
❌ Adding too much broth: you can always thin soup later, but you can’t un-thin it. Start with 3 and a half cups and adjust.
❌ Burning the pepitas: they go fast. Pull them the second they smell nutty and look golden.
Variations and Substitutions
This roasted butternut squash apple soup is pretty flexible, which I love. Here’s how to make it your own:- Vegan: swap the chicken broth for vegetable broth and it’s fully plant-based. Use low sodium if you can find it.
- Dairy-free richness: blend in a splash of coconut milk for an even silkier, creamier feel.
- Different squash: sweet potato or acorn squash both work beautifully in place of butternut.
- No pepitas? hulled sunflower seeds make an excellent crunchy stand-in.
- Add a little heat: a pinch of cayenne with the roasted vegetables gives a gentle kick.
- Other apples: Honeycrisp or Fuji work if that’s what you have, though the soup will lean a bit sweeter.
And yes, you can skip the apple if you really must. But that tart jolt is what makes the whole thing sing, so I’d strongly urge you to keep it. If you want even more brightness, a tiny splash of apple cider vinegar works wonders, though I don’t think this soup needs it.
What to Serve with This Soup
A bowl of this soup is honestly a full meal on its own, but if you want to round it out, here are my favorite pairings:- Grilled cheese: the classic combo, especially on good sourdough.
- Crusty bread: something sturdy for dunking and dragging through every last drop.
- Bright green salad: a lemony salad balances the cozy sweetness of the soup perfectly.
How to Store and Freeze Leftovers
This roasted butternut squash apple soup is a meal prep dream. Leftovers keep in an airtight container in the fridge for up to 4 days. It also freezes beautifully for up to 3 months. Just cool it completely, pour it into labeled freezer-safe containers, and stash it away for a rainy day. A couple of important notes: the soup thickens as it sits, which is totally normal. When you reheat, add a splash of broth or water to bring it back to the right consistency. Thaw it overnight in the fridge, then warm it gently on the stove over medium-low heat. Freezer-friendly soup for the win, and it pairs beautifully with a grilled cheese on a cool evening.Final Thoughts
Maybe it’s still 95 degrees on your street too. That’s fine. Make this roasted butternut squash apple soup on a slightly cooler evening, or just crank the AC and pretend it’s October. When you make this, and you will, the hardest part is not eating the whole pot in one sitting. If you’re a recipe saver like me, come hang out on Pinterest and save this creamy butternut squash apple soup to your fall board, so it’s waiting for you when the leaves finally change. Save it here and thank me later.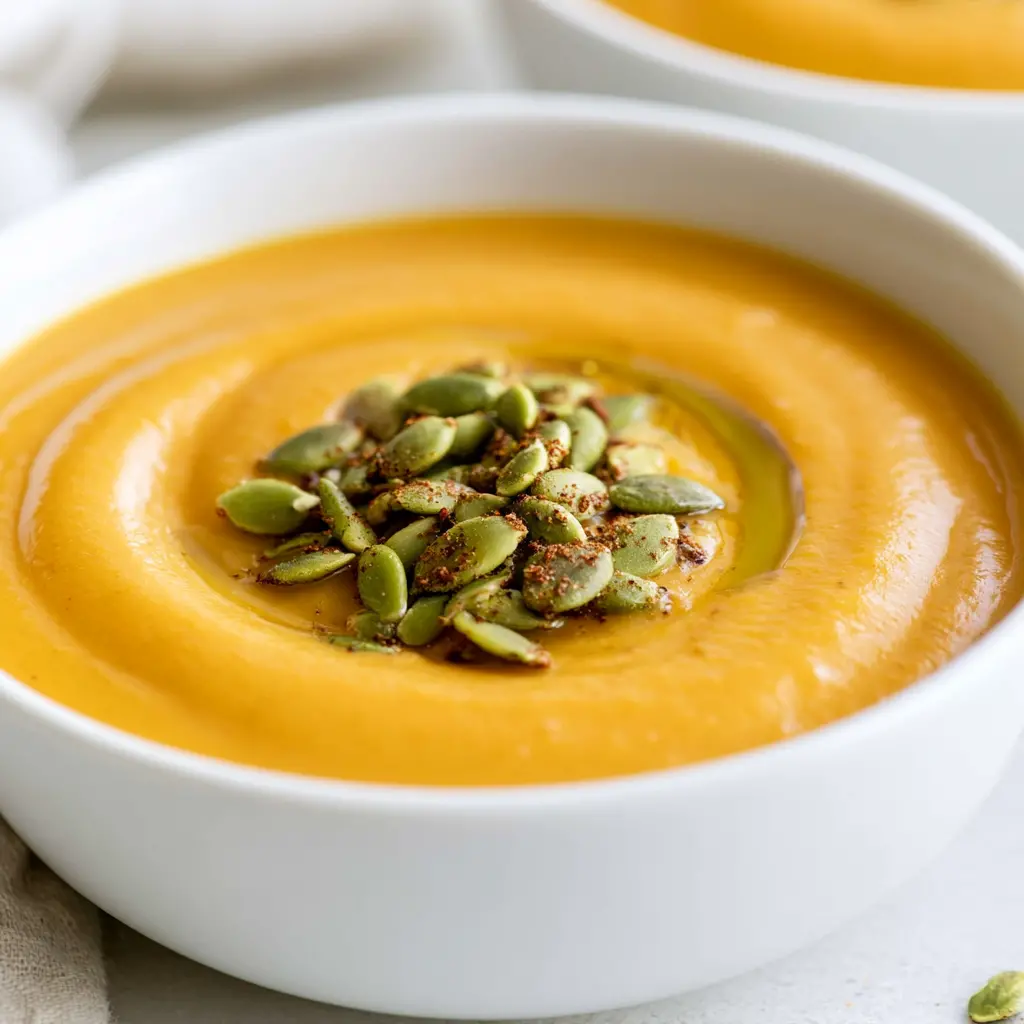
Roasted Butternut Squash Apple Soup
Ingredients
Method
- Preheat the oven to 350 degrees F. In a small bowl, toss the pepitas with brown sugar, salt, paprika, and olive oil. Spread the mixture on a small baking sheet and roast for 10 minutes, stirring once halfway through. Transfer to a plate and set aside.
- Increase the oven temperature to 425 degrees F and line a large rimmed baking sheet with parchment paper.
- On the prepared baking sheet, combine the cubed butternut squash, apple, and onion. Drizzle with olive oil and season with kosher salt, black pepper, and garlic powder. Toss until everything is evenly coated.
- Roast for 35 to 40 minutes, flipping the vegetables once at the 20-minute mark, until the squash is tender and lightly caramelized.
- Transfer the roasted vegetables to a large pot or Dutch oven and add 3 1/2 cups of chicken broth. Bring to a simmer over medium-high heat, then reduce the heat to low and simmer gently for 15 minutes.
- Remove the pot from the heat. Puree the soup with an immersion blender until smooth, or carefully blend it in batches in a countertop blender (see notes).
- Taste the soup and adjust the seasoning with more salt and pepper. If you prefer a thinner texture, add the remaining chicken broth to reach your desired consistency.
- Rewarm the soup over low heat for about 5 minutes, then ladle into bowls and top with the roasted pumpkin seed mixture.
Nutrition
Notes
Tried this recipe?
Let us know how it was!Frequently Asked Questions
Source: Learn More About This Dish
What if I don’t want to make the pumpkin seed topping, are there other garnishes I could use?
Sure thing. The spiced pepitas are my favorite, but a swirl of coconut milk, some crunchy croutons, or a few fresh herbs like sage or thyme all work beautifully. Even a simple drizzle of good olive oil over the top keeps things elegant. The soup is fantastic under all of them.
Can I freeze this soup?
Absolutely, and it’s one of the best freezer-friendly soups I know. Cool it completely, transfer it to airtight freezer-safe containers, and freeze for up to 3 months. Thaw overnight in the fridge, then reheat gently on the stove. Add a splash of broth if it looks too thick after thawing.
Does this recipe work in a slow-cooker or instant pot?
I haven’t tested this exact version in either, mainly because roasting is what builds the deep caramelized flavor. If you’re set on the slow cooker, roast the vegetables first, then add them with the broth and cook on low for 3 to 4 hours. The stove method is faster and gives the best result.
Why is my roasted butternut squash soggy?
Almost always it’s overcrowding. When squash cubes pile up on each other, they steam instead of roast, which means no caramelized edges. Use a large rimmed baking sheet, keep the pieces in a single layer, and flip them halfway. Hot air needs room to circulate.
Why does my butternut squash soup taste bitter?
A bitter soup usually comes from something getting too dark during roasting. Burned squash edges or scorched garlic are the usual suspects. This recipe uses gentle garlic powder, so burning is the easiest way to end up bitter. Start with fresh squash and pull the pan when the edges are golden, not black.
What can I use to thicken butternut soup?
With this roasted butternut squash apple soup, the blended squash provides plenty of body on its own. If yours turns out thin, you probably added too much broth. Simmer it uncovered for 5 to 10 minutes to reduce it, or blend in a splash of coconut milk for extra silkiness.