
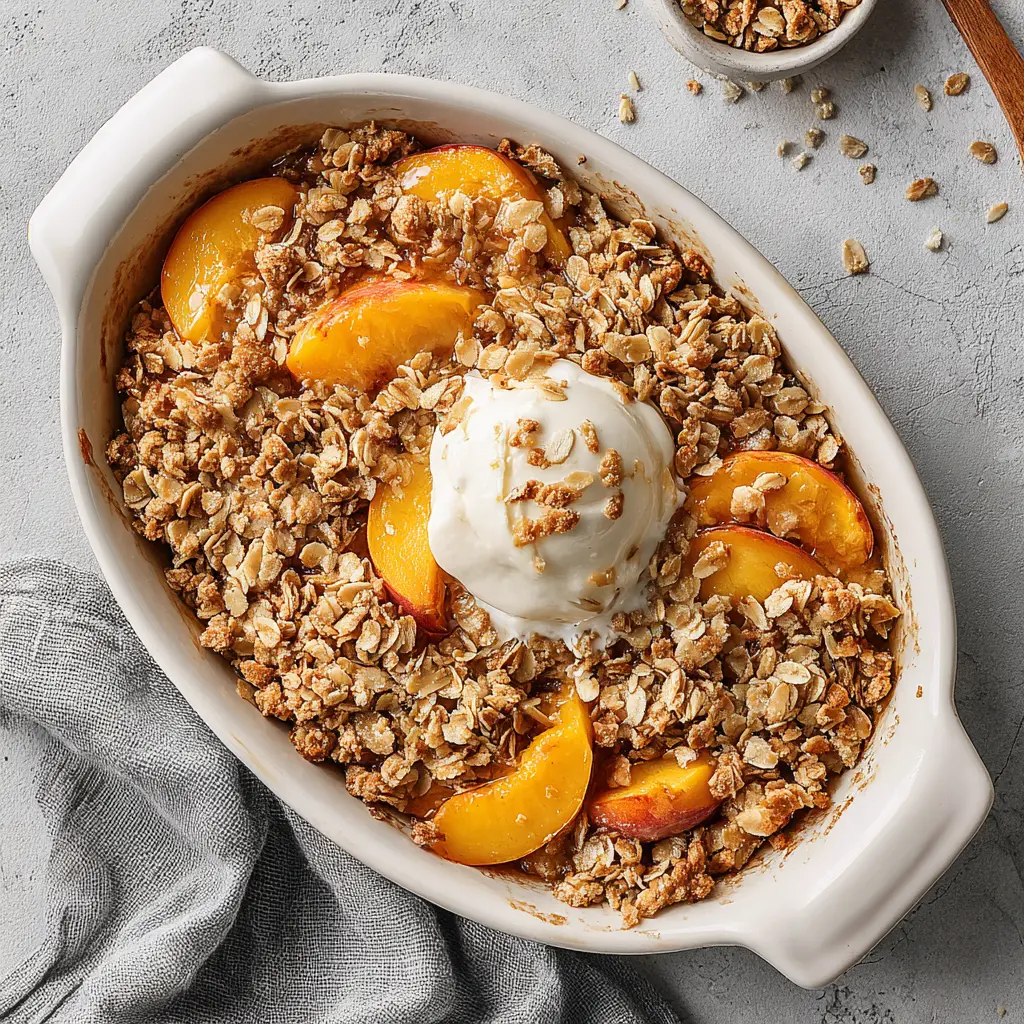
Why You’ll Love This Healthy Peach Crisp
I’ll be honest with you. For the longest time, I thought “healthy dessert” was just a nice way of saying “slightly disappointing.” You know what I mean? A dry cookie here, a sad little fruit salad there. But then I started playing around with this healthy peach crisp, and something clicked. It’s juicy, it’s crunchy, and it actually feels like a treat. Not a compromise.
This isn’t one of those recipes where you’re left thinking, “Well, it’s good… for a healthy thing.” No. This is the kind of dessert you’d proudly bring to a summer potluck or a 4th of July barbecue, and people will ask for the recipe. I promise you that.
So what makes it so great? First off, it’s naturally sweetened with just a touch of maple syrup. The peaches do most of the heavy lifting here, and when they’re in peak season? Forget about it. The topping is where the magic happens – oats, pecans, warm spices, and a little melted butter or coconut oil. It gets golden and crunchy in the oven, and the smell that fills your kitchen is absolutely intoxicating. Plus, it’s naturally vegan and gluten-free, so pretty much everyone can enjoy it.
Ingredients You’ll Need
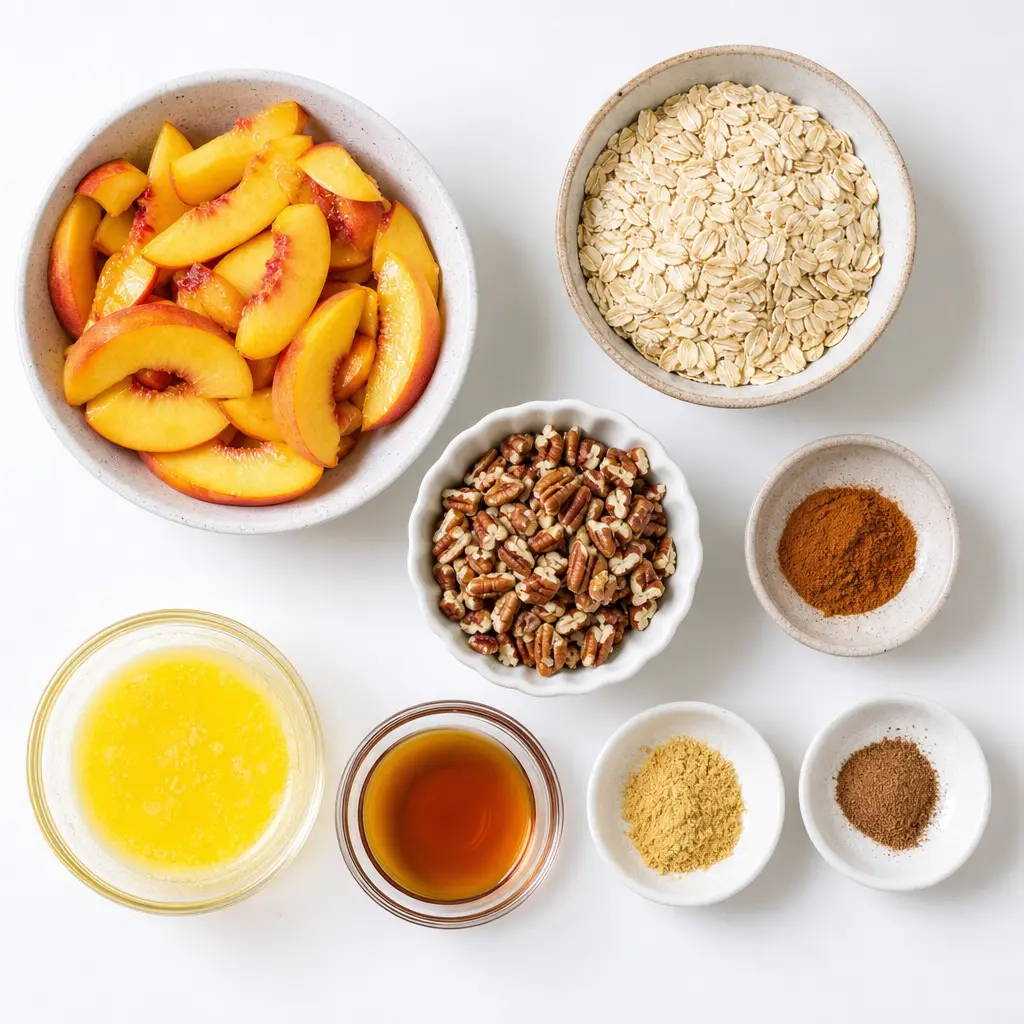
Here’s the thing about this recipe – the ingredient list is short. Like, embarrassingly short. You probably have most of this stuff in your pantry right now. Let’s break it down.
- Fresh peaches: This is the star. You’ll need about 4 medium peaches, sliced into nice even pieces. Ripe but still a little firm is the sweet spot. Overripe peaches will turn to mush.
- Old-fashioned rolled oats: These give the topping that classic, hearty crunch. If you need it gluten-free, just grab a certified gluten-free bag. Quick oats work in a pinch but won’t be as textured.
- Pecans: Chopped up and mixed into the topping. They add a little richness and a nice nutty flavor. Feel free to swap in almonds or walnuts if that’s what you’ve got.
- Spices: Cinnamon, ginger, and nutmeg. This trio just screams summer to me. It’s warm and cozy but still bright.
- Melted butter: Or coconut oil if you want to keep it vegan. Both work beautifully. The fat helps the topping get all crisp and golden.
- Maple syrup: Just a tablespoon in the topping. It’s enough to bring everything together without making it overly sweet. The peaches are sweet enough on their own.
How to Make Healthy Peach Crisp
Alright, let’s get to it. This is one of those recipes that feels almost too easy. You’ll have it in the oven in about 10 minutes flat. I’ll walk you through the four main stages so you know exactly what to look for.
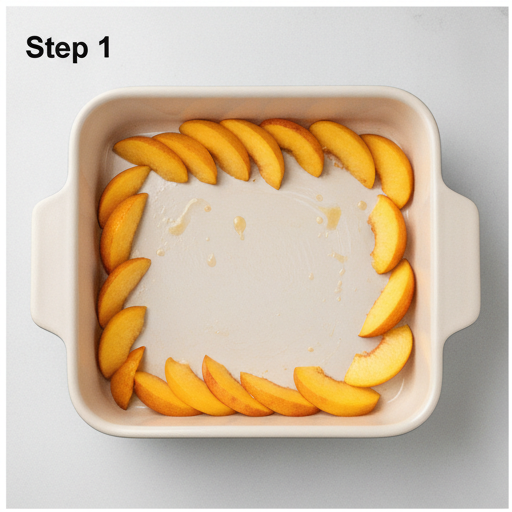
Stage 1: Prep the Peaches and Dish
Preheat your oven to 350°F. Grab an 8×8-inch baking dish and give it a light grease. Slice your peaches into even wedges – about 1/2-inch thick is perfect. You don’t need to peel them unless you really want to. The skin softens up as it bakes and adds a little color. Spread the peach slices evenly in the dish. Just one even layer, no need to press them down.
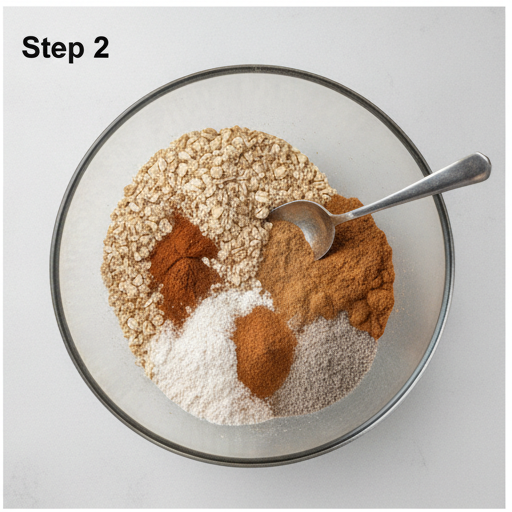
Stage 2: Make the Topping
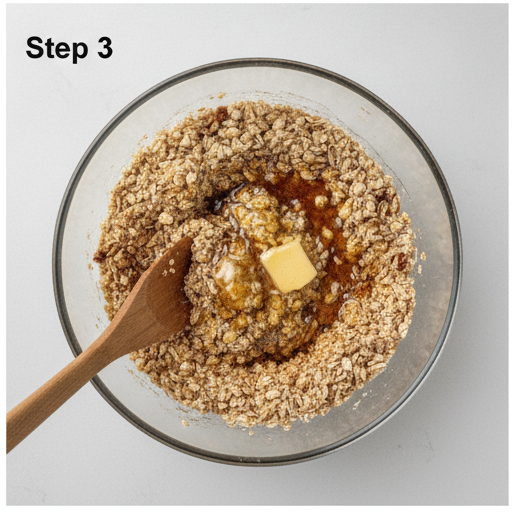
In a medium bowl, combine the rolled oats, chopped pecans, cinnamon, ginger, and nutmeg. Give it a quick stir. Then drizzle in the melted butter and maple syrup. Stir until everything is evenly moistened. You’ll see it start to clump together a little – that’s exactly what you want. Don’t overmix it, though. A few dry bits are fine.
Stage 3: Assemble and Bake
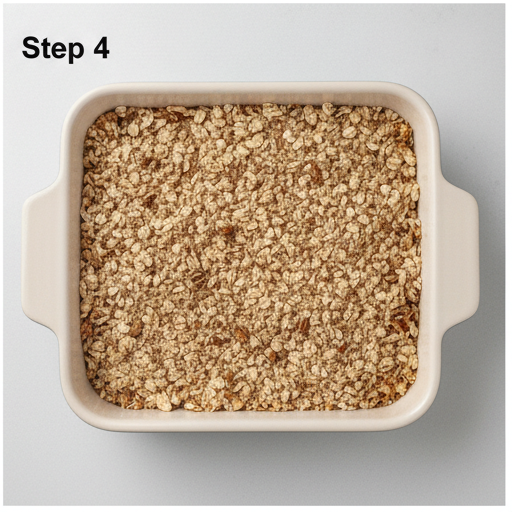
Sprinkle the oat mixture evenly over the peaches. Try to cover them as completely as you can. Here’s a little trick I learned – gently press the topping down with the back of a spoon. It helps it stick to the fruit so you get a nice, cohesive layer instead of a crumbly mess. Cover the dish with foil and bake for 20 minutes. This steams the peaches so they get tender and release their juices.
Stage 4: Finish and Rest
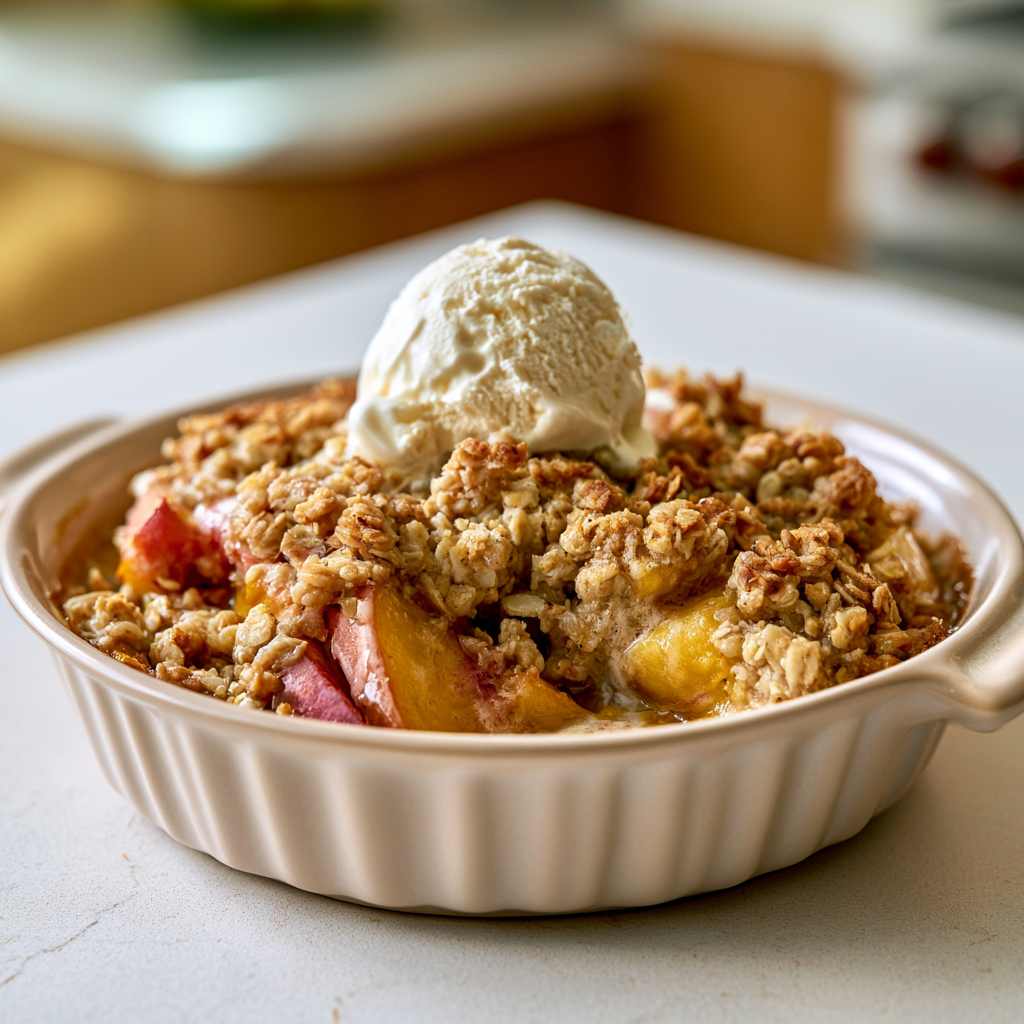
After 20 minutes, remove the foil and bake for another 10 minutes. This is where the topping turns that beautiful golden brown. You’ll see the peach filling bubbling up around the edges – that’s how you know it’s done. Let it rest for at least 10-15 minutes before serving. I know it’s hard to wait, but this step is crucial. It lets the filling set up so you don’t end up with a soupy mess on your plate.
Tips for the Best Peach Crisp
I’ve made this healthy peach crisp more times than I can count, and I’ve definitely learned a few things along the way. Here are the tips that make the biggest difference.
- Use ripe but firm peaches. Overripe peaches get watery and turn to mush. You want peaches that give a little when you squeeze them but still hold their shape.
- Don’t skip pressing down the topping. I mentioned this earlier, but it’s worth repeating. A gentle press with the back of a spoon helps the topping stick to the fruit.
- Start checking around 25 minutes. Every oven runs a little differently. If the topping is getting too dark before the peaches are bubbly, tent it with foil.
- Let it rest before serving. This is the hardest part, I know. But giving it 10-15 minutes helps the filling set up. Trust me on this one.
- If the topping seems too dry, add a little more melted butter or coconut oil. It should look moist and clumpy, not dry and dusty.
Variations to Try
One of the best things about this healthy peach crisp is how flexible it is. You can change it up based on what you have or what you’re craving. Here are a few of my favorite variations.
- Mixed berry crisp: Swap half the peaches for blueberries or raspberries. The tartness of the berries pairs beautifully with the sweet peaches.
- Apple crisp: Use sliced apples instead of peaches. You might want to add an extra tablespoon of maple syrup since apples are less sweet.
- Nut-free version: Skip the pecans and add an extra 1/4 cup of oats. Still crunchy, still delicious.
- Extra crunchy topping: Add a tablespoon of chia seeds or flax seeds to the oat mixture. It adds a little extra texture and a boost of nutrition.
- Spice it up: Instead of the cinnamon-ginger-nutmeg combo, try using apple pie spice or pumpkin pie spice. Works great.
How to Serve Peach Crisp
This healthy peach crisp is pretty amazing on its own, but let’s be real – a little something on top never hurts. Here are my favorite ways to serve it.
- With vanilla ice cream: The classic move. The cold, creamy ice cream against the warm, crunchy crisp is just perfection.
- With Greek yogurt: A dollop of plain or vanilla Greek yogurt adds a nice tangy contrast. It keeps things a little lighter, too.
- With coconut whipped cream: If you’re keeping it dairy-free, this is your best bet. Light, fluffy, and just sweet enough.
- On its own: Honestly, it’s great straight out of the dish with a spoon. No judgment here.
How to Store and Reheat
If you have leftovers (which, let’s be honest, is rare in my house), here’s how to keep them tasting great.
Storing: Let the crisp cool completely, then cover the dish with foil or transfer it to an airtight container. It will keep in the fridge for up to 3-4 days.
Reheating: The best way to reheat is in the oven at 350°F for about 10-15 minutes. This helps the topping get crunchy again. If you’re in a hurry, the microwave works, but the topping will be softer.
Freezing: You can freeze the baked crisp for up to 2-3 months. Let it cool completely, then wrap it tightly in foil and pop it in a freezer bag. To reheat, thaw in the fridge overnight and then warm in the oven at 350°F for about 15 minutes.
Frequently Asked Questions
You’ve got this! This healthy peach crisp is one of those recipes that just works. It’s simple, it’s forgiving, and it always gets rave reviews. I’d love to see how yours turns out – tag me when you make it. And if you’re looking for more inspiration, check out my Pinterest board for more healthy dessert ideas.
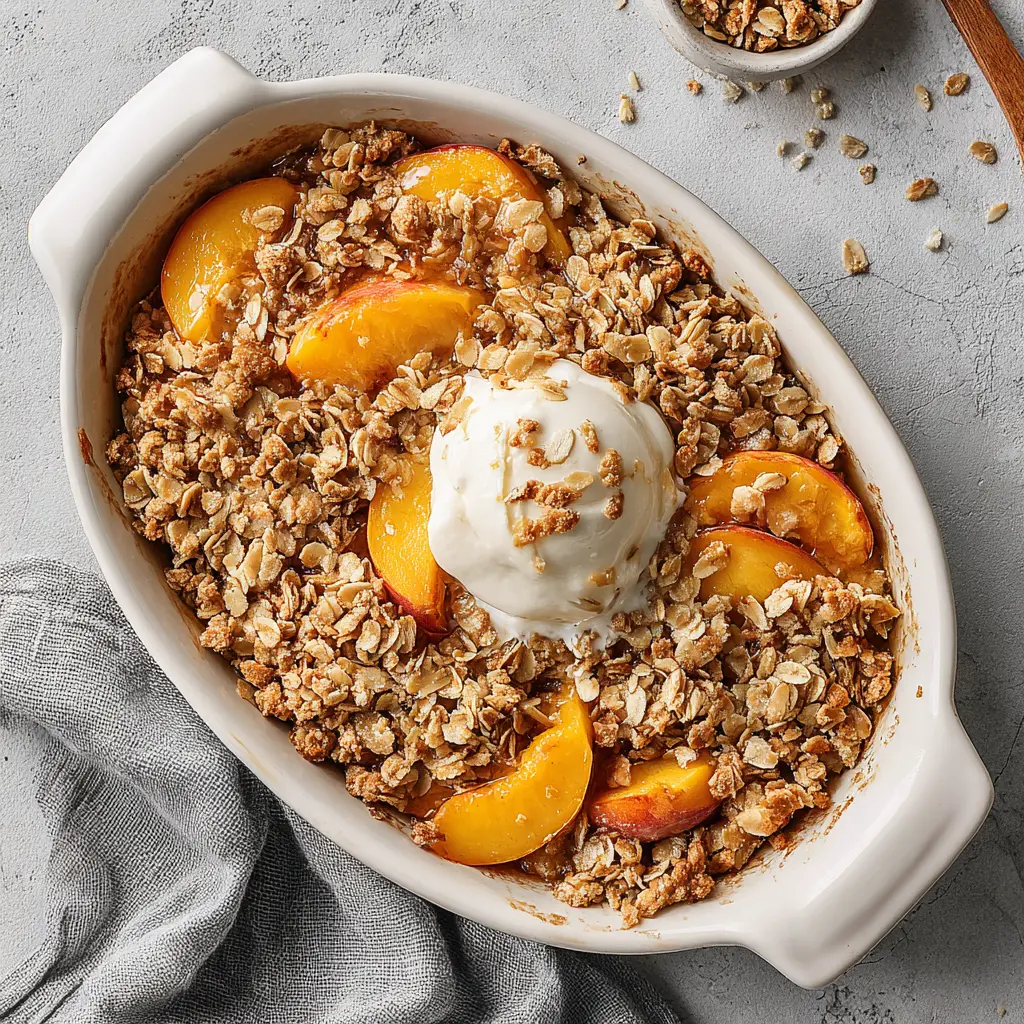
Healthy Peach Crisp with a California Twist
Ingredients
Method
- Preheat the oven to 350°F. Lightly grease an 8x8-inch baking dish.
- In a medium bowl, combine the rolled oats, chopped pecans, cinnamon, ginger, nutmeg, melted butter, and maple syrup. Stir until everything is evenly moistened.
- Spread the sliced peaches evenly in the bottom of the prepared baking dish. Sprinkle the oat mixture over the top, covering the peaches completely.
- Cover the dish with foil and bake for 20 minutes. Remove the foil and continue baking for another 10 minutes, until the topping is golden brown and the peaches are bubbly.
Nutrition
Notes
Tried this recipe?
Let us know how it was!Source: Health & Nutrition Research
Do I need to peel peaches for peach crisp?
Nope, you don’t have to. The skin softens up as it bakes and adds a little color and texture. If you really hate the texture of peach skin, go ahead and peel them. But I usually leave it on for convenience.
Can I make this fresh peach crisp ahead of time?
Absolutely. Assemble the crisp without baking it, cover it, and pop it in the fridge for up to 24 hours. When you’re ready, bake it as directed. You might need to add a couple of extra minutes since it’s starting cold.
Can you freeze this peach crisp recipe?
Yes, you can freeze it after baking. Let it cool completely, wrap it tightly in foil, and freeze for up to 2-3 months. Thaw in the fridge overnight and reheat in a 350°F oven for about 15 minutes to crisp up the topping.
Can I use frozen peaches for peach crisp?
You sure can. Use frozen peach slices straight from the bag – no need to thaw. The baking time might be a little longer, so keep an eye on it. You want the filling bubbly and the topping golden.
Can I make this peach crisp with canned peaches?
You can, but the texture will be different. Canned peaches are much softer and sweeter. Drain them well and reduce the maple syrup in the topping to 1/2 tablespoon to balance the sweetness. The bake time might be a little shorter, too.