
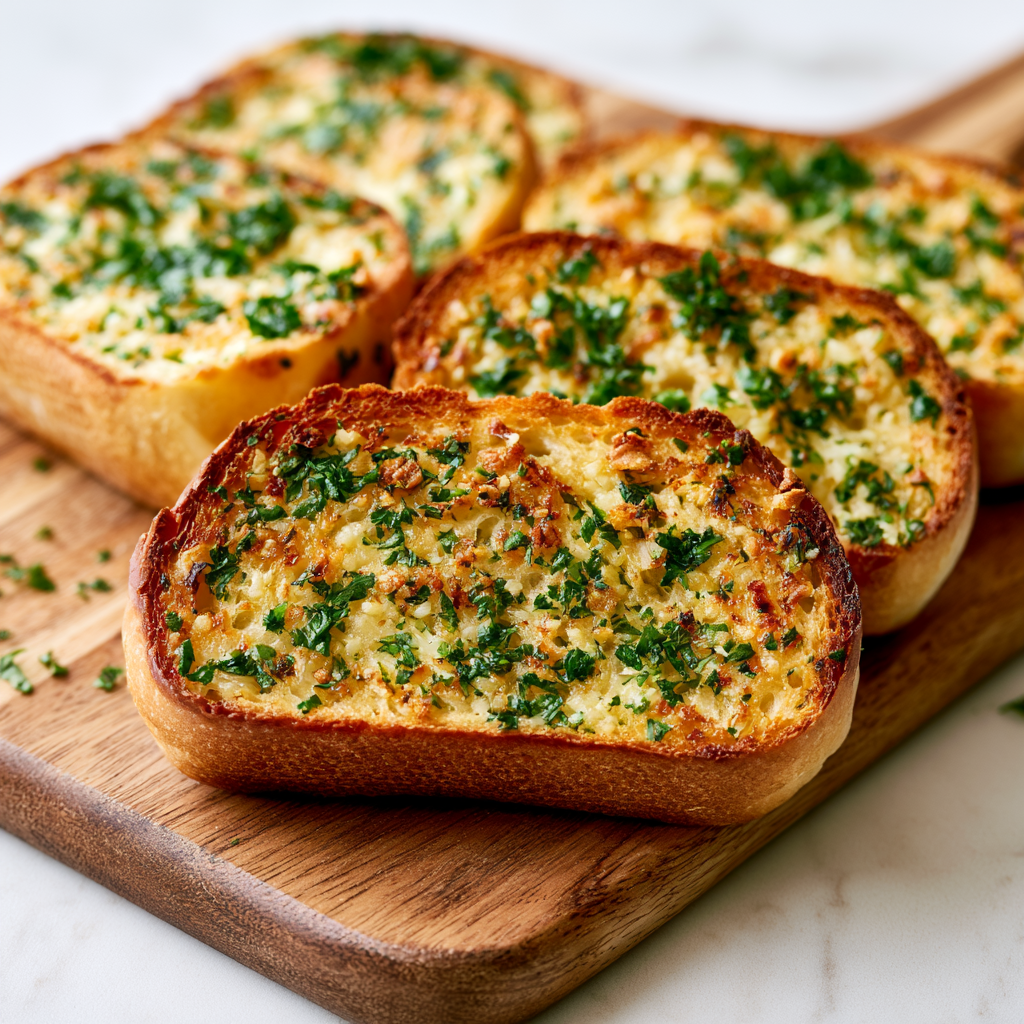
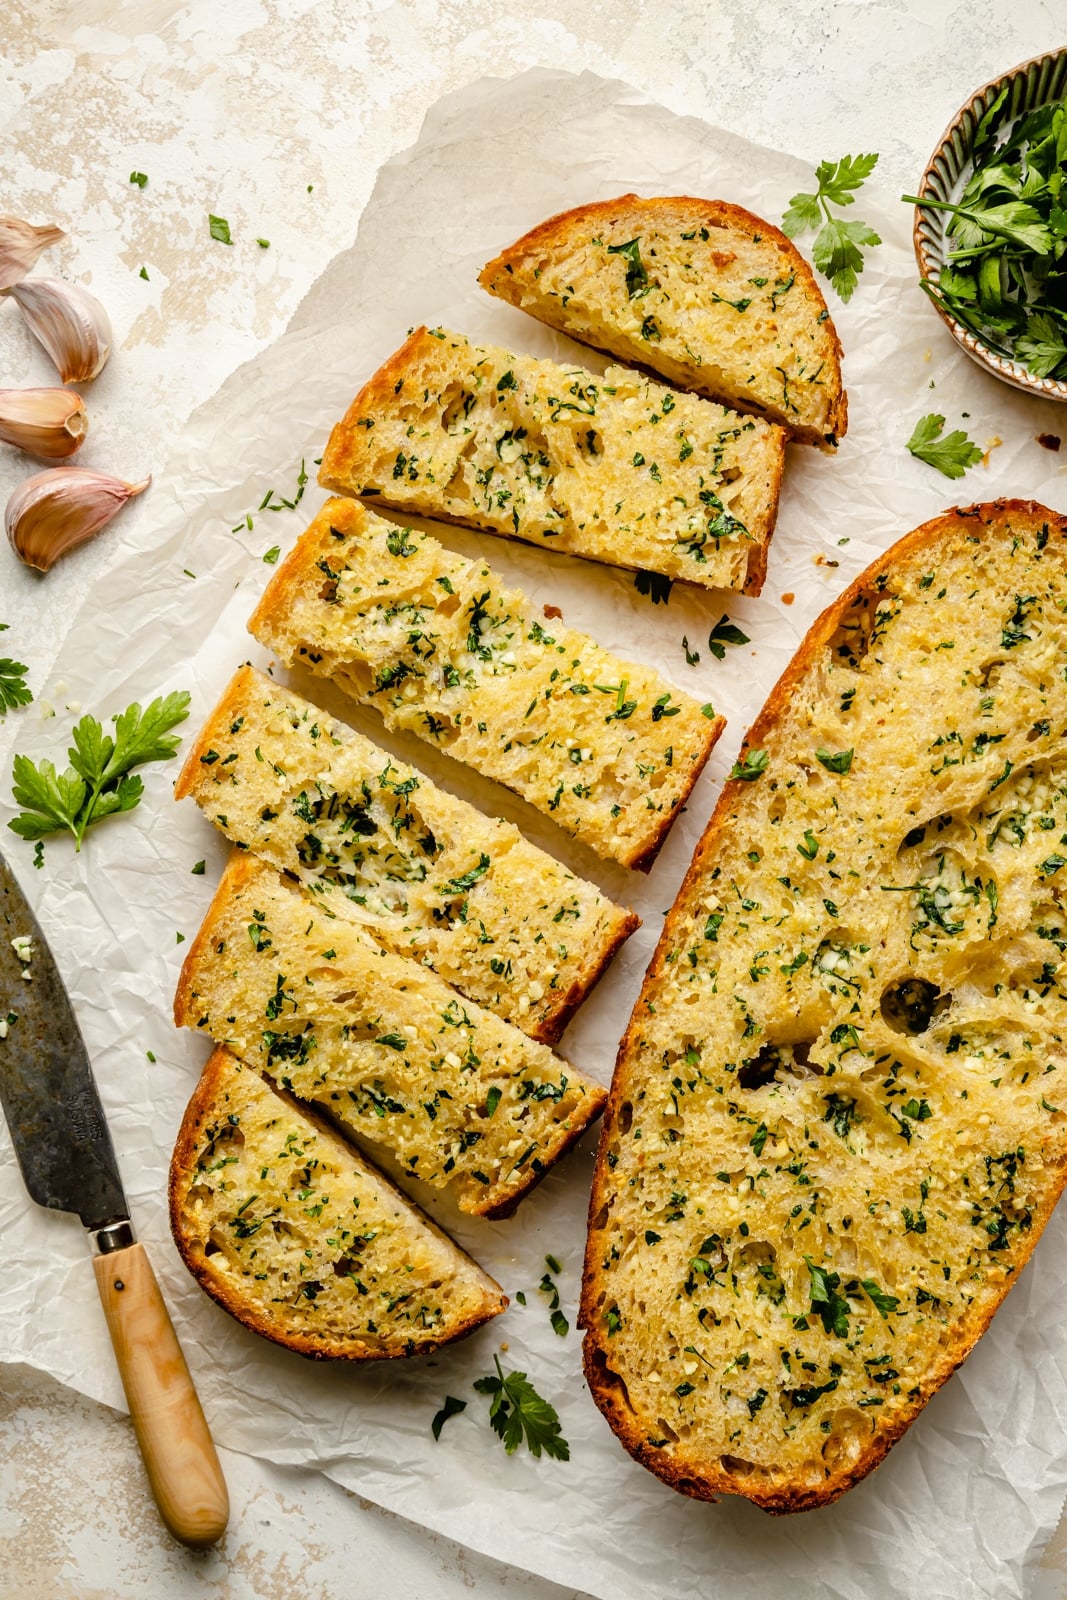
California-Style Garlic Bread with Roasted Garlic and Fresh Herbs
Ingredients
Method
- Preheat your oven to 425 degrees F. Line a large baking sheet with parchment paper or aluminum foil. Place the bread halves on the sheet, cut sides facing up.
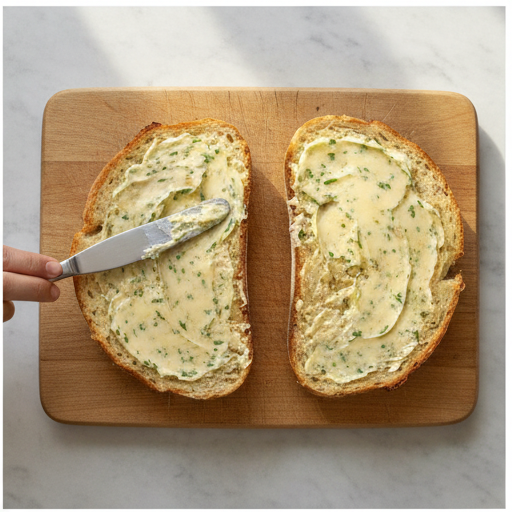
- In a medium bowl, combine the softened butter, minced garlic, 1 tablespoon parsley, and sea salt. Mix until everything is evenly incorporated. Spread this mixture generously over the cut sides of the bread.
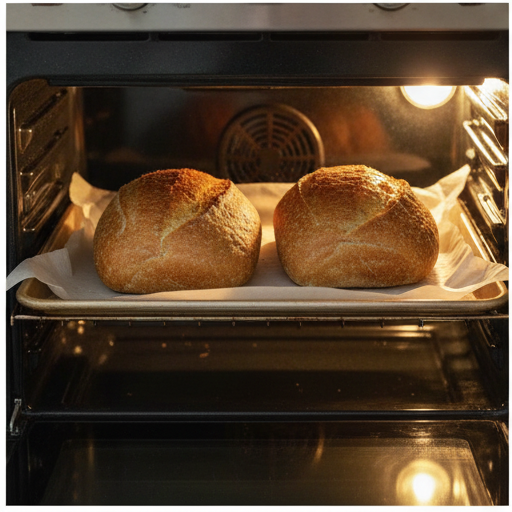
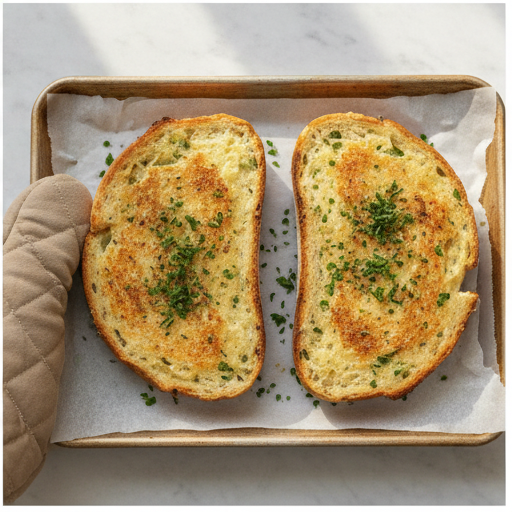
- Bake for 10 to 15 minutes, until the edges are lightly golden. If adding cheese, sprinkle it on during the last 2 minutes of baking. For a crunchier texture, continue baking for an additional 3 to 5 minutes, watching closely to prevent burning. Garnish with extra parsley and chives if desired.
Nutrition
Notes
Tried this recipe?
Let us know how it was!Why This Garlic Bread Recipe Works
Running around prepping for the 4th BBQ and need one side that’s no-fuss? I’ve been there. You want something that feels special but doesn’t add to the chaos. This garlic bread recipe is my go-to for exactly that reason.
I used to burn my garlic bread all the time. I’d throw it under the broiler, walk away for thirty seconds, and come back to a smoky kitchen. Not great for a holiday gathering. But then I figured out the trick. You don’t need the broiler at all. A steady 425°F oven does the job perfectly. It gives you that crispy garlic bread exterior while keeping the inside soft and pillowy. No burning, no stress.
This isn’t your average homemade garlic bread. It uses a San Francisco-style sourdough loaf, which has that tangy flavor that just works with garlic butter. The fresh herbs add brightness. And the whole thing comes together in 25 minutes. I promise, you got this.
Plus, it’s a quick side dish BBQ lovers will actually remember. The bread soaks up all that garlic butter without getting soggy. The edges get golden and crunchy. The inside stays tender. It’s the best garlic bread ever for a reason.
Ingredients You’ll Need
Let’s talk about what goes into this easy garlic bread. The beauty is in the simplicity. You only need a few things, and they’re all easy to find at your local Ralphs or Trader Joe’s.
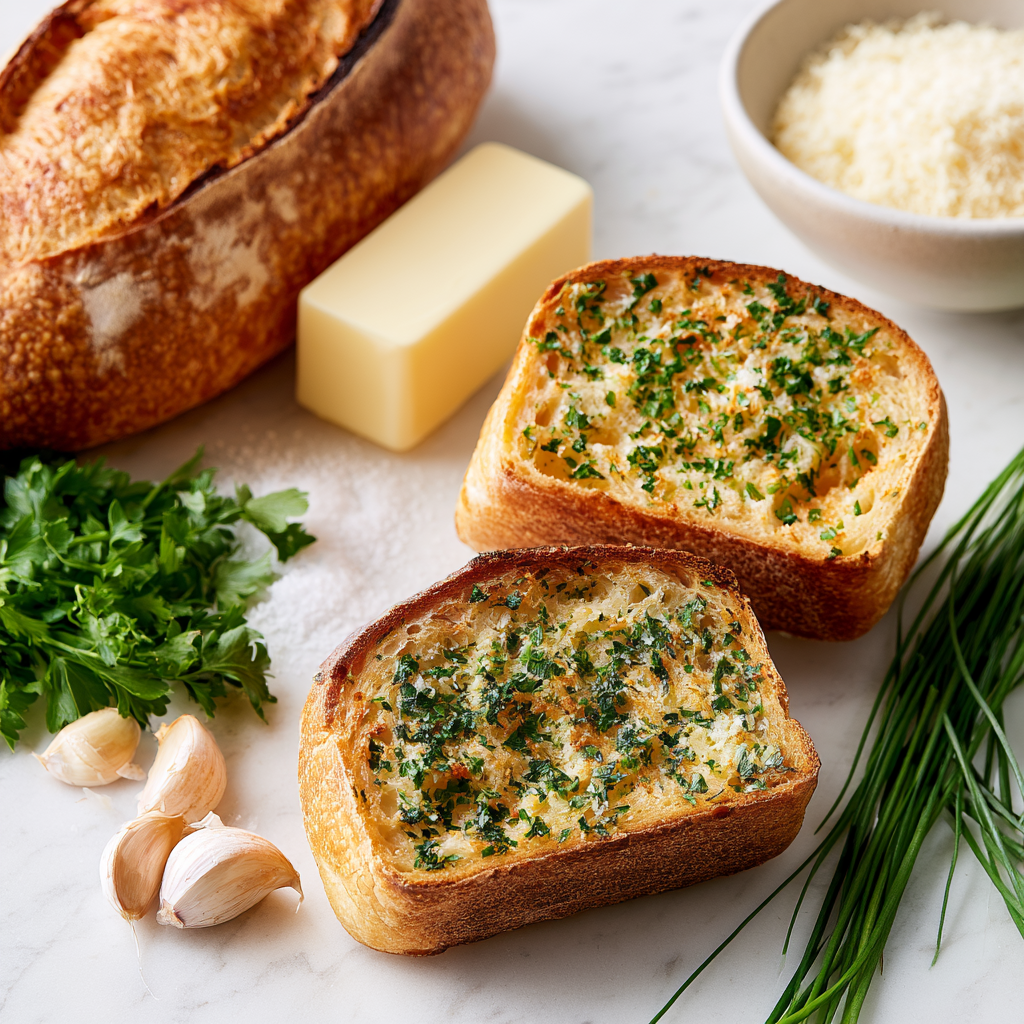
- San Francisco-style sourdough loaf or Italian bread (1 pound, sliced in half lengthwise) The sourdough gives it that signature tang, but a good Italian bread garlic works great too.
- Unsalted butter (½ cup, softened, that’s 1 stick) You want it soft so it spreads easily. Cold butter just tears the bread.
- Garlic (4 cloves, finely minced) Fresh is non-negotiable here. I’ll explain why in a second.
- Fresh parsley (1 tablespoon, finely chopped) Adds color and freshness.
- Sea salt (⅛ teaspoon) Just a pinch to bring everything together.
Now, about that garlic. I know it’s tempting to grab the jarred pre-minced stuff. But trust me, fresh garlic makes all the difference. The flavor is brighter, more aromatic, and it doesn’t have that weird metallic taste. For this garlic bread recipe baked at 425°F, the garlic cooks just enough to mellow out. It’s not harsh at all. Just pure, savory goodness.
And for the optional toppings, you can add:
- Freshly grated Parmesan cheese (¼ cup) Adds a salty, nutty kick.
- Shredded mozzarella cheese (½ cup) For that gooey, stretchy mozzarella garlic bread experience.
- Fresh chives (1 tablespoon, chopped) A nice mild onion flavor for garnish.
- Extra fresh parsley (1 tablespoon, chopped) For color.
I usually grab my sourdough from the bakery section at Whole Foods. It’s worth the extra trip. And the parsley? I just pick up a bunch from the farmers market. It lasts all week.
How to Make This Garlic Bread (4 Simple Stages)
Here’s the thing about making garlic bread it’s all about the method. Let me walk you through the four main stages. Each one is simple, but they build on each other for that perfect result.
Stage 1: Prep Your Bread and Butter
First, preheat your oven to 425°F. Line a large baking sheet with parchment paper or aluminum foil. Place your sourdough loaf halves on the sheet, cut sides facing up. This is important you want the butter to hit the exposed bread directly.
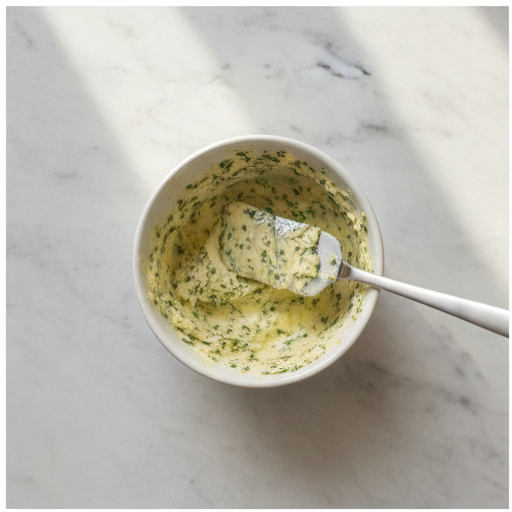
In a medium bowl, combine the softened butter, minced garlic, 1 tablespoon of parsley, and the sea salt. Mix until everything is evenly incorporated. The butter should be soft enough that it’s almost like a paste. If it’s too cold, it won’t spread evenly. I learned this the hard way.
Spread this garlic butter mixture generously over the cut sides of the bread. Don’t be shy. You want every bite to have that garlic flavor.
Stage 2: Bake Until Golden
Bake the bread for 10 to 15 minutes. You’re looking for the edges to be lightly golden. The garlic bread recipe baked at this temperature gives you that perfect balance. The butter melts into the bread, the garlic infuses everything, and the edges start to crisp up.
If you want a crispy garlic bread, continue baking for an additional 3 to 5 minutes. Watch it closely though. The line between golden and burnt is thin. I usually check at the 12-minute mark and go from there.
Stage 3: Add Cheese (Optional, But Recommended)
If you’re adding cheese, sprinkle it on during the last 2 minutes of baking. For parmesan garlic bread, just scatter the Parmesan over the top. For mozzarella garlic bread, use the shredded mozzarella instead. The residual heat melts it perfectly without making it greasy.
I personally love the combo of both. A little Parmesan for that salty crunch, a little mozzarella for the gooey factor. It’s a crowd-pleaser every time.
Stage 4: Garnish and Serve
Once the bread is out of the oven, garnish with extra parsley and chives if you’re using them. The fresh herbs add a pop of color and a fresh flavor that cuts through the richness of the butter.
Let it cool for just a minute or two before slicing. This helps the butter set a little, so you don’t end up with a greasy mess. Then slice it into pieces and serve immediately. The smell of garlic butter toasting is going to make everyone’s mouth water.
Tips for the Best Garlic Bread
I’ve made a lot of garlic bread over the years. Here are my best tips to make sure yours turns out perfect every time.
Pro Tip: The Butter Must Be Soft
Why it matters: Room temperature butter spreads like a dream. Cold butter tears the bread and leaves uneven patches. Just leave your stick of butter out for 30 minutes before you start. Or microwave it for 10 seconds if you’re in a hurry.
- Use fresh garlic, not jarred. I know I keep saying this, but it’s the single biggest difference between good garlic bread and great garlic bread. The jarred stuff has a stale, metallic taste that just doesn’t compare.
- Mince the garlic really fine. You don’t want big chunks of raw garlic. Tiny pieces distribute evenly and cook through properly. A microplane works great for this.
- Don’t skip the salt. That ⅛ teaspoon of sea salt might seem like nothing, but it amplifies the garlic flavor and balances the richness of the butter.
- Watch your baking time. For soft garlic bread, take it out closer to 10 minutes. For crispy garlic bread, go for 15-18 minutes. Just keep an eye on it.
- For a crunchier texture, bake longer. If you like your garlic bread extra crispy, add 3-5 minutes to the baking time. But watch closely so it doesn’t burn.
Common mistakes? Let me save you the trouble.
- ❌ Mistake: Using cold butter. ✅ Solution: Always soften your butter first.
- ❌ Mistake: Not mincing garlic fine enough. ✅ Solution: Use a microplane or garlic press for even pieces.
- ❌ Mistake: Burning the garlic by baking too long. ✅ Solution: Set a timer and check at 10 minutes.
- ❌ Mistake: Not watching the bread while broiling. ✅ Solution: Skip the broiler entirely and use the oven at 425°F.
Variations to Try
Once you’ve mastered the basic garlic bread recipe, feel free to mix it up. Here are some of my favorite variations.
Cheesy Garlic Bread
This is probably the most popular variation. Add ¼ cup of freshly grated Parmesan cheese during the last 2 minutes of baking. Or swap it for ½ cup of shredded mozzarella for that stretchy, gooey mozzarella garlic bread. You can even do both. No judgment here.
Vegan Garlic Bread
For a vegan version, substitute the butter with a good plant-based butter. I like the one from Miyoko’s. It’s rich and creamy and works perfectly for garlic bread. You can also use vegan cheese if you want, but honestly, the garlic butter is so good on its own you might not miss it.
Herb-Infused Garlic Bread
Add a little extra fresh parsley or chives to the butter mixture. The herbs add a fresh, bright flavor that’s perfect for summer. You can also try adding a pinch of red pepper flakes if you like a little heat.
Baguette Garlic Bread
If you don’t have a sourdough loaf, a good baguette garlic bread works great. Just slice the baguette in half lengthwise and follow the same instructions. The baking time might be a minute or two less since baguettes are thinner.
Storage and Reheating
Made too much garlic bread? No such thing. But if you have leftovers, here’s how to keep them tasting great.
Storing leftovers: Store leftover garlic bread in an airtight container at room temperature for up to 2 days. If you need to keep it longer, you can refrigerate it for up to 3 days. Just know that refrigeration can make the bread a little drier.
Freezing: You can freeze garlic bread either before or after baking. For unbaked garlic bread, wrap it tightly in plastic wrap or foil and freeze for up to 3 months. For baked garlic bread, freeze for up to 2 months. Just thaw in the fridge overnight before reheating.
Reheating: The best way to reheat garlic bread is in the oven. Preheat to 350°F and bake for 5-7 minutes. This brings back that crispy exterior and soft interior. If you’re in a hurry, you can microwave it wrapped in a damp paper towel for about 20 seconds. It won’t be as crispy, but it’ll still taste good.
For frozen garlic bread, reheat at 375°F until thawed and crisp, about 10-15 minutes. You can also wrap it in foil for the first 10 minutes to help it thaw, then remove the foil for the last 5 minutes to crisp up.
Frequently Asked Questions
Serving Ideas and Pairings
This garlic bread is the ultimate side dish. It pairs perfectly with so many things. Here are a few ideas for your next BBQ or dinner.
- Pasta dishes: Serve it alongside spaghetti and meatballs, lasagna, or any pasta with marinara sauce. The bread is perfect for sopping up extra sauce.
- Grilled meats: It’s a quick side dish BBQ lovers will appreciate. Pair it with burgers, steaks, or grilled chicken. The buttery garlic flavor complements the smoky char from the grill.
- Soups and salads: A bowl of tomato soup or a fresh garden salad is even better with a side of crispy garlic bread.
- Dipping: Serve with marinara sauce or extra garlic butter for dipping. It’s a simple appetizer that disappears fast.
Your garlic bread is going to be the star of the plate. I promise. The smell alone will have everyone hovering around the kitchen. And when you pull that tray out of the oven, golden and sizzling, you’ll feel like a hero. It’s that easy.
If you try this recipe, I’d love to hear how it goes. Share your photos and tag me. And if you’re looking for more summer side dishes, check out my other garlic bread recipe variations. Happy cooking!
Source: USDA Nutritional Data
Help! Why is my garlic bread from scratch soggy?
Soggy garlic bread usually means the butter wasn’t spread evenly or the bread wasn’t baked long enough. Make sure your butter is softened so it coats the bread evenly. Also, bake at 425°F for at least 10 minutes to let the moisture cook off. For extra insurance, toast the bread for 2 minutes before adding the butter.
Can I make this recipe ahead?
Absolutely. You can prepare the garlic butter mixture up to 2 days ahead and store it in the fridge. When you’re ready, just spread it on the bread and bake. You can also assemble the whole garlic bread (butter and all) and refrigerate it unbaked for a few hours. Then bake it fresh right before serving.