
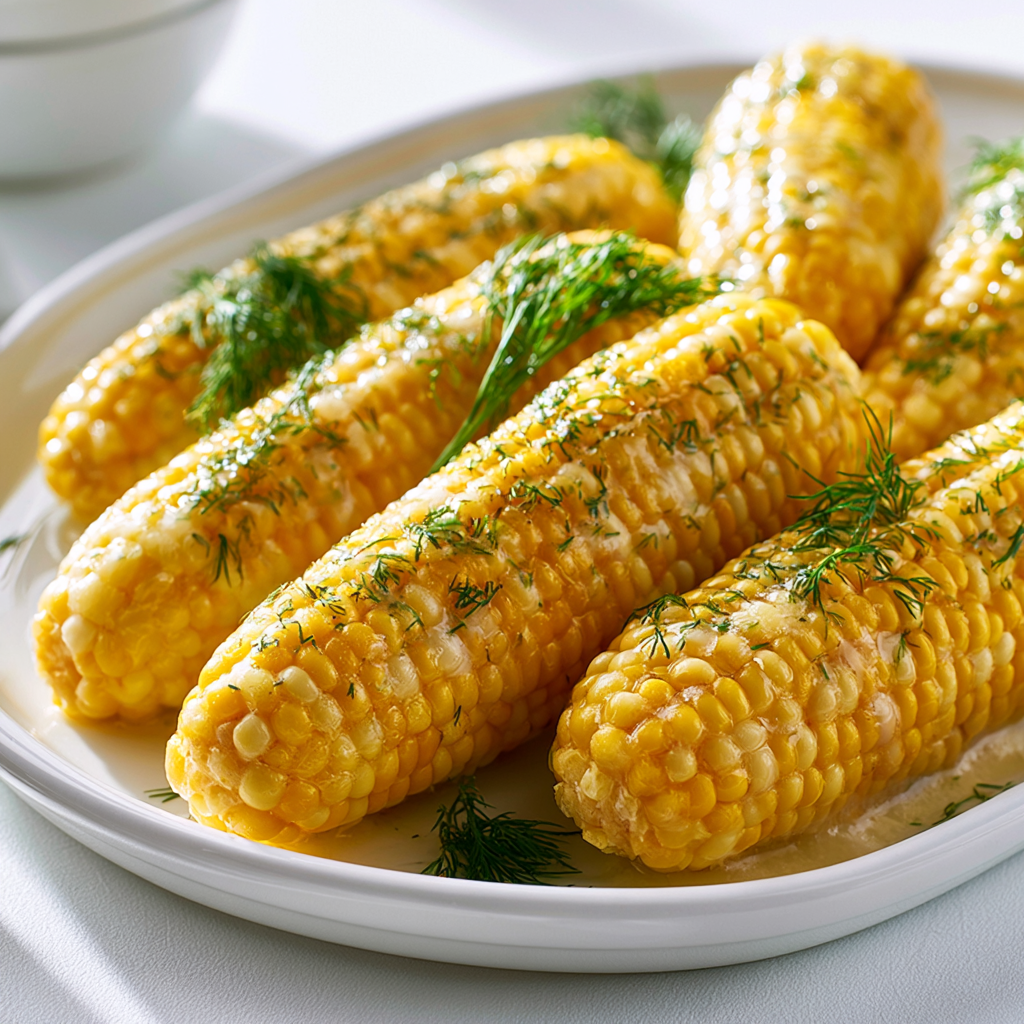
Why This Recipe Works
I’ll be honest with you. For years, I made terrible boiled corn on the cob. Like, really bad. It was either mushy and waterlogged or tough and chewy. My family would smile politely and reach for the salad instead. And I’d be standing there thinking, “It’s just corn. How hard can this be?”
Turns out, harder than I thought. Until I figured out the quick corn trick that changed everything.
The problem was I was doing what most people do. I’d toss the corn into cold water, crank up the heat, and walk away. Twenty minutes later, I’d have sad, flavorless kernels. The kind that need a ton of butter and salt just to be edible. And honestly, that’s not what summer is about, right?
Summer corn should be a celebration. That first bite where the butter runs down your chin? That’s what we’re after. Sweet, juicy kernels that pop when you bite them. The kind of corn that makes people close their eyes and go “mmm” without thinking about it.
So I did what I always do when I’m stuck on a recipe. I tested everything. I boiled corn with the husk on and off. I tried adding salt, sugar, milk, even a stick of butter. I timed every batch. I took notes like a mad scientist. And eventually, I landed on this method.
This isn’t just any boiled corn on the cob. It’s the one that uses a little sugar and butter in the water, plus an optional splash of milk for extra sweetness. The result is corn that tastes like it came from a fair or a roadside stand, not your average weeknight kitchen. And the best part? It takes about 20 minutes from start to finish. No complicated steps. No fancy equipment. Just a pot, some water, and a few pantry staples.
I promise, once you try this, you’ll never go back to plain boiled corn again.
Key Ingredients
Here’s the thing about this recipe. The ingredient list is short, but every single one plays a specific role. Let me break it down for you.
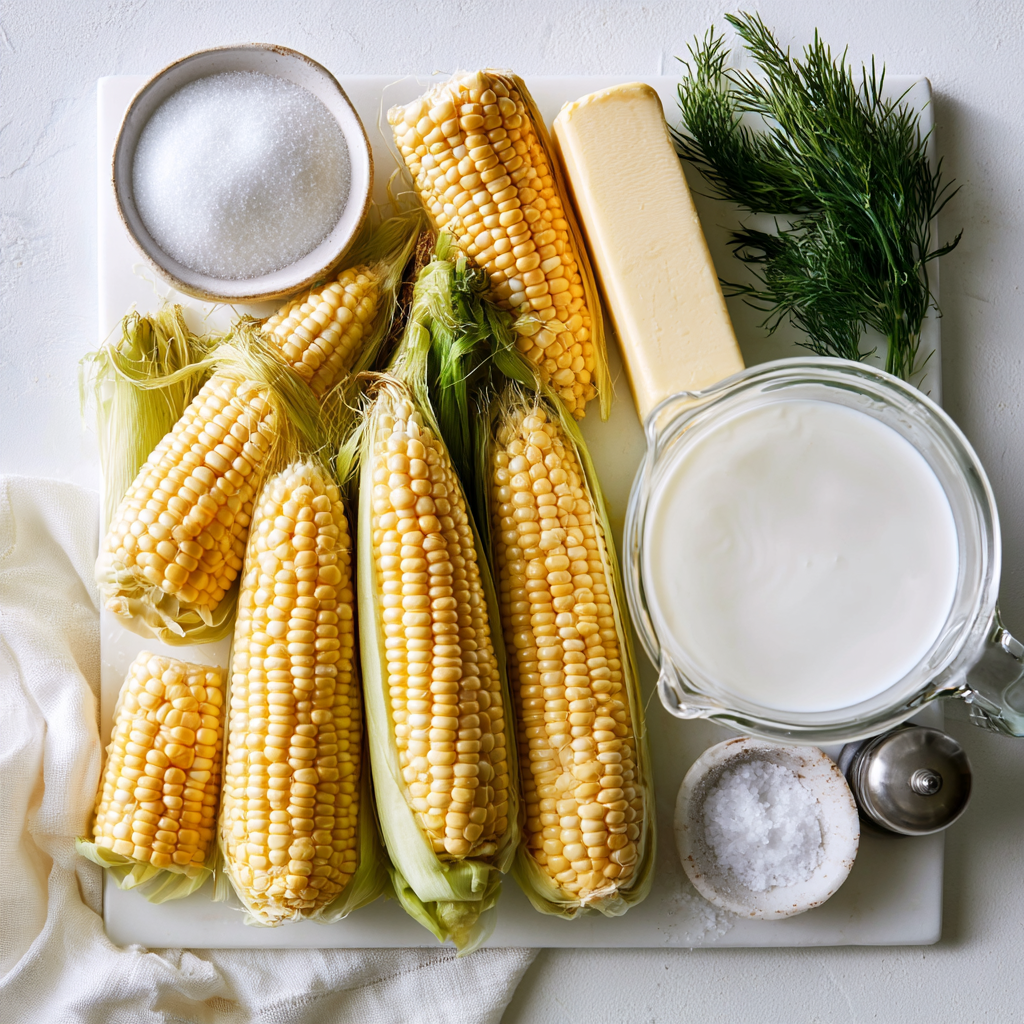
- Fresh corn on the cob – This is the star, obviously. And freshness matters more than you think. The moment corn is picked, its natural sugars start turning into starch. So the fresher the corn, the sweeter it’ll be. Look for ears with bright green husks that feel snug, not loose. The silk should be slightly sticky and brown, not dry. And when you peel back a tiny bit of the husk, the kernels should look plump and juicy. I like to buy mine from the farmers market or the local grocery store the day I’m planning to cook it.
- Sugar – This is my quick corn trick. Just a teaspoon or two in the water. It doesn’t make the corn overly sweet. It just enhances the natural sweetness that’s already there. Think of it as a little boost. Like putting a pinch of salt in cookie dough. It doesn’t make the cookies salty. It makes them taste more like cookies.
- Unsalted butter – Two tablespoons go into the water, plus more for brushing at the end. The butter in the water adds richness and helps the kernels stay tender. And the butter you brush on at the end? That’s pure magic. Use unsalted so you can control the salt level yourself.
- Whole milk (optional) – This is the secret weapon. A splash of milk in the water gives the corn a creamier, almost sweet-corn flavor. It’s not necessary, but if you want that extra something, try it. I do it every time now, honestly.
- Salt and freshly ground black pepper – Salt is like a flavor key. Without it, the corn stays shy. Pepper adds a tiny kick that balances the sweetness. Don’t skip them.
- Fresh dill (optional) – For garnish. It adds a fresh, slightly grassy note that’s amazing with the sweet corn. Not mandatory, but pretty and tasty.
That’s it. Seven ingredients. Most of which you probably already have in your kitchen. No fancy stuff. No trips to a specialty store. Just real, simple food.
How to Boil Corn on the Cob
Alright, let’s get to the actual cooking. I’ll walk you through the four main stages. Each one has a specific purpose, and I’ll tell you why it matters.
Stage 1: Prep the Corn
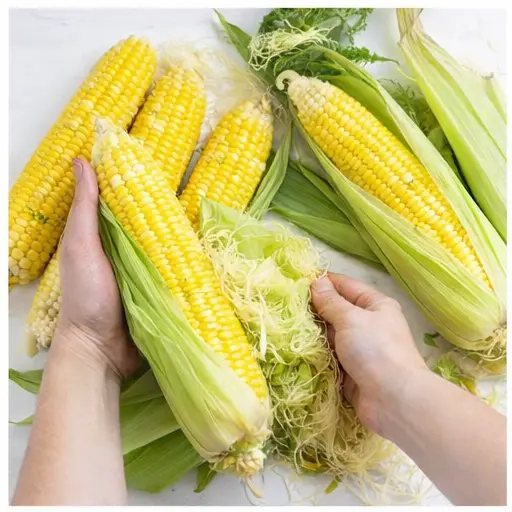
Start by shucking the corn. Peel back the husks and remove them completely. Then get rid of all that silk. You know, those annoying little threads that stick to everything.
Here’s a trick I learned. After you peel the husks back, grab a paper towel and rub it down the ear of corn. The silk will stick to the towel and come right off. Way faster than picking at them with your fingers. Trust me on this one.
If your ears are really long and won’t fit in your pot, cut them in half crosswise. No big deal. They’ll cook just fine.
Stage 2: Get the Water Ready
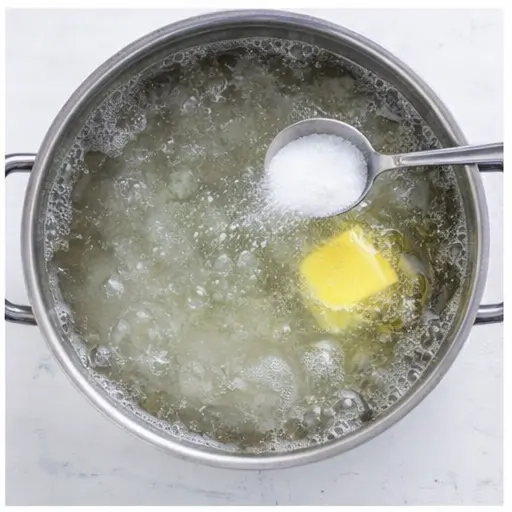
Fill a large pot with enough water to fully submerge all your corn. Bring it to a rolling boil over high heat. This is important. You want the water really boiling before you add anything else.
Once it’s boiling, stir in the sugar and butter until they’re fully melted. If you’re using the milk, pour it in now too. Give everything a good stir.
Stage 3: Boil the Corn
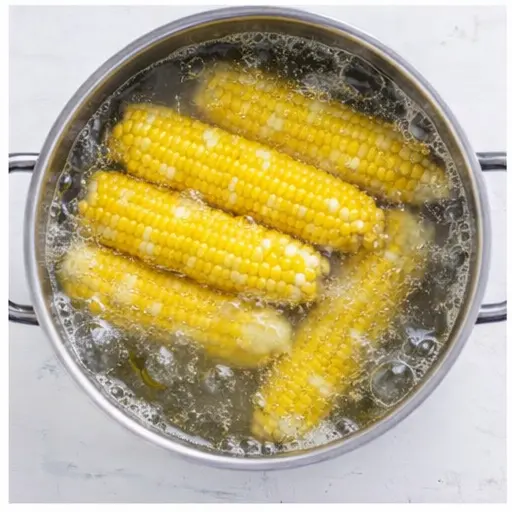
Carefully add the corn to the pot. Use tongs for this. Don’t just drop it in and splash yourself with boiling water. Reduce the heat to medium, cover the pot, and let it cook.
Here’s where timing gets specific. Different types of corn cook at different rates:
- White corn – 5 to 7 minutes
- Yellow corn – 10 to 15 minutes
- Bi-color corn – 15 to 20 minutes
I know that seems like a big range, but it really does matter. White corn is more delicate and cooks faster. Yellow corn is a bit heartier. And bi-color, which is a mix of both, falls somewhere in between. If you’re not sure what kind you have, start checking at the 8-minute mark. You can always cook it a little longer, but you can’t uncook it.
Stage 4: Season and Serve
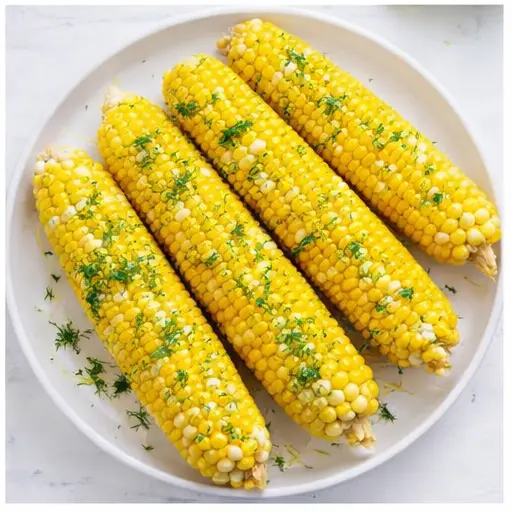
Use tongs to remove the corn from the pot. Let the excess water drip off for a second. Then brush each ear with additional butter. Don’t be shy here. Coat them well.
Season with salt and pepper to taste. If you’re using fresh dill, sprinkle it on now. Serve immediately while it’s hot.
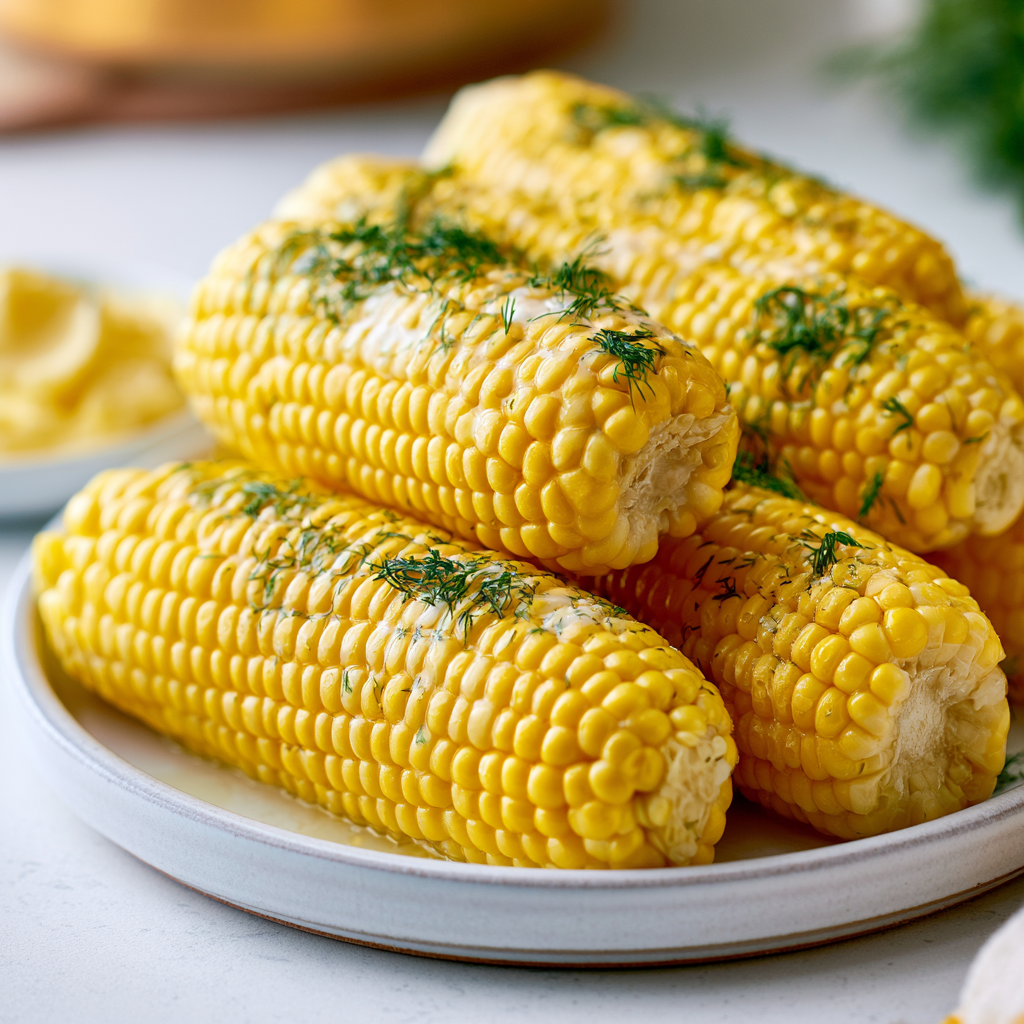
That first bite, where the butter mixes with the sweet corn juice and runs down your chin? That’s the moment. That’s what we’re after.
Tips for Perfect Boiled Corn
Over the years, I’ve made pretty much every mistake you can make with boiled corn on the cob. Here’s what I learned so you don’t have to.
Common Mistakes and How to Fix Them
❌ Overcooking: This is the number one mistake. Corn that boils too long becomes tough and chewy, and the kernels lose their sweetness. The solution? Set a timer and check early. Remember the timing ranges I gave you. Start checking at the shortest time and go from there.
❌ Using old corn: Corn that’s been sitting in the fridge for a week won’t be as sweet or juicy. The sugars have already turned to starch. Solution? Buy corn the same day you plan to cook it. Or at least within 24 hours.
❌ Not covering the pot: If you leave the pot uncovered, the water takes longer to come back to a boil after you add the corn. That means uneven cooking. Solution? Put the lid on. Simple as that.
❌ Adding corn to cold water: This is a big one. If you put corn in cold water and then heat it up, it cooks unevenly and can get waterlogged. Solution? Always add corn to already boiling water.
Here are a few more tips that make a real difference:
- How to keep corn warm without overcooking: Turn off the heat and leave the corn in the hot water for up to 40 minutes. It’ll stay warm without getting mushy. Perfect if you’re juggling other dishes.
- If you prefer a firmer bite: Cook for the shorter time in each range. Some people like their corn with a little more crunch. That’s totally fine.
- For a creamier flavor: Add up to 1 cup of whole milk to the cooking water. It gives the corn a richness that plain water just can’t match.
- Don’t salt the water: I know this sounds weird, but adding salt to the water can actually make the corn tough. Save the salt for after it’s cooked. Trust me on this one.
Variations and Serving Ideas
One of the best things about this recipe is how versatile it is. Once you’ve mastered the basic boiled corn on the cob, you can switch it up in so many ways.
Here are some of my favorite variations:
- Classic butter and herbs: Brush the cooked corn with melted butter and sprinkle with fresh herbs like dill, chives, or basil. Simple and perfect.
- Spicy version: After brushing with butter, sprinkle with a little chili powder or smoked paprika. The heat balances the sweetness beautifully.
- Cheesy corn: Grate some parmesan or cotija cheese over the buttered corn. It melts slightly and adds a savory, salty kick.
- Lime and chili: Squeeze fresh lime juice over the corn, then sprinkle with chili powder. This is a California-inspired twist that’s amazing.
- Garlic herb butter: Mix softened butter with minced garlic and chopped herbs, then brush it on the hot corn. So good.
And here’s a fun idea. If you’re already grilling burgers or chicken for a summer BBQ, you can take your boiled corn and finish it on the grill for a minute or two. Just long enough to get some char marks. It adds a smoky flavor that’s incredible.
This corn works as a side dish for pretty much anything. Burgers, hot dogs, grilled chicken, steak, fish. It’s also great at potlucks or holiday gatherings. I’ve even served it at Thanksgiving, and people loved it.
Frequently Asked Questions
Storage and Reheating
If you have leftover corn, don’t worry. It stores and reheats really well. Here’s what to do.
Storing: Let the corn cool completely. Then wrap each ear individually in plastic wrap or aluminum foil, or place them in an airtight container. They’ll keep in the fridge for up to 3 days.
Reheating: You have a few options. The easiest is to drop the corn back into boiling water for just 1 to 2 minutes, until it’s warm. You can also microwave it. Wrap each ear in a damp paper towel and microwave in 20-second intervals until hot. Or reheat in the oven. Wrap the corn in foil, sprinkle with a little water, and bake at 300°F for 5 to 10 minutes.
Freezing: I don’t recommend freezing boiled corn. The texture gets mushy when you thaw it. If you want to freeze corn, blanch it first without cooking it all the way through. That’s a different process entirely.
Make ahead: You can boil the corn up to 2 days in advance and keep it in the fridge. Then just reheat it when you’re ready to serve. Perfect for meal prep or holiday dinners.
Conclusion
Look, I know it’s just corn. But there’s something special about getting it right. That moment when you bite into a perfectly cooked ear of corn, and the sweetness hits you, and the butter coats your lips, and you think, “Yeah, this is summer.”
This recipe is my gift to you. No more mushy corn. No more flavorless kernels. Just perfect boiled corn on the cob every single time. And honestly, once you master this quick corn trick, you’ll wonder why you ever struggled with it.
So here’s my challenge to you. Try this recipe tonight. Grab some fresh corn from the store or the farmers market. Follow the steps I laid out. And tell me your kitchen doesn’t smell like summer. Tell me your family doesn’t ask for it again.
And if you love it, share it with someone else. That’s what cooking is all about, right? Passing along the good stuff.
For more recipe inspiration and behind-the-scenes kitchen fun, come find me on Pinterest. I’m always pinning new ideas there.
Source: Health & Nutrition Research
Sweet Butter Boiled Corn on the Cob
Ingredients
Method
- Peel back and remove the husks and silk from each ear of corn. If the ears are too long for your pot, cut them in half crosswise.
- Fill a large pot with enough water to fully submerge the corn and bring it to a rolling boil over high heat.
- Stir in the sugar and butter until melted. If you're using milk for a richer taste, pour it in now.
- Carefully add the corn to the pot. Reduce the heat to medium, cover, and let it cook until tender—white corn takes about 5 to 7 minutes, yellow corn 10 to 15 minutes, and bi-color corn 15 to 20 minutes.
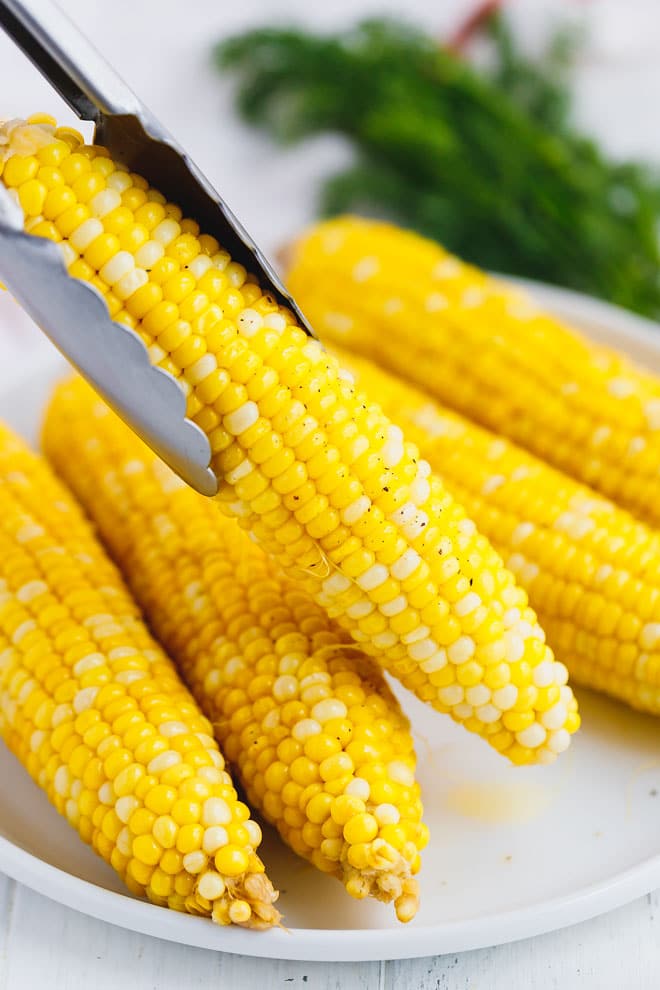
- Use tongs to remove the corn. Brush each ear with additional butter, then season with salt and pepper. Sprinkle with fresh dill if you like.
Nutrition
Notes
Tried this recipe?
Let us know how it was!How do you know when boiled corn on the cob is done?
The kernels should look plump and bright, and they should be tender when you pierce them with a fork. The color also becomes more vibrant. White corn turns slightly translucent, yellow corn gets a deeper golden hue. Start checking at the shortest cooking time for your corn type.
What is the best way to cook boiled corn on the cob?
This recipe is my go-to. Add sugar and butter to boiling water, plus a splash of milk if you want it creamier. Cook white corn 5-7 minutes, yellow corn 10-15, bi-color 15-20. Brush with more butter and season with salt and pepper. It’s simple and always perfect.
How long does it take to boil corn on the cob?
It depends on the type of corn. White corn takes 5 to 7 minutes, yellow corn 10 to 15 minutes, and bi-color corn 15 to 20 minutes. The total time from start to finish, including bringing the water to a boil, is about 20 to 25 minutes.
Can you cook frozen corn on the cob?
Yes, you can. Add the frozen corn directly to the boiling water without thawing. It will need about 5 to 8 minutes of cooking time. The texture might be slightly softer than fresh corn, but it’s still delicious, especially with butter and seasoning.
Can you boil corn unpeeled?
You can, but I don’t recommend it for this recipe. Boiling corn in the husk takes longer and can make the kernels steam rather than boil, which gives a different texture. For the sweetest, most tender results, remove the husks and silk before boiling.
Can I make boiled corn on the cob with milk?
Absolutely. Adding up to 1 cup of whole milk to the cooking water gives the corn a creamier, almost sweet-corn flavor. It’s completely optional, but I love it. Just add the milk when you add the sugar and butter to the boiling water.
Can I grill corn after boiling it?
Yes, and it’s a great trick. After boiling the corn, drain it and place it on a hot grill for 1 to 2 minutes per side. You’ll get beautiful char marks and a smoky flavor. Brush with butter before and after grilling for the best results.