
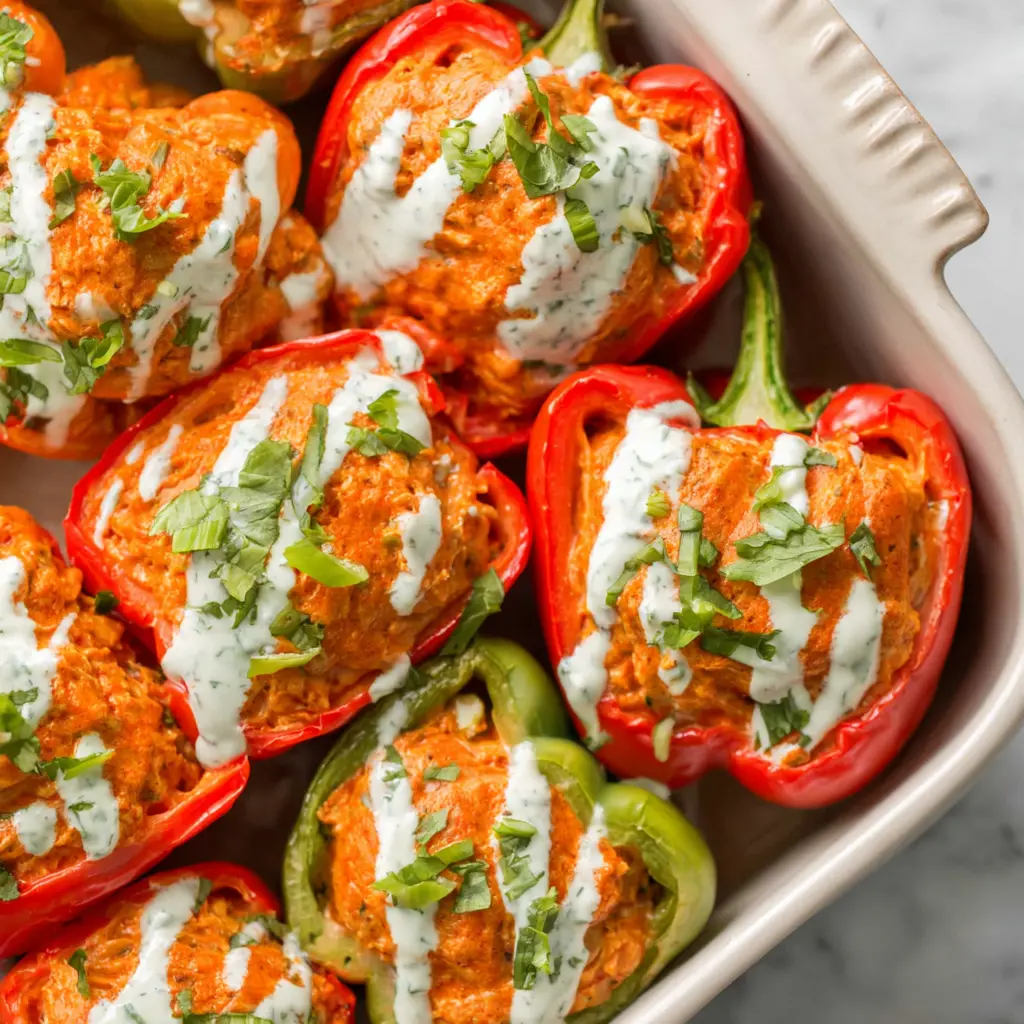
Why You’ll Love These Buffalo Chicken Stuffed Peppers
I used to think stuffed peppers were a science project. You know the type you spend an hour layering rice, meat, and sauce, bake them forever, and they still come out watery and sad. Until I figured out the shortcuts.
These buffalo chicken stuffed peppers are the opposite of that. They’re creamy, spicy, and actually hold their shape. Plus they’re naturally low carb and dairy-free (if you use the right ranch). Honestly, they’ve become my go-to for those nights when I want buffalo wings but don’t want the mess.
Here’s what makes these different:
- No pre-cooking the peppers they bake perfectly tender in the sauce
- Rotisserie chicken shortcut shred it while the oven preheats
- That creamy mayo base it keeps the filling moist without being heavy
- One dish, minimal cleanup mix, fill, bake, done
My husband, who usually side-eyes anything that isn’t a chicken wing, asked for these three nights in a row. That’s when I knew I had something good.
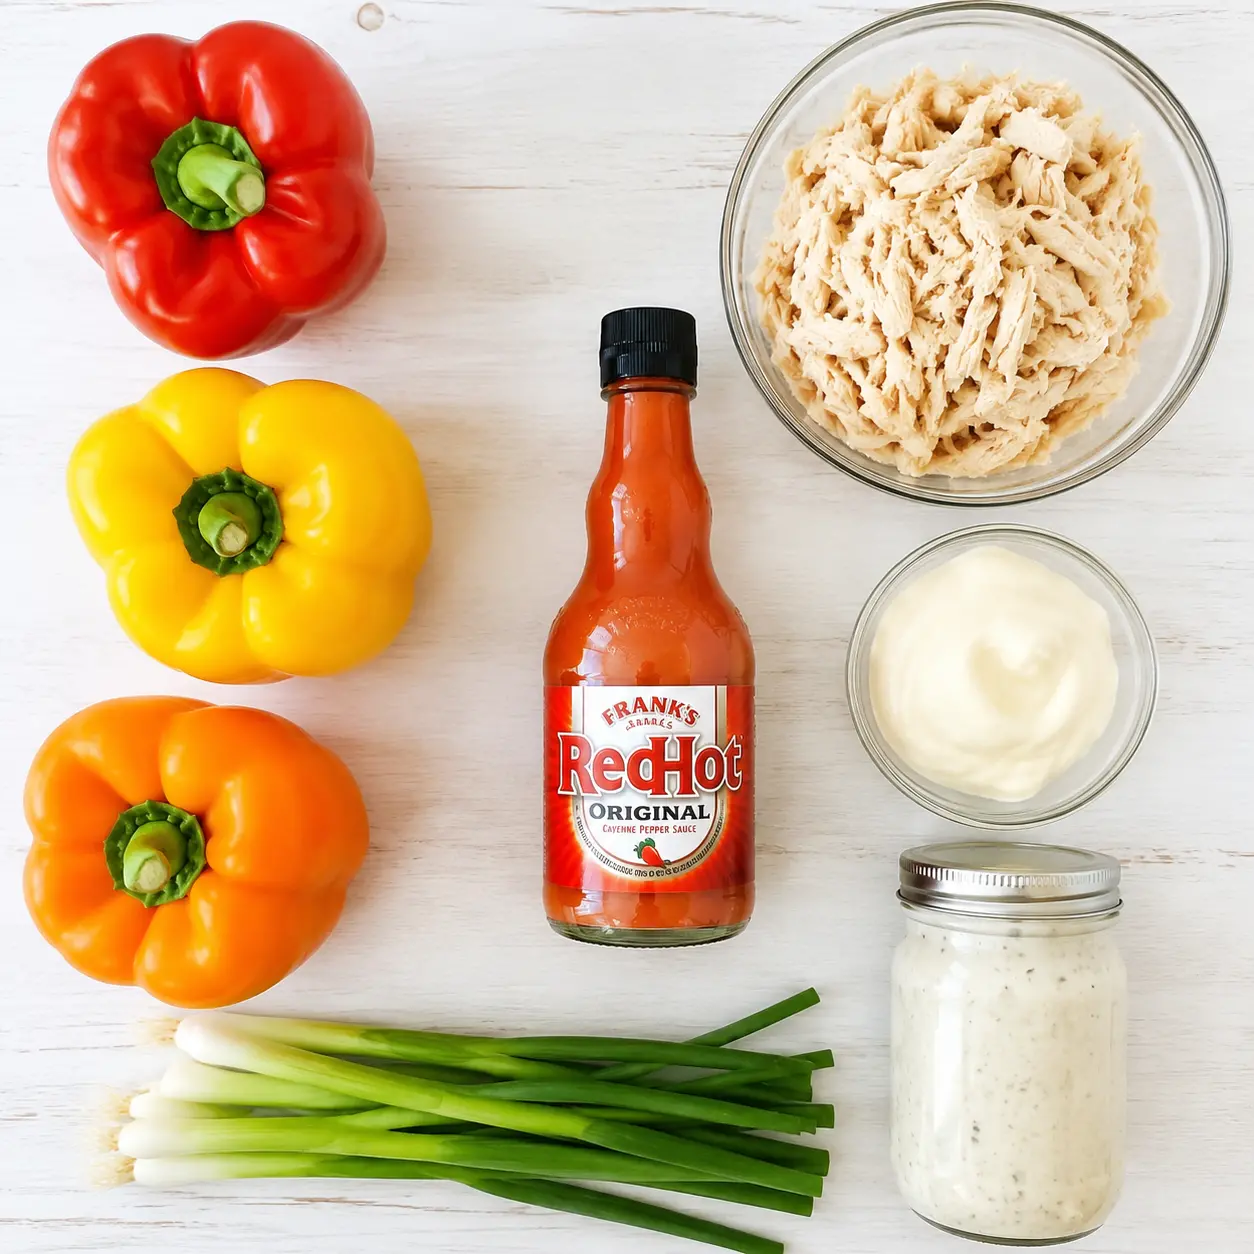
The Best Way to Cut Stuffed Peppers
Okay, let’s talk pepper geometry for a second. I’ve tried every method cutting off the tops like little bowls, slicing them into rings, even dicing them up and mixing everything together. For these buffalo chicken stuffed peppers, halving them lengthwise is the move.
Here’s why: when you cut them in half through the stem (top to bottom), you get two natural boat shapes that sit flat in the dish. No wobbling, no tipping over. Plus you get more surface area for that beautiful browned filling on top.
A few tips for perfect pepper prep:
- Use any color bell pepper red, yellow, orange, green. Red are sweetest, green are more bitter. I like a mix for color.
- Slice off a thin sliver from the bottom of each half if it’s rounded just so they sit flat.
- Remove all the white ribs inside. Those ribs hold water and make peppers soggy.
- Pat the inside dry with a paper towel. Helps the filling stick.
How to Make Buffalo Chicken Stuffed Peppers
I’m going to walk you through the four big stages here. Don’t stress about exact measurements the recipe card below has all that. This is more about the why behind each step.
Stage 1: Prep the Peppers and Preheat
Set your oven to 350°F. While it’s heating up, halve and seed your bell peppers. I like to use a large cast iron skillet or a 9×13 baking dish for this something with sides so the filling doesn’t spill out.
Lightly grease the dish with a little oil or nonstick spray. Arrange the peppers cut side up. They should be snug but not crammed together.

Stage 2: Make the Creamy Buffalo Filling
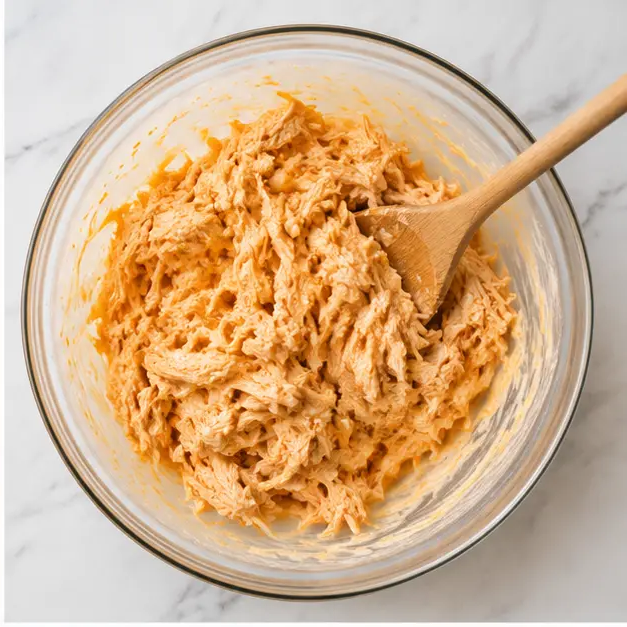
This is where the magic happens. In a large bowl, combine your shredded chicken, mayonnaise, Frank’s RedHot Sauce (or your favorite buffalo sauce), garlic powder, onion powder, salt, pepper, and the nutritional yeast if you’re using it.
Now, I know nutritional yeast sounds weird. But it adds this subtle cheesy, nutty flavor that works so well with buffalo sauce. If you don’t have it, no big deal just leave it out.
Mix everything together until it’s well combined. Taste it. Need more heat? Add another splash of hot sauce. Want it creamier? A little more mayo. This is your filling make it yours.
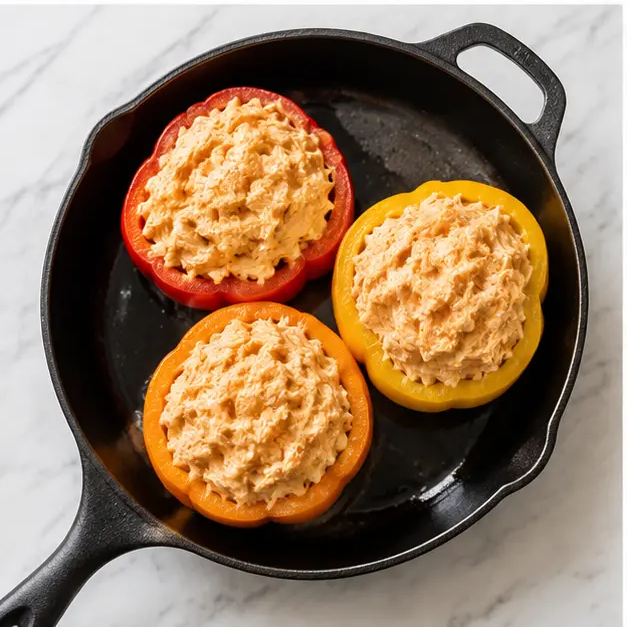
Stage 3: Fill the Peppers
Spoon the chicken mixture evenly into each pepper half. Don’t pack it in too tightly you want it mounded but light. Overpacking makes the filling dense and heavy.
I usually get about 6 good-sized halves from 3 large bell peppers. If your peppers are smaller, you might end up with extra filling. That’s fine! Serve it on the side with some celery sticks, or stuff it into mini sweet peppers for a snack.
Stage 4: Bake to Perfection
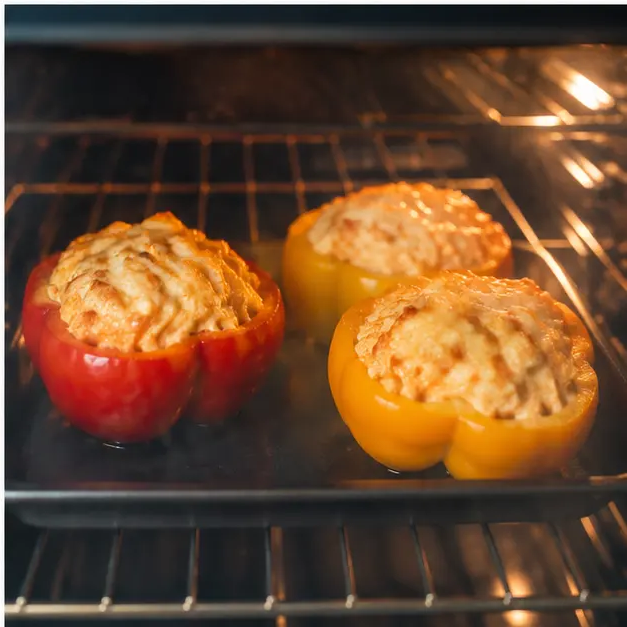
Cover the dish with foil and bake for 30 minutes. This steams the peppers so they get tender without drying out. Then remove the foil and bake for another 20 minutes. That uncovered time lets the top get slightly browned and the filling bubble up.
How do you know they’re done? The peppers should be fork-tender a knife should slide in with little resistance. The filling will be hot and bubbling around the edges. If you want more color on top, you can broil them for the last 2 minutes, but watch closely so they don’t burn.
Recipe Variations
One of the best things about these buffalo chicken stuffed peppers is how flexible they are. Here are some ways to switch it up:
- Add some crunch: Mix in 1/2 cup of finely diced celery or carrot for texture.
- Make it cheesy: Stir in some dairy-free cheese shreds or top with crumbled dairy-free feta before the last 10 minutes of baking.
- Bump up the heat: Use extra hot sauce or add a pinch of cayenne pepper to the filling.
- Go mild: Cut the hot sauce to 1/4 cup and add a little extra mayo for a creamier, less spicy version.
- Different peppers: Poblano peppers work great (bake 10 minutes covered first). Mini sweet peppers make perfect appetizers (bake 15-20 minutes total).
- Not dairy-free? Use regular ranch dressing and regular mayonnaise. It’ll be just as delicious.
Quick Troubleshooting
Soggy peppers? Make sure you removed all the white ribs and patted the insides dry. Also, don’t overbake check at the 45-minute mark.
Too spicy? Serve with extra ranch or a dollop of plain dairy-free yogurt. You can also use a mild buffalo sauce instead of Frank’s.
Want more heat? Add an extra tablespoon of hot sauce or a pinch of cayenne to the filling. You can also drizzle more buffalo sauce on top before serving.
Meal Prep Tips
These buffalo chicken stuffed peppers are a meal prep dream. Here’s how to get ahead:
- Prep the filling up to 3 days ahead: Mix the chicken, mayo, hot sauce, and seasonings. Store in an airtight container in the fridge.
- Slice the peppers up to 3 days ahead: Halve and seed them, then store in a zip-top bag with a paper towel to absorb moisture.
- Assemble and refrigerate: Fill the peppers and keep them covered in the fridge for up to 24 hours before baking. You might need to add 5-10 minutes to the bake time since they’re starting cold.
- Freeze the filling: The buffalo chicken mixture freezes beautifully for up to 3 months. Thaw overnight in the fridge before using.
For busy weeks, I’ll make a double batch of the filling on Sunday. Then on Tuesday, I just halve some peppers, fill them, and bake. Dinner in under an hour with almost no active work.
Storage and Leftovers
Got leftovers? Lucky you. Here’s how to keep them tasting great:
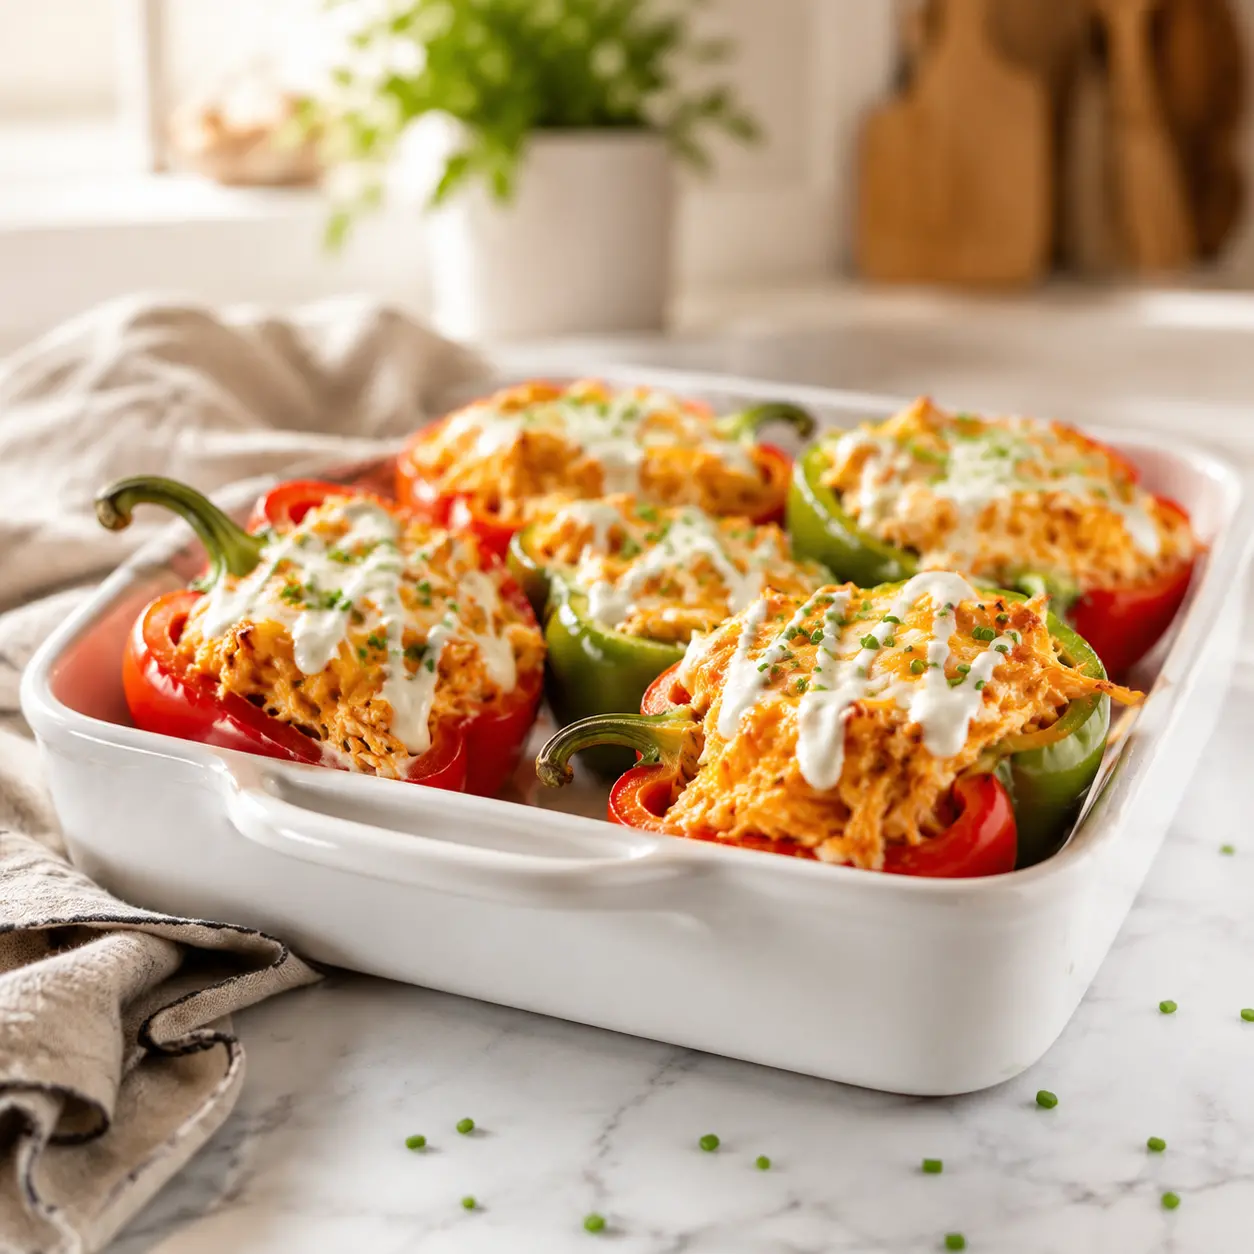
- Fridge: Store in an airtight container for up to 4 days. The flavors actually get better as they sit.
- Freezer: Wrap each pepper individually in plastic wrap, then place in a freezer-safe container. They’ll keep for up to 3 months.
- Reheating: Oven at 350°F for 10-15 minutes (cover with foil if browning too fast). Microwave covered with a paper towel for 2-3 minutes. Or reheat in a skillet with a splash of water, covered, over medium-low heat.
- Pro tip: Cut leftover peppers in half before reheating they warm up faster and more evenly.
Common Mistakes to Avoid
I’ve made every mistake in the book so you don’t have to. Here’s what to watch out for:
- ❌ Packing the filling too tightly It makes the texture dense and heavy. Spoon it in gently for a lighter result.
- ❌ Skipping the foil covering The peppers need that covered time to steam and become tender. Without it, they’ll be crunchy.
- ❌ Overcooking the peppers They should be tender but still hold their shape. Check at 45 minutes if your peppers are on the smaller side.
- ❌ Using cream cheese in the filling It can make the filling heavy and gloppy. Mayonnaise gives you that creamy texture without the weight. If you really want cream cheese, use half and half.
- ❌ Not tasting the filling before stuffing This is your only chance to adjust seasoning. Taste it! Add more hot sauce, salt, or garlic powder as needed.
Frequently Asked Questions
Recommended Tools to Make This Recipe
You don’t need fancy equipment for these buffalo chicken stuffed peppers, but a few things make the process easier:
- A large cast iron skillet or 9×13 baking dish Holds all the peppers snugly
- A sharp chef’s knife For cleanly halving those bell peppers
- A medium mixing bowl For combining the filling
- Aluminum foil For that covered baking step
- Tongs For handling hot peppers when serving
And that’s it. Simple, right?
These buffalo chicken stuffed peppers have become a staple in my kitchen. They’re the kind of dinner that feels like a treat but comes together with minimal fuss. The peppers get tender, the filling stays creamy and spicy, and that drizzle of ranch on top? Chef’s kiss.
I really hope you try them. And if you do, tag me on Pinterest I genuinely want to see your cheesy, saucy, beautiful results. Nothing makes my day like seeing someone else fall in love with a recipe.
Buffalo Chicken Stuffed Peppers (Dairy-Free & Low Carb)
Ingredients
Method
- Preheat your oven to 350°F. Arrange the halved and seeded bell peppers cut side up in a lightly greased large skillet or baking dish.
- In a large bowl, combine the shredded chicken, mayonnaise, hot sauce, garlic powder, onion powder, salt, black pepper, nutritional yeast (if using), and sliced green onions. Mix until everything is well combined. Taste and adjust with more hot sauce or salt if needed.
- Spoon the chicken mixture evenly into each pepper half, packing it in gently.
- Cover the dish with foil and bake for 30 minutes. Remove the foil and continue baking for another 20 minutes, or until the peppers are tender and the filling is bubbling and lightly browned.
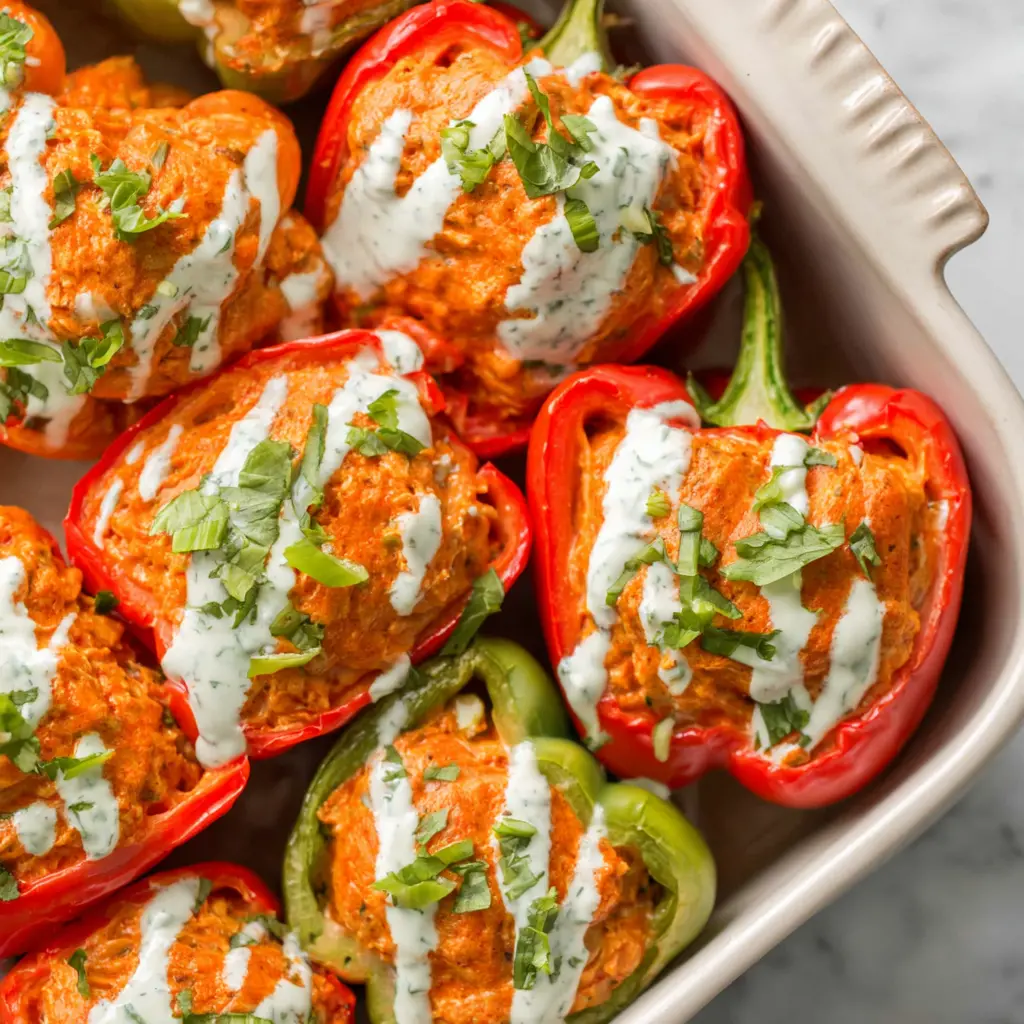
- Drizzle with dairy-free ranch dressing, sprinkle with additional sliced green onions and fresh herbs, then serve warm.
Nutrition
Notes
Tried this recipe?
Let us know how it was!How long to bake buffalo chicken stuffed peppers?
Bake covered with foil at 350°F for 30 minutes, then uncovered for 20 more minutes. Total bake time is about 50 minutes. The peppers should be fork-tender and the filling bubbling when done.
Can I refrigerate buffalo chicken stuffed peppers?
Absolutely. Store them in an airtight container in the fridge for up to 4 days. They reheat beautifully in the oven, microwave, or a covered skillet. The flavors actually deepen overnight.
Can I freeze buffalo chicken stuffed peppers?
Yes! Wrap each pepper individually in plastic wrap, then place in a freezer-safe container. They’ll keep for up to 3 months. Thaw overnight in the fridge before reheating in the oven at 350°F.