
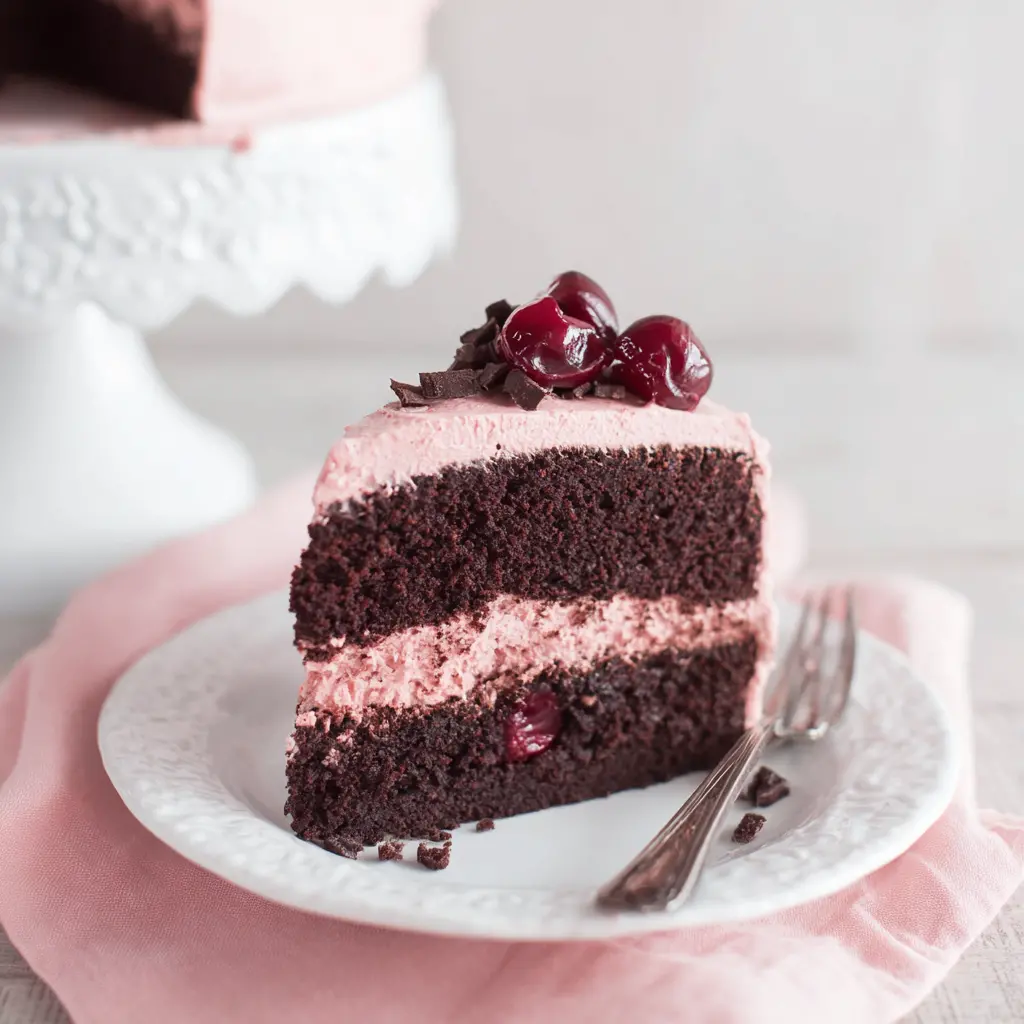
Why This Chocolate Cherry Layer Cake Works
I still remember the first time I tried to layer a cake. It was for my daughter Isabella’s birthday, and I thought I had it all figured out. The cakes came out lopsided, the frosting was too runny, and I ended up with something that looked more like a geological disaster than a birthday cake. Ay, Dios mío! I almost gave up on layer cakes entirely. But this chocolate cherry layer cake changed everything for me. And honestly, it’s way simpler than you think. You know that moment when you want to impress at a family dinner but also want to actually enjoy the party instead of sweating in the kitchen? That’s exactly where this recipe comes in. It’s got that bakery-quality look with the deep, rich flavor of a classic black forest style cake, but without all the fuss. The secret is in how we build the layers and treat the cherries. We’re using tart cherry juice in the batter for moisture, and we’re layering the cherries between the cakes so they don’t sink to the bottom. It’s a simple trick, but it makes all the difference. The other thing I love about this chocolate cherry layer cake is how forgiving it is. If your layers dome a little, no worries. Just level them off. Nobody will ever know. And if your frosting gets a bit too loose, pop it in the fridge for ten minutes. We’re going for delicious here, not perfection. Though honestly, this cake ends up looking pretty perfect anyway.Key Ingredients for the Best Flavor
Let’s talk about what makes this cake sing. The ingredients here aren’t complicated, but a few choices really matter. First up, the cocoa powder. I prefer a high-fat cocoa powder here, something like Dutch-process if you have it. It gives the cake that deep, almost fudgy flavor that pairs so well with the cherries. Natural cocoa works fine too, so don’t stress if that’s what you’ve got in your pantry. The tart cherry juice is the real star. It’s not just for flavor, though it does add that bright, slightly tangy note that cuts through the richness of the chocolate. It also keeps the cake incredibly moist. I’ve tested this with regular cherry juice, and it’s just not the same. You want that tartness to balance the sweetness. You can find pure unsweetened tart cherry juice at most grocery stores, or even online. Trader Joe’s usually carries it, and I’ve seen it at Whole Foods too. And then there are the freeze-dried cherries. These are a game changer. They add intense cherry flavor without any extra moisture, which is exactly what you want in a frosting. When you grind them up, they turn into this beautiful pink powder that flavors the buttercream perfectly. It’s one of my favorite tricks for this layered cherry cocoa cake.How to Make the Chocolate Cake Layers
Alright, let’s get into the actual baking. The key here is to treat your ingredients right. Room temperature eggs are non-negotiable. I know, I know, it’s an extra step, but here’s why it matters: room temperature eggs emulsify better with the oil and sugar, giving you a lighter, more tender crumb. Cold eggs can cause the batter to seize up, and nobody wants a dense cake. Start by whisking your dry ingredients together. The flour, cocoa powder, baking soda, salt, and a tiny bit of cinnamon. Yes, cinnamon. It’s not enough to taste like a snickerdoodle, but it rounds out the chocolate flavor beautifully. Then in a separate bowl, whisk the eggs, sugar, oil, vanilla, and almond extract until it’s smooth and pale. The almond extract is optional, but I love how it plays with the cherries. Now, here’s the trick. You’re going to alternate adding the dry ingredients and the tart cherry juice to the wet mixture. Start with a third of the dry, then half the juice, then another third of dry, the rest of the juice, and finish with the dry. This keeps the batter from getting too thick or too thin. It should be smooth and slightly thick, like a good pancake batter. If it seems a bit thick, don’t panic. That’s how we get those tender layers. Pour the batter into prepared pans. And let me tell you about pan preparation. Use a round of parchment paper in each cake pan. Spray the pans with cooking spray, lay the parchment in, then spray the parchment again. This is the foolproof way to get your cakes out clean. Trust me, I learned this the hard way after my first cake stuck like it was glued down. Bake at 350°F for about 25 to 30 minutes. The cakes are done when a toothpick inserted in the center comes out with a few moist crumbs, not wet batter. Let them cool in the pans for ten minutes, then turn them out onto a wire rack to cool completely. And I mean completely. If you try to frost a warm cake, you’ll end up with a melty mess.Homemade Cherry Filling
While the cakes are cooling, let’s make the cherry filling. This is where you can use fresh or frozen cherries, whichever you have. If you’re using frozen cherries, add an extra half teaspoon of cornstarch to the mixture. Frozen cherries release more liquid as they cook, so you need a little extra thickening power. In a small saucepan, combine your pitted cherries, a bit of sugar, and a splash of the tart cherry juice. Cook over medium heat, stirring occasionally, until the cherries soften and the liquid thickens. This should take about 8 to 10 minutes. You want it to be jammy, not runny. Let it cool completely before you use it. If you rush this step, your filling will slide right out of the cake. You can make this filling three to four days ahead and keep it in the fridge. That’s one less thing to worry about on the day you’re assembling the cake. Ándale!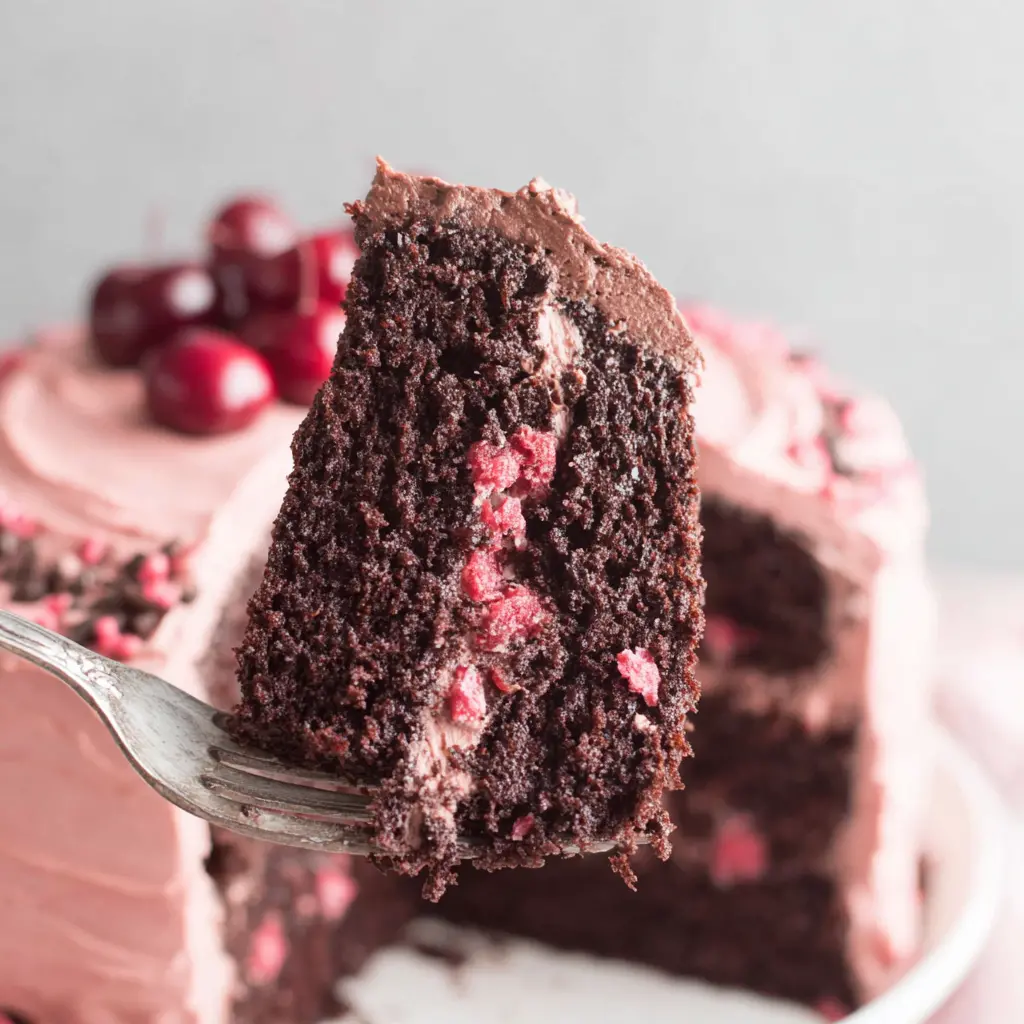
Cherry Buttercream Frosting
Now for the frosting. This cherry buttercream is something special. You start by grinding the freeze-dried cherries into a fine powder. A food processor works great for this, but you can also crush them in a bag with a rolling pin. It’s a little messy, but it works. Cream your butter until it’s light and fluffy, about three minutes. Then add the powdered sugar, a cup at a time, and beat until smooth. Add the cherry powder, a splash of heavy cream, and a tiny bit of almond extract. Beat it all together until it’s light, fluffy, and a beautiful pale pink. If your frosting seems too thick, add a little more cream. If it’s too thin, add more powdered sugar. The consistency should be spreadable but not runny. You want it to hold its shape when you’re stacking the layers.Assembling the Layer Cake
This is the moment of truth. And honestly, it’s the fun part. Make sure your cakes are completely cool. If they domed in the center, use a serrated knife to level them off. Just slice off the top so they’re flat. Save those scraps for snacking, or crumble them up for a trifle later. Place your first cake layer on your serving plate or cake stand. Spread a layer of the cherry filling on top, leaving a little border around the edge so it doesn’t squish out. Then add a layer of the buttercream on top of the filling. Place the second cake layer on top, and repeat. For the top layer, place it cut-side down so you have a flat surface. Now, do a crumb coat. This is a thin layer of frosting that traps all the crumbs so your final coat is clean and smooth. Don’t worry if it looks messy. It’s supposed to. Chill the cake for about 20 minutes to let the crumb coat set. Then go ahead and frost the whole cake with the remaining buttercream. You can make it smooth, or you can create swirls and peaks. I like to leave it a little rustic, like something from a bakery in Oaxaca. For the final touch, pile some fresh cherries on top and drizzle a little bit of the cherry syrup around the edges. It looks incredible.Tips for the Perfect Cake
Let me share a few things I’ve learned from making this cake more times than I can count. First, use cake strips. These are fabric strips you soak in water and wrap around your cake pans. They help the cakes bake evenly so you don’t get a dome. If you don’t have cake strips, you can use a wet cloth wrapped around the pan. It works just as well. Second, let your cakes cool completely before you even think about frosting them. I know it’s tempting to rush, but patience pays off here. A warm cake will melt your buttercream into a sad puddle. Third, if you’re using frozen cherries for the filling, don’t skip the extra cornstarch. Frozen cherries are watery, and you need that extra thickening to keep your layers stable. And finally, if your frosting gets too soft while you’re working, just pop it in the fridge for ten minutes. It firms right up. This is especially useful if you’re working in a warm kitchen. (And let’s be real, LA kitchens can get warm even in spring.)Common Mistakes & Fixes for Your Chocolate Cherry Layer Cake
Mistake: The cake layers stick to the pan.
Solution: You probably didn’t use parchment paper. Always line your pans with parchment. It’s the only way to guarantee they come out clean.
Mistake: The cherry filling is too runny and slides out.
Solution: You didn’t cook it long enough. Simmer the filling until it thickens to a jammy consistency. If you’re using frozen cherries, add extra cornstarch.
Mistake: The cake layers are dry.
Solution: You probably overbaked them. Check your cakes at 25 minutes. They should spring back when lightly touched, and a toothpick should come out with a few moist crumbs.
Mistake: The frosting is too runny.
Solution: Your butter might have been too soft, or you added too much cream. Chill the frosting for 10 to 15 minutes before using it.
Mistake: The cake collapses when I try to stack it.
Solution: Your cakes weren’t completely cool. Warm cakes are fragile. Let them cool for at least an hour on a wire rack before you even think about stacking.
Make-Ahead and Storage Instructions
This is where this cake really shines for busy schedules. You can make almost everything ahead of time. Bake the cake layers up to two days in advance and store them at room temperature, wrapped tightly in plastic wrap. You can also freeze them for up to three months. Just wrap them well in plastic and then foil. The cherry filling can be made three to four days ahead and stored in the fridge. The buttercream can be made two days ahead and kept at room temperature. Just give it a good stir before you use it. Once the cake is fully assembled, it will keep at room temperature under a cake dome for up to 24 hours. If you need to keep it longer, wrap it loosely in plastic and refrigerate it for up to three days. Bring it back to room temperature before serving for the best flavor and texture. You can also freeze the fully decorated cake for up to three months. Just place it in the freezer unwrapped for an hour to set the frosting, then wrap it well in plastic and foil. When you’re ready to serve, thaw it in the fridge overnight.Frequently Asked Questions
Variations and Substitutions
This recipe is pretty flexible, so don’t be afraid to experiment. If you want to change things up, you can use other tart fruit juices in place of the cherry juice. Blueberry, cranberry, or black currant would all work beautifully. Just make sure they’re tart, not sweet. You can also swap the freeze-dried cherries for other freeze-dried fruits. Freeze-dried raspberries or strawberries would give you a different but equally delicious flavor. The process is the same: grind them into a powder and add them to the buttercream. If you don’t have almond extract, just use extra vanilla. It won’t have that same cherry-almond pairing, but it’ll still be a great cake. And for a dairy-free version, you can use a neutral oil instead of butter in the cake, and a dairy-free butter substitute for the frosting. Just make sure your butter substitute is at room temperature before you start creaming it.Conclusion
When you bring this chocolate cherry layer cake to the table, expect some oohs and ahs. That first slice, revealing those beautiful layers of dark chocolate sponge and bright cherry filling, is something special. It’s the kind of cake that makes people stop talking and just enjoy the moment. I’d love to see your creation. Tag me on Instagram with your cherry-studded masterpieces. I’m always so excited to see what you make. And if you’re looking for more inspiration, check out my Pinterest boards for other spring dessert ideas. You’ve got this. Now go make someone’s day a little sweeter. Bueno, pues, happy baking!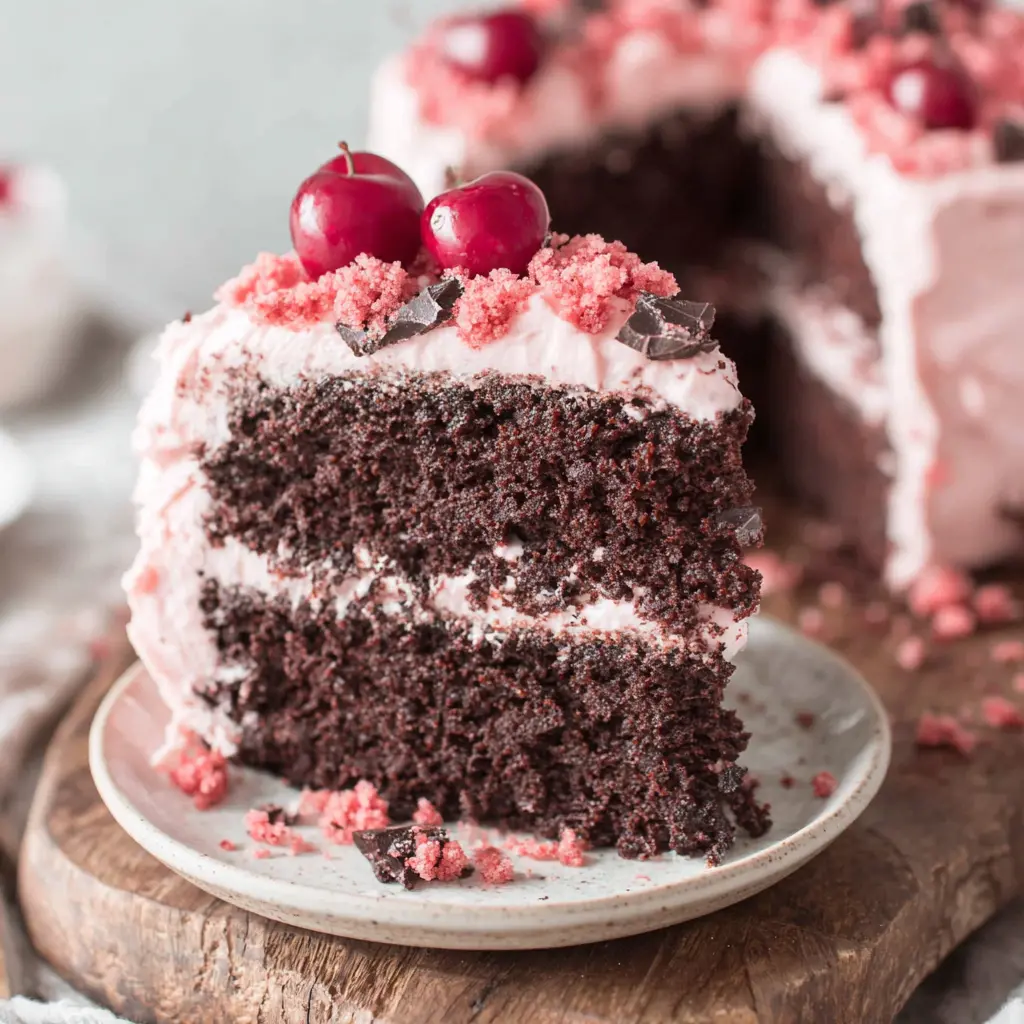
Source: Nutritional Information
What makes this a black forest style cake?
This chocolate cherry layer cake takes inspiration from the classic black forest cake with its combination of rich chocolate sponge, tart cherry filling, and creamy frosting. It captures that same balance of flavors but in a layered cake format that’s easier to make at home.
Can I use sweet cherry juice instead of tart cherry juice for this chocolate cherry layer cake?
I wouldn’t recommend it. The tartness of the cherry juice is what balances the sweetness of the cake and frosting. Sweet cherry juice will make the whole thing too sugary. Stick with pure unsweetened tart cherry juice for the best results.
How do I incorporate freeze-dried cherries into the frosting for this layered cherry cocoa cake?
Grind the freeze-dried cherries into a fine powder using a food processor or by crushing them in a bag with a rolling pin. Then add the powder to your buttercream along with the other ingredients. It dissolves easily and adds intense cherry flavor without extra moisture.
What is the best way to store this rich cherry chocolate dessert?
Store the cake under a dome at room temperature for up to 24 hours. For longer storage, wrap it loosely in plastic and refrigerate for up to three days. Bring it to room temperature before serving. You can also freeze it for up to three months.
Can I substitute almond extract for vanilla extract in this classic chocolate cherry cake?
You can use either, but I actually love using both. The almond extract enhances the cherry flavor beautifully. If you only have vanilla, that’s fine. Just use a little more of it to compensate for the missing almond note.
Can I make this chocolate cherry layer cake gluten-free?
Yes, you can substitute a good quality gluten-free all-purpose flour blend for the regular flour. Just make sure your pans are well prepared with parchment paper, as gluten-free cakes tend to stick more. The texture will be slightly different, but it’s still delicious.
Can I use a chocolate cake mix instead of making the cake from scratch?
Absolutely. If you’re short on time, use a devil’s food cake mix for the layers. Just follow the package instructions and add a splash of tart cherry juice to the batter for that extra flavor. Nobody will know you took a shortcut.
How do I get flat cake layers without a dome?
Use cake strips or a wet cloth wrapped around your cake pans. This helps the cakes bake evenly. You can also level the domes with a serrated knife after they cool. Just slice off the top to create a flat surface for stacking.
Can I use fresh cherries instead of frozen for the filling?
Yes, fresh cherries work great. You’ll need to pit them first. Fresh cherries release less liquid than frozen, so you might not need the extra cornstarch. Just cook them until they soften and the mixture thickens to a jammy consistency.
What if I don’t have an offset spatula for frosting the cake?
No worries. A regular butter knife works fine for spreading frosting. You can also use the back of a spoon to create rustic swirls. The cake will taste just as good no matter what tool you use.