
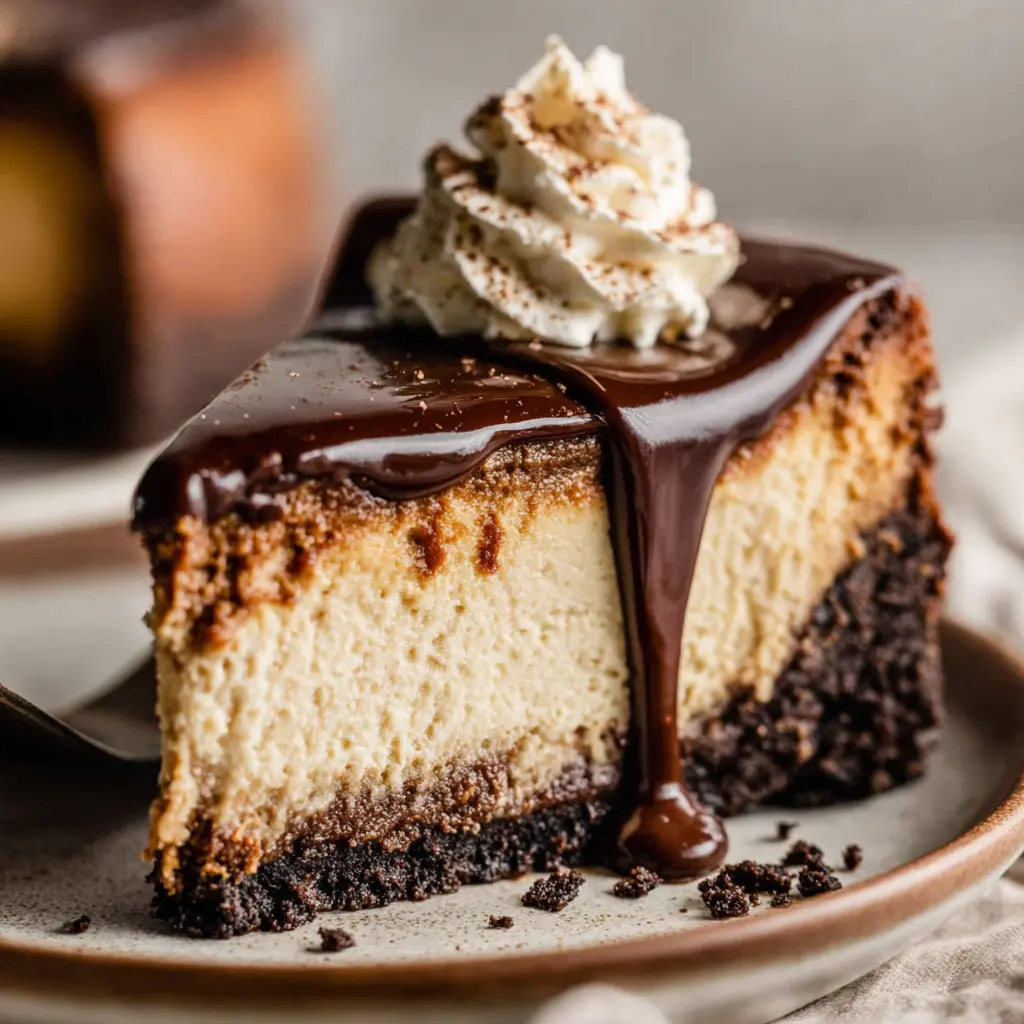
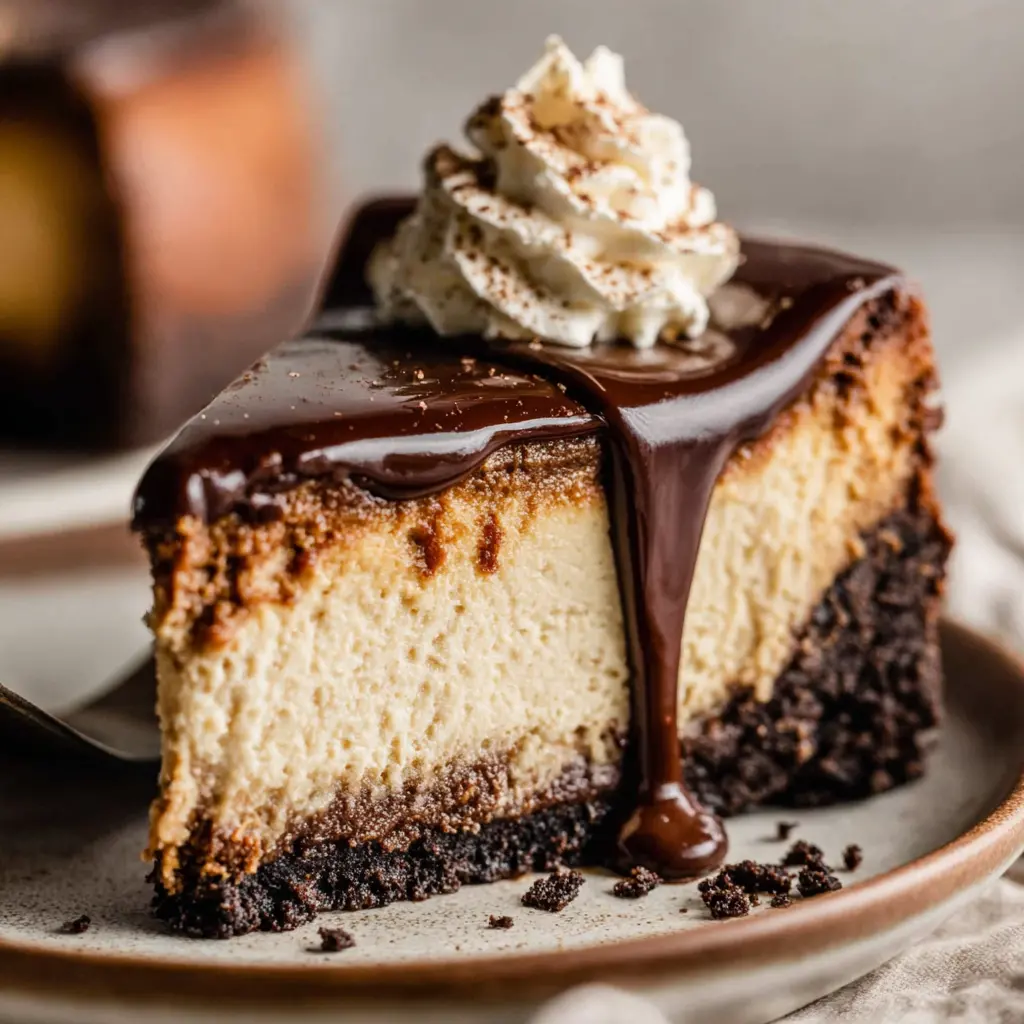
Rich Chocolate Espresso Cheesecake Cake
Ingredients
Method
- Preheat the oven to 325ºF (162ºC). Spray a 9" springform pan or my very favorite Fat Daddio's cheesecake pan with nonstick spray. Set aside.
- In a food processor, crush the Oreos until they become a fine crumb. Pour the Oreo crumbs into a large bowl, then drizzle the melted butter over the cookies and stir until everything is evenly saturated with butter.
- Press the Oreo mixture into the bottom of the prepared springform pan, then bake the crust for 8 minutes. Remove from the oven and allow to cool while you prepare the filling.
- In a large bowl with a handheld mixer or the bowl of a stand mixer fitted with the paddle attachment, beat the cream cheese on medium high speed until smooth, about 2 minutes. Add the granulated sugar then beat again until combined, about another 2 minutes.
- Reduce the mixer speed to low5, then add the sour cream and vanilla and mix until completely combined.
- Add the eggs one at a time, mixing on low after the addition of each egg and adding the next just after the previous egg starts to incorporate, and continue mixing until there are no more yellow yolk streaks.
- Add the espresso powder and gently blend on low until all of the powder has dissolved, then use a large spatula to carefully fold the batter together, scraping the bottom of the bowl and the sides to gather any extra batter that may not be fully incorporated. Sometimes I need to use the mixer again, but be sure to keep it on low. Your batter should be smooth and creamy without lumps.
- Pour the batter into the prepared pan. Create a water bath6 by placing the 9" springform pan in a slightly larger round pan (I like to use a 10" cake pan) and then place that pan into an even larger round pan (I like to use a 12" cake pan) or roasting pan.
- Fill the outer pan with hot water halfway up the sides of the middle pan, then carefully transfer the whole thing to the oven. You can also assemble the pans in the oven, but work quickly so as not to let too much hot air out of the oven.
- Bake the cheesecake for 1 hour 20 minutes to 1 hour 45 minutes. The middle of the cheesecake (a center approximately 2" wide) should jiggle just a little bit. I use my digital instant-read thermometer to check the internal temperature has reached 145ºF (63ºC). Turn the oven off7 and allow the cheesecake to cool in the oven for 1 hour. After 1 hour, remove the springform pan from all of the other pans and allow to cool on a cooling rack for another 2 hours. When the cheesecake is completely cool, cover or wrap tightly and allow to chill in the refrigerator for at least 6 hours, ideally overnight.
- Remove the cheesecake from the fridge and use a spatula or butter knife to gently loosen the crust from the side of the pan, then release the outer ring of the springform pan.
- Pour the chocolate chips and the espresso powder into a medium-size bowl and set aside.
- Heat the heavy cream in a microwave-safe measuring cup or in a saucepan over medium-high heat on the stove, and heat until it just starts to bubble before boiling.
- Carefully pour the hot cream over the chocolate chips, then allow to sit for 1 minute.
- Using a large spatula, gently stir the chocolate chips (which have started to melt significantly) and the cream to mix. Continue mixing until you have a smooth and glossy mixture. Allow the ganache to cool for about 5 minutes before adding it to the cheesecake.
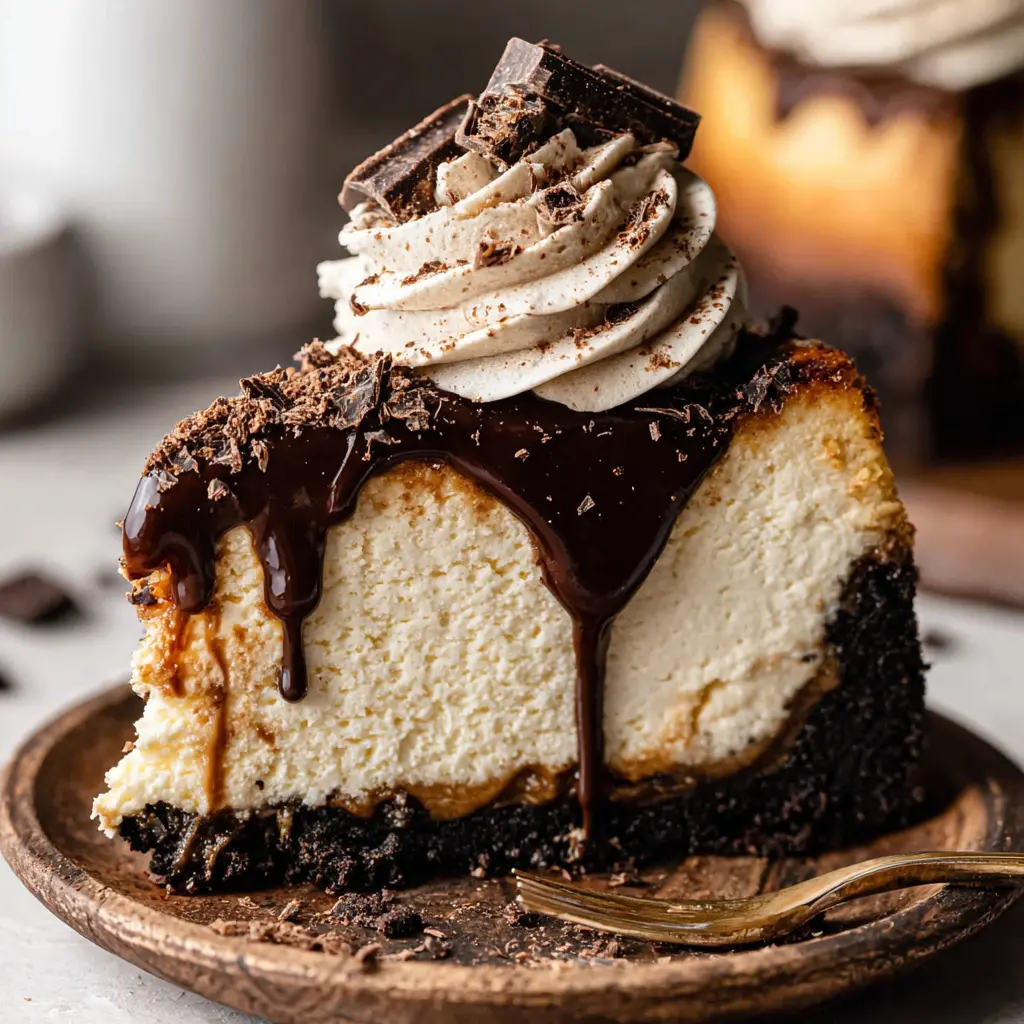
- When your ganache has cooled a bit, carefully pour it onto the top of your cheesecake. Use an offset spatula or the back of a spoon to spread the ganache evenly over the top of the cheesecake. You can let it drip down the sides for aesthetics if you prefer, but I like to let it all stay on the top to create a thick layer of ganache. Allow ganache to set for at least 15 minutes before adding the coffee whipped cream, if using.
- Pour the heavy whipping cream, sugar, and espresso powder into a large bowl (if using a handheld mixer) or the bowl of a stand mixer fitted with the whisk attachment.
- Turn the mixer to medium speed. The mixture will start to get frothy and bubbly. After about 2 to 3 minutes, the mixture will start to thicken.
- Once mixture is visibly thick (you will be able to see the trail of the whisk), increase the speed to medium-high and beat for an additional 30 seconds to 1 minute. At this point, your whipped cream should start to look "billowy" and the trails from your whisk will be quite distinct.
- Pull the whisk out of the bowl and check that the whipped cream in the bowl has formed stiff peaks.
- Pipe or spread coffee whipped cream as desired onto the set ganache, then slice and serve the cheesecake. Store leftovers covered tightly in the refrigerator up to 5 days. Cheesecake freezes well, up to 3 months. Wrap tightly and thaw in the refrigerator overnight.
Nutrition
Notes
- Oreos: I highly recommend using standard Oreos as the filling can sometimes weep as it melts in the oven (extra filling means extra oil). If you want to use anything bigger than standard stuffed, remove the filling from half of the Oreos before proceeding.
- Room temperature: I cannot stress enough how important it is to have completely room temperature ingredients. This will insure you have the smoothest batter possible. I like to let my ingredients sit out at least 1 hour and sometimes closer to 2 hours before starting my recipe.
- Espresso powder: you can find espresso powder in the baking aisle of your local grocery store. You can also use this decaf version, or caffeinated or uncaffeinated instant coffee grounds, which you can find in the coffee section at your grocery store.
- Sugar: I prefer using powdered sugar for my whipped cream because it dissolves faster, but granulated works just as well if you prefer to use that.
- Mixer speed: it’s important not to go above low (or low-medium) speed after you’ve beaten the cream cheese. Incorporating too much air will create bubbles and potential cracks in your finished cheesecake.
- Water bath pans: here is a bundle that includes all the pans I use. Using this method eliminates the need to wrap anything in foil.
- Cool the cheesecake: I like to prop the oven door open with a wooden spoon or spatula.
- Make a smaller cheesecake: you can make this exact cheesecake recipe in a 6″ springform pan or 7.5″ springform pan. Simply halve the recipe (for the crust and the filling). Bake time will be about 60-70 minutes. You can reduce the sizes of the water bath pans to 8″ round and 10″ round sizes or use the same ones I have linked here.
- Make in the Instant Pot: you can make this exact cheesecake in a smaller size with my Instant Pot cheesecake recipe.
Tried this recipe?
Let us know how it was!Why This Chocolate Coffee Cheesecake Cake Works
You know that feeling when you want to make something truly special, but the clock is ticking and you’re worried about messing it up? I’ve been there. More times than I can count. This Chocolate Coffee Cheesecake Cake is my answer to that exact problem. It looks like it came from a fancy bakery in Beverly Hills, but honestly? It’s way easier than you’d think.
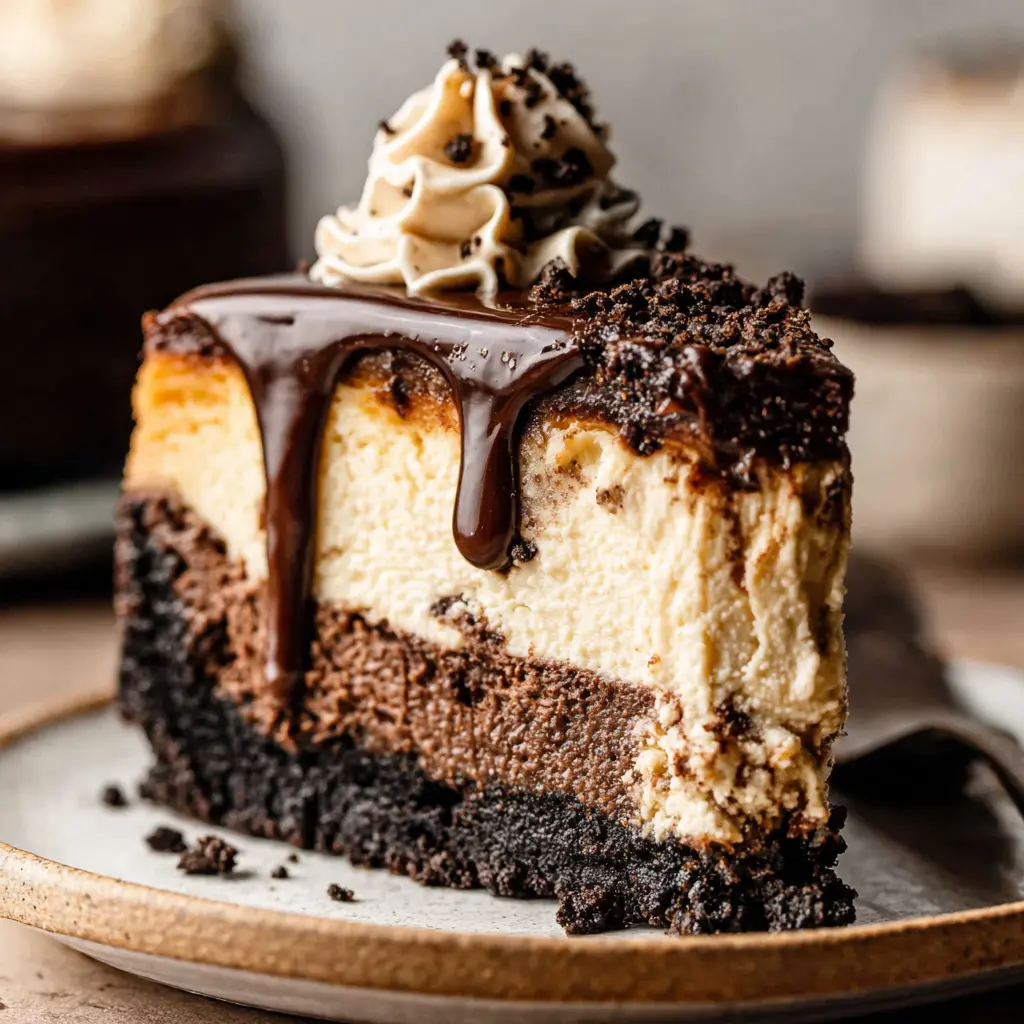
The magic here is in the layers. You’ve got a rich, fudgy chocolate cake that’s deeply coffee flavored. Then a silky, velvety cheesecake layer that’s just barely sweet. And on top, a glossy chocolate ganache that ties everything together. Each bite gives you a little bit of everything. The coffee doesn’t shout at you either. It just rounds out the chocolate, makes it taste more like itself. Qué padre!
I remember the first time I attempted a layered mocha dessert like this. I was nervous, not gonna lie. The cheesecake cracked. The cake was a bit dry. But I learned from it. And now I’m sharing everything I wish someone had told me. This is the kind of decadent chocolate cake that makes people close their eyes when they take a bite. Trust me.
Understanding the Layers
Before we get into the nitty gritty, let’s talk about what we’re building. This isn’t just a cake with some cheesecake on top. It’s a true layered dessert where each component holds its own. The bottom is a moist chocolate espresso cake. Then comes a thick, creamy cheesecake layer. And finally, a chocolate ganache that sets into a shiny, fudgy cap.
The key is treating each part with respect. The cake needs to be sturdy enough to support the cheesecake, but tender enough to melt in your mouth. The cheesecake needs to be dense and creamy, not airy. And the ganache? It needs to be just the right consistency to pour but not run off the sides. Getting these right is what makes this a showstopper.
I think the thing that surprises people most is how the espresso powder works here. It doesn’t make the cake taste like a cup of coffee. Instead, it deepens the chocolate flavor, makes it more complex. It’s the same trick Abuela Elena used with a pinch of something unexpected. The flavors meld together slowly, and the result is pure harmony.
Ingredient Notes for Success
Let’s talk ingredients, because this is where most people go wrong. First, cream cheese. You need the full fat block kind, not the spreadable stuff from a tub. It makes a difference. The texture just isn’t the same with low fat. I’ve tried it. Don’t do it.
Room temperature ingredients are non-negotiable here. I cannot stress this enough. Your cream cheese, eggs, and sour cream all need to sit out for at least an hour before you start. Cold ingredients create a lumpy batter that won’t bake evenly. And lumpy batter leads to cracks. Nobody wants that.
For the espresso powder, look in the baking aisle of your local grocery store. I usually find it near the cocoa powder at Ralphs or Vons. You can use instant coffee in a pinch, but the flavor won’t be as strong. The espresso powder is more concentrated, so you get that deep coffee flavor without adding extra liquid.
The Science Behind a Smooth Cheesecake
Here’s what I wish someone had told me years ago. Cheesecake cracks happen because of two things: too much air in the batter, and uneven cooking. When you overmix, you incorporate air bubbles. Those bubbles expand in the oven, then collapse as it cools, leaving cracks. So mix on low speed. Barely low. Like, the lowest setting your mixer has.
And the water bath? It’s not optional, ándale. The water bath creates a humid environment that helps the cheesecake cook evenly. Without it, the edges set too fast while the center is still liquid. That温差 causes cracks. The water bath also prevents the top from browning too quickly. It’s like giving your cheesecake a gentle, even hug while it bakes.
The gradual cooling is just as important. After you turn the oven off, leave the cheesecake in there with the door cracked for about an hour. Then let it come to room temperature on the counter. Then refrigerate. Each step lets the structure settle slowly. Rushing this is the number one reason for cracks. Patience pays off here.
How to Make Chocolate Coffee Cheesecake Cake
I’m going to walk you through the process, but remember the full recipe is in the card above. This section is about the why behind each step.
Start with your crust. I use Oreos because the chocolate flavor pairs perfectly with the coffee. Crush them fine, mix with melted butter, and press into your springform pan. Bake it for about 10 minutes to set. This gives you a sturdy base that won’t get soggy.
For the cheesecake filling, beat your room temperature cream cheese until it’s smooth. Add sugar, then the sour cream and vanilla. Then the eggs, one at a time. Mix on low the whole time. Dissolve your espresso powder in a tablespoon of hot water before adding it. This ensures it distributes evenly without gritty bits.
Pour the filling over the crust. Tap the pan gently on the counter to release any air bubbles. Place it in a larger roasting pan, then pour hot water around it. The water should come about halfway up the sides of the springform pan. Bake at 325°F until the center is just set but still jiggly. It’ll keep cooking as it cools.
The cake layer is straightforward. It’s a simple chocolate cake with espresso powder added. Bake it in a separate pan, let it cool completely, then slice it in half horizontally. You want a thin, even layer that will sit on top of the cheesecake. Or you can put it on the bottom, depending on your preference.
Common Mistakes & Fixes
Mistake: The cheesecake cracks on top.
Solution: You likely overmixed or skipped the water bath. Next time, mix on low and use the water bath. Also, cool gradually with the oven door cracked.
Mistake: The cake layer is dry.
Solution: You probably overbaked it. Check for doneness a few minutes early. The toothpick should come out with moist crumbs, not clean.
Mistake: The layers slide apart when slicing.
Solution: The cheesecake wasn’t chilled long enough. It needs at least 5 hours in the fridge, preferably overnight. Use a sharp, wet knife for clean cuts.
Mistake: The ganache is too thick to pour.
Solution: Your cream was too cool or you used too much chocolate. Warm it gently in 10-second bursts in the microwave, stirring between each.
Tips for a Perfect Cheesecake Layer
I’ve made this layered coffee cake more times than I can count. Here are the things I’ve learned the hard way.
First, do not open the oven door while it bakes. Use your oven light to check progress. Every time you open the door, you let out heat and humidity, which can cause the cheesecake to crack. I know it’s tempting. Don’t do it.
The center of your cheesecake will probably sink a bit. That’s completely normal. It’s actually a good sign that you didn’t overbake it. The ganache will cover any imperfections anyway. A few surface cracks are character, not failure.
For the water bath, I prefer the no foil method. Place your springform pan in a larger pan that’s at least 2 inches bigger. Pour hot water into the larger pan, not the springform. This way you don’t have to worry about water seeping in through foil. It’s a game changer.
Let the cheesecake cool in the oven with the door cracked for about an hour. I prop it open with a wooden spoon. Then let it cool completely on the counter before refrigerating. At least 5 hours, but overnight is better. The longer it chills, the cleaner your slices will be.
Assembling the Layers
This is where it all comes together. Once your cheesecake is fully chilled and set, it’s time to add the cake layer. Place it gently on top of the cheesecake. If you want, you can brush the cake with a little simple syrup or extra espresso for more moisture. I usually skip this, but it’s an option.
Make the ganache by heating heavy cream until it’s just simmering. Pour it over your chocolate chips and let it sit for a minute. Then stir until smooth. Let it cool slightly before pouring over the cake. You want it thick enough to coat but thin enough to flow over the edges.
Pour the ganache over the top of the cake layer. Use a spatula to spread it evenly, letting some drip down the sides. It’s okay if it’s not perfect. The imperfections make it look homemade in the best way. Refrigerate the whole thing for another hour to set the ganache.
For the whipped cream topping, use super cold heavy cream. Add a little sugar and espresso powder, then whip until soft peaks form. Pipe it on top of the ganache once it’s set. Add some chocolate covered espresso beans if you’re feeling fancy.
Make Ahead Strategy
This is the kind of dessert that actually gets better with time. The flavors meld together. The texture firms up. So making it ahead is not just convenient, it’s actually better.
Here’s my timeline for stress free hosting. Two days before your event, make the cheesecake layer. Let it cool and chill overnight. The next day, bake the cake layer and let it cool. Assemble the whole thing, add the ganache, and refrigerate. On serving day, add the whipped cream and any garnishes.
This way, you’re never doing more than one major component per day. It feels manageable, not overwhelming. And on the day of your Mother’s Day brunch or spring gathering, you just pull it out, add the finishing touches, and look like a hero.
Dietary Adaptation Options
I know not everyone eats the same way. Here are some swaps that work well.
For a gluten free version, use gluten free chocolate sandwich cookies for the crust. Most standard brands work fine. Just check the label. The cheesecake and ganache are naturally gluten free, so that’s the only change needed.
For dairy free, use a dairy free cream cheese alternative. The texture will be slightly different, but it still works. Use coconut cream instead of heavy cream for the ganache and whipped topping. It won’t be as stable, but it’ll taste great.
For a lower sugar option, use a sugar substitute in the cheesecake and whipped cream. The ganache is harder to adjust because the chocolate itself has sugar. But you can use a sugar free chocolate chip. The texture might be a bit different, but the flavor is still there.
How to Store Chocolate Coffee Cheesecake Cake
Leftovers, if you have any, should be stored in the refrigerator. Cover the cake tightly with plastic wrap or place it in an airtight cake carrier. It’ll keep for up to 5 days. The flavors actually get better after a day or two.
To freeze, wrap the entire cake in a double layer of plastic wrap, then a layer of foil. It’ll keep for up to 3 months. Thaw it overnight in the refrigerator before serving. Don’t try to rush the thawing, or the texture will suffer.
For individual slices, arrange them in a single layer in an airtight container. Use toothpicks to prop the plastic wrap away from the whipped cream. This prevents it from getting smushed. Thaw individual slices in the fridge for a few hours.
To reheat, I actually don’t recommend it. This cake is best served cold or at room temperature. The cheesecake gets too soft if it’s warm. But if you must, microwave a slice for about 10 seconds. Just enough to take the chill off, not enough to melt the ganache.
Frequently Asked Questions
Final Thoughts
When you serve this Chocolate Coffee Cheesecake Cake at your next gathering, watch the reactions. People will ask where you bought it. They won’t believe you made it yourself. And that’s the best part. You get to smile and say, “I made it.”
This is the kind of dessert that becomes a tradition. The one your family requests for birthdays and holidays. The one that makes you the go to baker in your circle. And honestly, it’s worth every minute of effort.
So go ahead. Grab your ingredients on your next Trader Joe’s run. Clear your schedule for a weekend afternoon. And make something truly memorable. You’ve got this. ¡Ándale!
For more inspiration, check out my Pinterest boards where I share tons of variations and tips.
Source: Health & Nutrition Research
Can I make Chocolate Coffee Cheesecake Cake ahead of time?
Absolutely. I actually recommend it. Make the cheesecake two days ahead, the cake one day ahead, then assemble and add ganache the day before serving. The flavors meld beautifully overnight.
How do I store leftover Chocolate Coffee Cheesecake Cake?
Cover tightly with plastic wrap and refrigerate for up to 5 days. For longer storage, freeze the whole cake or individual slices for up to 3 months. Thaw in the fridge overnight.
Can I use instant coffee instead of espresso powder in this mocha cheesecake dessert?
Yes, you can. Use the same amount. The flavor won’t be quite as intense, but it’ll still work. Dissolve it in hot water before adding to the batter to avoid gritty bits.
How do you prevent cracks in the soft cheesecake layers of this rich chocolate espresso cake?
Three things: use room temperature ingredients, mix on low speed, and bake in a water bath. Also, cool gradually in the oven with the door cracked. This prevents the sudden temperature change that causes cracks.
Can I make this decadent mocha dessert in a smaller pan?
Yes, you can. Halve the recipe and use a 6 inch springform pan. The bake time will be shorter, so start checking for doneness about 10 minutes early. The center should still jiggle slightly.
Why do my ingredients need to be at room temperature?
Cold cream cheese creates lumps that won’t smooth out. Cold eggs can cause the batter to curdle. Room temperature ingredients blend together smoothly, creating a uniform batter that bakes evenly. Let them sit out for an hour.
What if I don’t have a springform pan?
You can use a regular cake pan lined with parchment paper. Just be careful when removing the cheesecake. A springform pan makes it much easier, but it’s not absolutely necessary. Use a sharp knife to loosen the edges.
Can I skip the water bath?
I don’t recommend it. The water bath ensures even cooking and prevents cracks. Without it, the edges set too fast and the center stays liquid. If you absolutely must skip it, place a pan of hot water on the rack below the cheesecake.
How do I get clean slices of this layered coffee cake?
Use a long, sharp knife. Run it under hot water and wipe it dry between each cut. This prevents the layers from sticking and smearing. Chill the cake well before slicing for the cleanest cuts.
Can I use a different crust for this chocolate coffee cheesecake cake?
Sure. Graham crackers, chocolate graham crackers, or vanilla wafers all work. The flavor will change slightly, but the texture will be similar. Just adjust the butter amount to get the right consistency.