
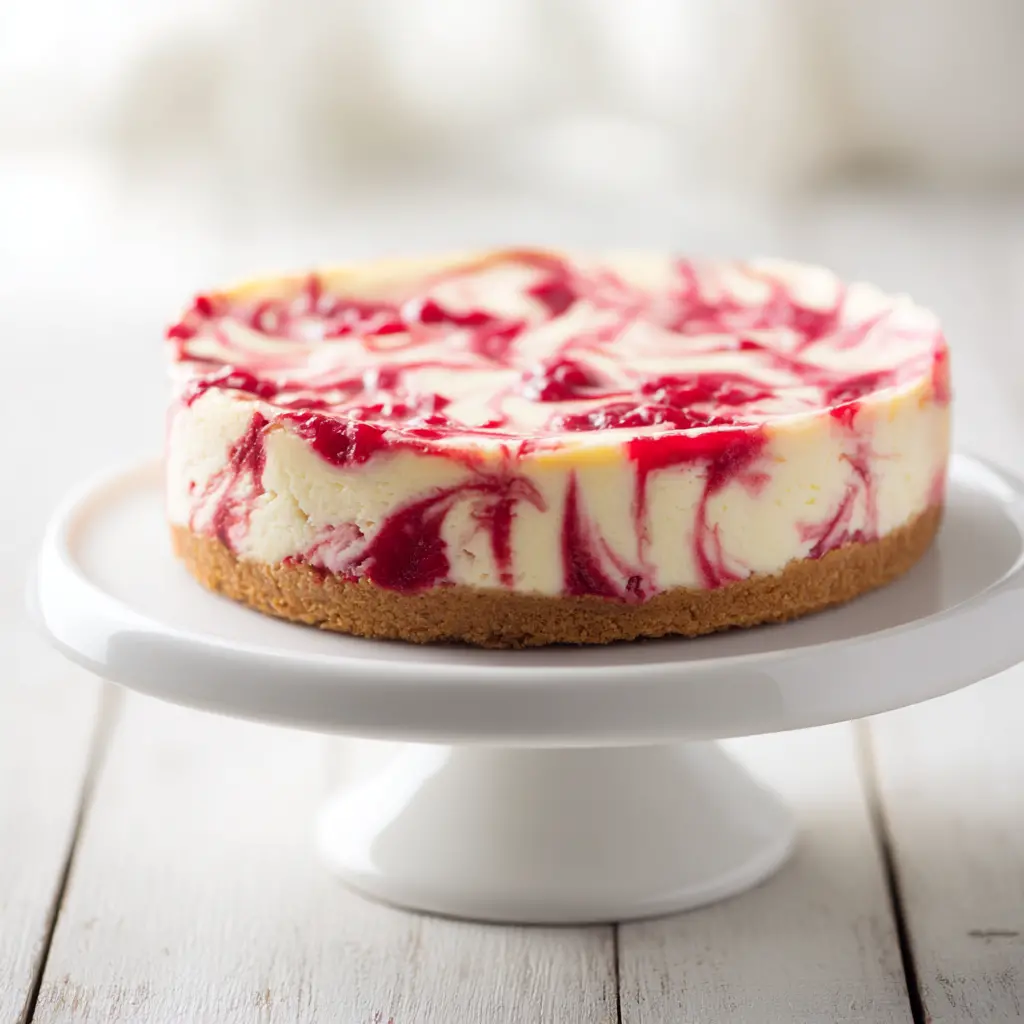
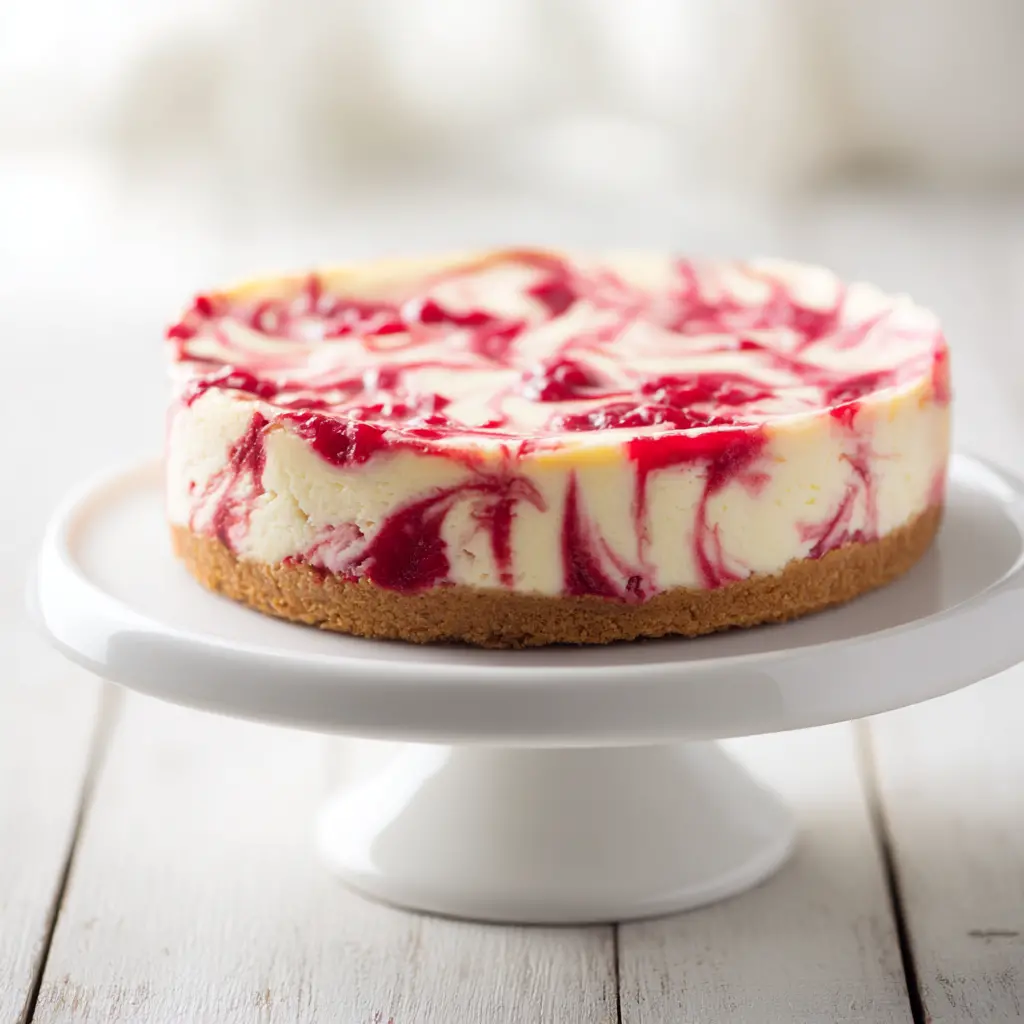
Citrus Vanilla Cranberry Swirl Cheesecake
Ingredients
Method
- Heat the oven to 350 F. Have a 9 inch round springform pan or a cheesecake pan with a removable bottom ready.
- Pulse the gingersnap crumbs, salt, and cinnamon in a food processor. Drizzle in the melted butter and pulse a few times until the mixture is evenly moistened, not greasy.
- Transfer the crumbs into the prepared pan and press into an even layer. Bake for 5 minutes, then remove from the oven and set aside.
- In a stand mixer with the paddle attachment, beat the cream cheese and sugar on medium-low speed until light and creamy and no lumps remain. Scrape down the bowl with a spatula as needed.
- Mix in the eggs on low speed, then blend in the vanilla and orange zest.
- Pour the filling over the crust and smooth the top with an offset spatula. Tap the pan firmly on the counter a few times to release any air bubbles.
- Drop spoonfuls of the cranberry sauce over the filling, then drag a skewer or toothpick through it to create swirls.
- Place the pan on a rimmed baking sheet and bake for 30 to 35 minutes, until the edges are gently puffed and just beginning to color. The center should still wobble slightly; it will continue to set as it cools.
- Cool the cheesecake to room temperature, then transfer it to the refrigerator and chill for 2 to 3 hours until fully set.
- Release the sides of the pan and slice the cheesecake while chilled. Serve cold, and store leftovers covered in the refrigerator for 2 to 3 days.
- Combine the cranberries, sugar, and orange juice in a medium saucepan. Cook over low heat, stirring occasionally, for 10 minutes until the sugar dissolves and the berries begin to soften.
- Turn the heat to medium, add the cinnamon stick, and continue cooking until the cranberries burst, about 10 to 15 minutes more.
- Let the sauce cool to room temperature. Leave it chunky for a rustic swirl or blend it until smooth. Make it ahead and keep it refrigerated for several days.
Nutrition
Notes
Tried this recipe?
Let us know how it was!Why This Cranberry Swirl Cheesecake Works
The first time I tried to make a cranberry swirl cheesecake, it came out looking like a melted purple crayon. The swirl was gone. The sauce had sunk. The top had cracked so badly it looked like a desert landscape. I was so frustrated I nearly quit.
But here’s the thing: that disaster taught me exactly what not to do. And this recipe, the one you’re about to read, is the result of all those mistakes. It’s the cranberry swirl cheesecake I now bring to every fall gathering, the one people ask for by name.
This isn’t just any cranberry cheesecake recipe. The gingersnap crust adds a warm spice that pairs beautifully with the tart-sweet cranberry swirl. Orange zest brightens the filling. And the technique? Simple enough for a beginner, reliable enough for a holiday table.
Key Ingredients & Substitutions
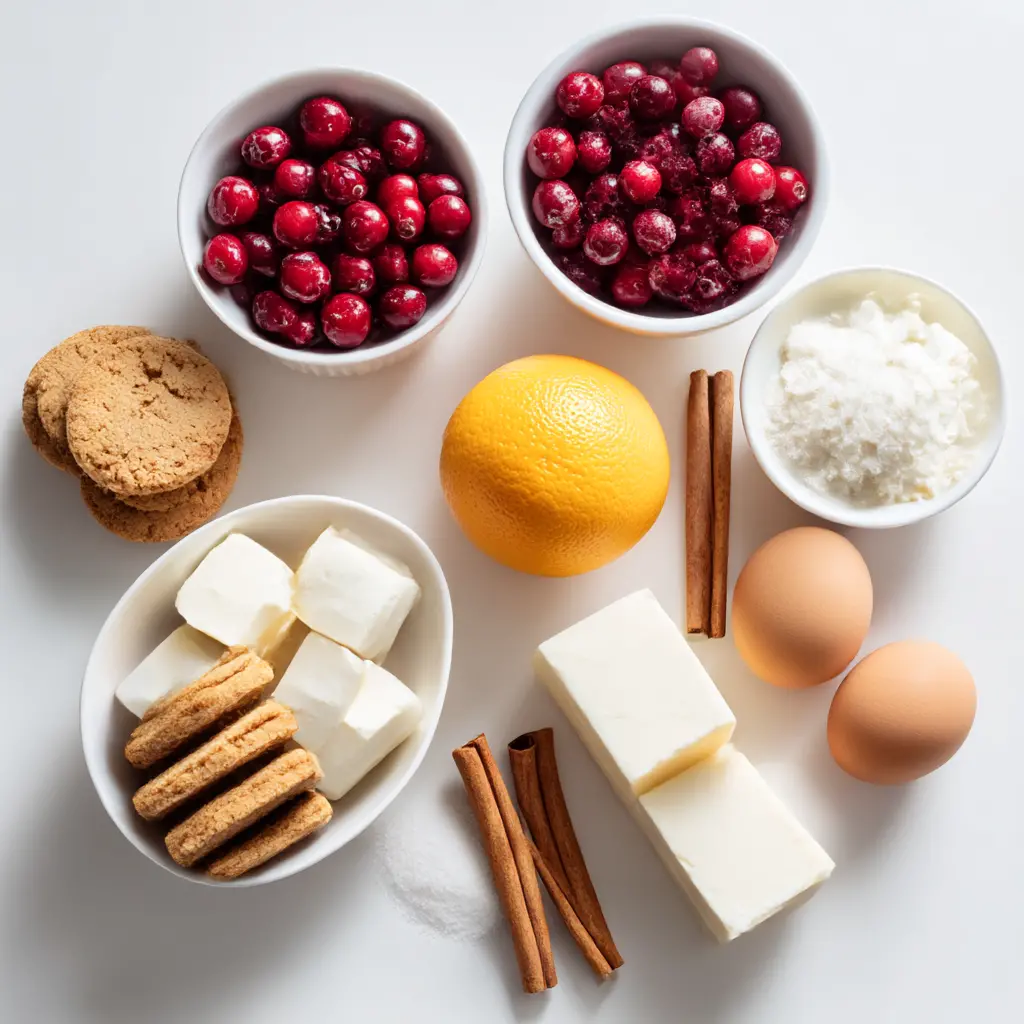
Let’s talk about what goes into this beauty, and what you can swap if you’re in a pinch.
- Gingersnap cookie crumbs: This is what makes the crust special. The molasses and ginger notes cut through the creamy filling. If you can’t find gingersnaps, graham cracker crust works fine, but it’s sweeter and subtler.
- Brick-style cream cheese: Please, please use the blocks, not the spreadable tub kind. Philadelphia cream cheese is my go-to. It has the right fat content for a firm, silky texture.
- Orange zest: Just 1 to 2 teaspoons brightens the whole cheesecake. It’s a small addition that makes a big difference.
- Fresh or frozen cranberries: Frozen work perfectly here. No need to thaw them first. This is huge if you’re making this outside of cranberry season.
How to Make the Homemade Cranberry Sauce
You could technically use canned cranberry sauce for the swirl. I won’t judge. But homemade is so easy, and it tastes a hundred times better. Plus, this batch makes about 2 1/2 cups, so you’ll have extra to serve with turkey, pancakes, or yogurt.
The process is dead simple. Combine fresh or frozen cranberries, cane sugar, and orange juice in a saucepan. Cook over low heat, stirring occasionally, until the sugar dissolves. Then crank it to medium, add a cinnamon stick, and let the berries pop. That’s it. Takes about 25 minutes total.
Here’s where you make a choice: leave it chunky for a rustic swirl, or blend it until smooth for clean, elegant ribbons. I’ve done both. Chunky feels more homestyle. Pureed gives you that dramatic marbled effect that photographs beautifully.
Step-by-Step Instructions
Stage 1: The Gingersnap Crust
Heat your oven to 350°F. Pulse the gingersnap crumbs with salt and cinnamon in a food processor, then drizzle in melted butter. You want it evenly moistened, not greasy. Press it into your springform pan and bake for just 5 minutes.
The pre-bake step matters. It sets the crust so it doesn’t turn soggy when you pour in the filling. Set it aside to cool while you make the filling.
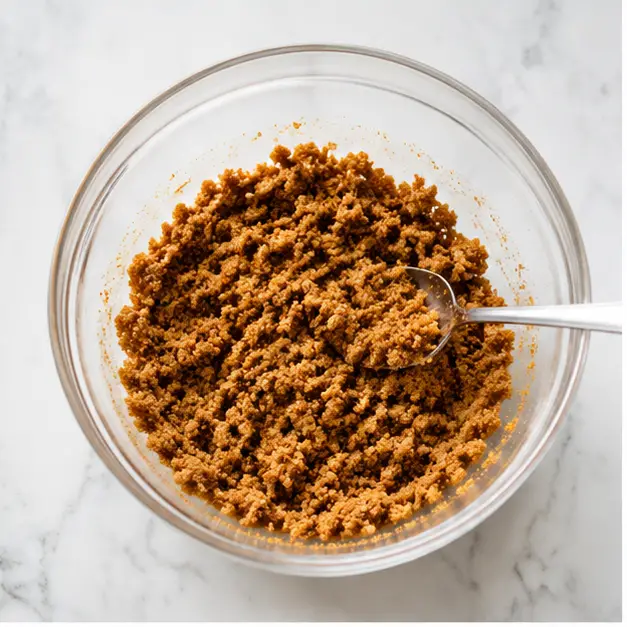
One thing I learned the hard way: don’t overdo the butter. Your crumbs should clump when you squeeze them, but the whole mixture shouldn’t look shiny or wet. Greasy crusts are no fun.
Stage 2: The Cream Cheese Filling
In a stand mixer with the paddle attachment, beat room-temperature cream cheese and sugar on medium-low until light and creamy. No lumps. None. Scrape down the bowl as needed.
Here’s what most recipes won’t tell you: cream cheese needs to hit about 70°F before you start. Cold cream cheese silently ruins the batter. It creates lumps that never fully disappear, and those lumps can cause cracking later. Set your cream cheese and eggs out a few hours ahead of time, or at least 2 hours before mixing.
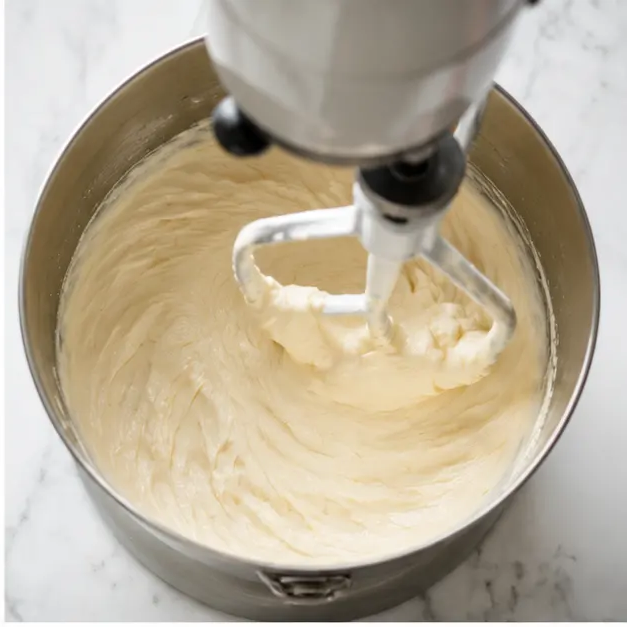
Mix in the eggs on low speed, then blend in the vanilla and orange zest. Do not overmix. Honestly, every time I have to say it, I’m reminding myself too. Overmixing adds air to the batter, and that air expands in the oven, causing cracks.
Stage 3: Swirling the Cranberry Sauce
Pour the filling over your pre-baked crust and smooth the top. Tap the pan on the counter a few times to release air bubbles. Then comes the fun part.
The swirling technique is three micro-actions:
- Dollop spoonfuls of cranberry sauce over the filling. Don’t be shy.
- Use a butter knife or skewer to make 3 to 4 figure-eight passes through the sauce.
- Stop. Put the knife down. If it looks marbled now, it will look perfect after baking.
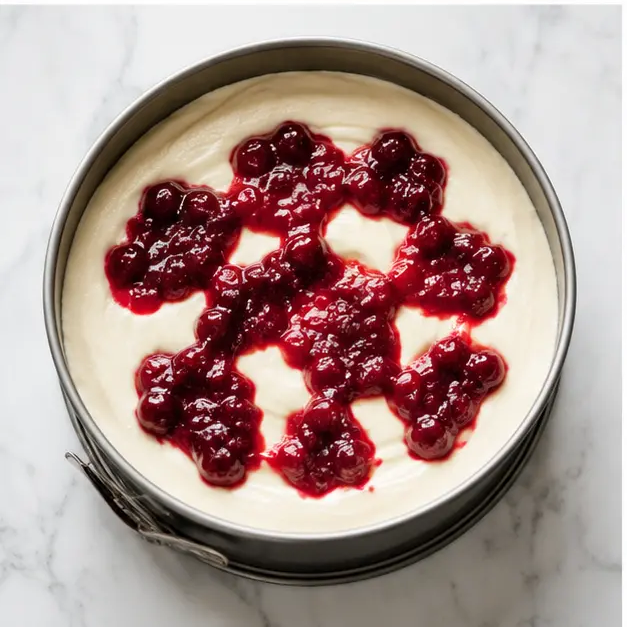
The number one mistake people make? Over-swirling. The more you drag that knife around, the muddier it gets. You want distinct ribbons of red and cream, not a purple swirl. Trust me, I learned this one the ugly way.
Stage 4: Baking and Chilling
Place the pan on a rimmed baking sheet and bake at 350°F for 30 to 35 minutes. When you pull the pan from the oven, the edges will look set and puffy. The center will wobble like jello. That is exactly what you want. It continues to set as it cools.
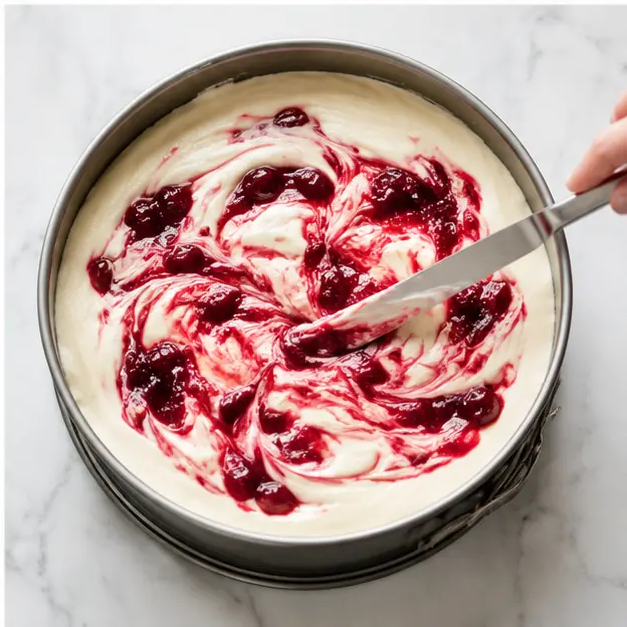
Cool the cheesecake to room temperature, then transfer it to the fridge and chill for at least 2 to 3 hours until fully set. Overnight is even better. This is a make-ahead dessert in the best possible way.
Pro Tips for the Best Cheesecake
After testing this cranberry swirl cheesecake more times than I can count, these are the little things that separate a good bake from a great one.
- Room temperature everything. Cream cheese, eggs, sour cream if you’re using it. Cold ingredients cause lumps and cracking.
- Don’t overmix. Beat only until creamy and combined. Mix on low speed.
- No water bath needed. I know, surprising right? This recipe uses a low-and-slow approach. The rimmed baking sheet catches any butter drips from the crust.
- Run a thin knife around the edge before releasing the pan. This helps prevent surface cracks when you remove the springform ring.
- For clean slices, dip your knife in hot water and wipe it between each cut. You’ll get those professional-looking pieces.
- Let it sit at room temperature for about an hour to take the chill off if you want full flavor. Otherwise, serve it straight from the fridge. It’s good either way.
How to Prevent Cracks & Fix Common Issues
Even bakery cheesecakes crack. This one just won’t. But just in case, let’s cover the common culprits and their fixes.
- ❌ Cold ingredients: cause a lumpy, less smooth texture. ✅ Set cream cheese and eggs out for 2 hours before baking.
- ❌ Overmixing: adds air to the batter, which expands and cracks the surface. ✅ Mix on low speed and stop as soon as it’s combined.
- ❌ Overbaking: the number one cause of cracks. ✅ The center should wobble slightly when you pull it out. It will finish setting as it cools.
- ❌ Cooling too quickly: temperature shock causes cracks. ✅ Let it come to room temperature gradually before refrigerating.
- ❌ Pressing the cranberry sauce too deep: causes it to sink and muddle. ✅ Gently dollop on top and use only 3 to 4 swirl passes.
Variations & Serving Ideas
This cranberry swirl cheesecake is pretty perfect as is, but here are some ways to make it yours.
- Gluten-free: Use certified gluten-free gingersnap cookies for the crust. Done.
- Add vanilla bean seeds to the cheesecake base for deeper vanilla flavor.
- Mini cheesecakes: Press the crust into a muffin tin with liners, fill, and reduce the bake time to about 15 to 18 minutes.
- Raspberry swap: Substitute fresh or frozen raspberries 1:1 for cranberries when cranberries aren’t in season. Strain the coulis after blending to remove seeds.
For serving, I love drizzling a little extra cranberry sauce on the plate in a zigzag pattern. It looks intentional and fancy, but it takes two seconds. You can also top slices with white chocolate shavings if you’re feeling extra. The sweetness pairs beautifully with the tart cranberry.
Storage, Freezing & FAQ
So you’ve made this gorgeous cranberry swirl cheesecake. Now, what? (Because it’s definitely not lasting long.)
Store leftovers in an airtight container or wrapped well in plastic in the fridge. They’ll keep for about 2 to 3 days. For longer storage, freeze individual slices wrapped in plastic wrap for up to 1 month. Thaw them overnight in the fridge before serving.
Actually, you can freeze the whole cheesecake for up to 2 months. Wrap it tightly in plastic, then foil. Thaw overnight in the refrigerator. It tastes nearly identical to fresh, which makes it the ultimate make-ahead dessert for Thanksgiving.
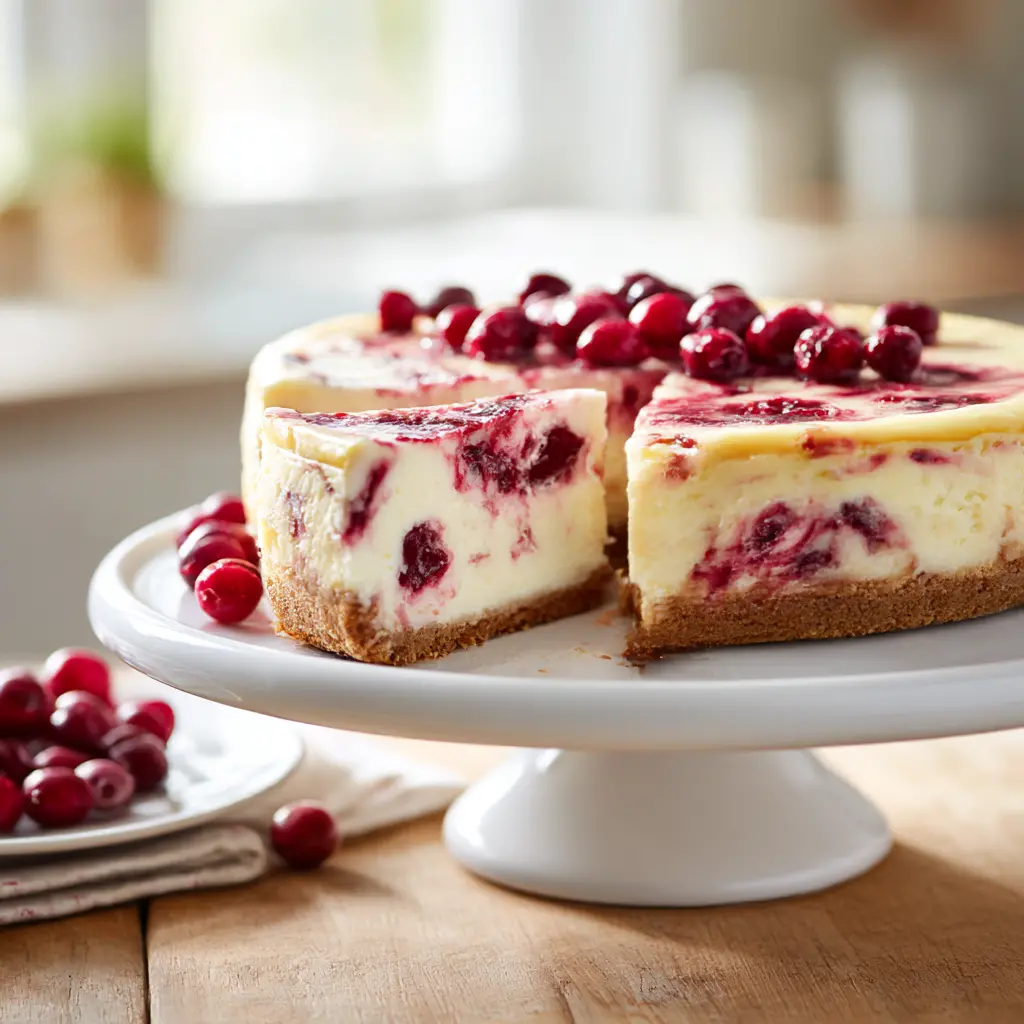
This cranberry swirl cheesecake is more than just a dessert. It’s the sighing pleasure of slicing into a cold, creamy cake on a warm August evening. Or the centerpiece of a fall feast, bathed in golden light, with your family watching you carry it to the table. It’s forgiving, it’s impressive, and it’s genuinely delicious.
Frequently Asked Questions
Can I use fresh cranberries instead of dried cranberries?
Yes, absolutely. This recipe uses fresh or frozen cranberries in the homemade cranberry sauce. Frozen cranberries work perfectly without thawing, which makes this cranberry swirl cheesecake a great option any time of year. Dried cranberries would not rehydrate properly in the sauce and would lack that burst of tart, bright flavor.
I’d love to see your swirls! Tag me in your photos or drop a comment below with how it turned out. And if you’re looking for more table-worthy ideas, you can find plenty of inspiration on my Pinterest.
Happy baking, and here’s to a cheesecake that actually holds itself together.
Source: Learn More About This Dish
Why did my cheesecake crack?
Overmixing the batter, overbaking, or cooling the cheesecake too quickly are the usual culprits. Beat on low speed just until combined, pull it from the oven while the center still wobbles, and let it come to room temperature gradually before chilling. Using room-temperature ingredients also helps prevent cracks in this cranberry swirl cheesecake.