
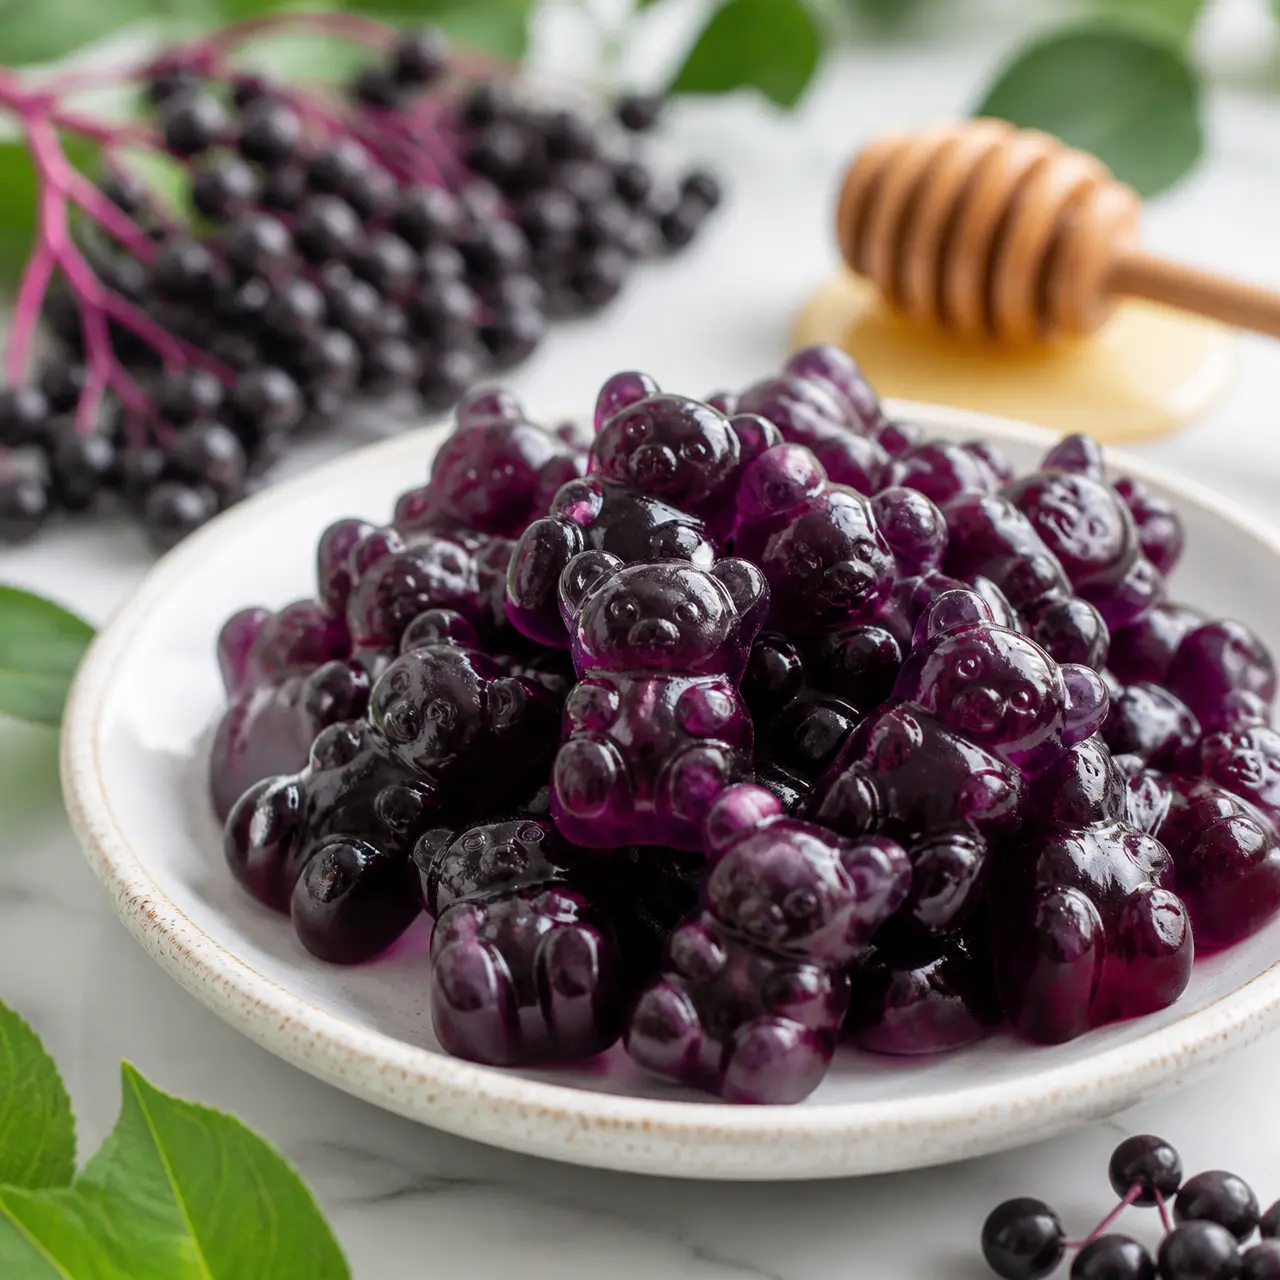
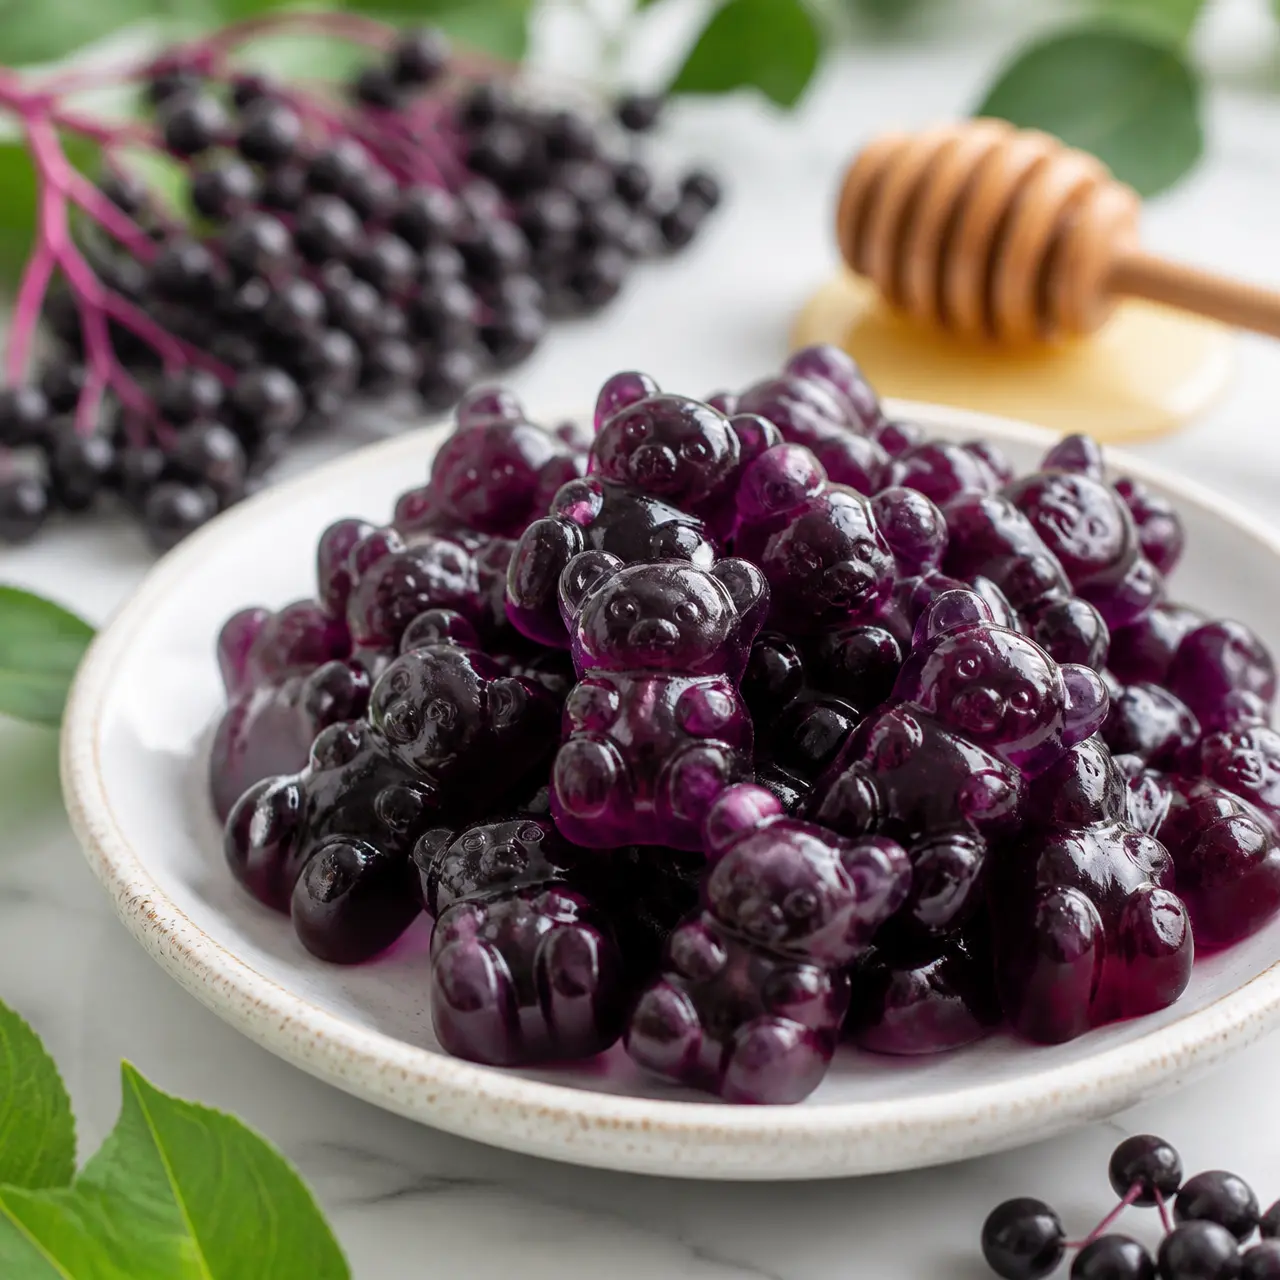
Homemade Elderberry Gummies: Easy 2-Ingredient Recipe
Ingredients
Method
- In a small saucepan over medium-low heat, combine the elderberry syrup and beef gelatin. Whisk frequently until the mixture is warm and the gelatin is fully dissolved. Do not let it boil or overheat, as this can ruin how the gelatin sets and may kill the raw honey enzymes.
- Using an eyedropper or small dropper, carefully fill silicone gummy molds with the warm liquid. If any mixture remains, pour it into a flat tray and refrigerate until set, then slice it into gummy cubes.
- Refrigerate the filled molds for 1 to 2 hours, until the gummies are firm.
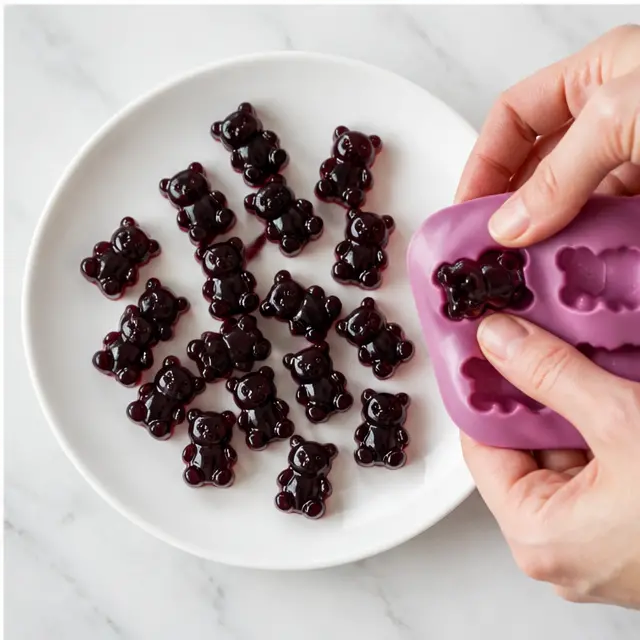
- When the gummies are set, pop them out of the molds and place them in an airtight container. Keep them refrigerated at all times, since they may soften or melt in warm temperatures.
- For dosage, take one 5 ml gummy once daily for prevention or three times daily during illness; for 1 ml gummies, take 3 to 5 gummies per day for prevention and repeat three times daily when sick. Adults can double these amounts.
Nutrition
Notes
Tried this recipe?
Let us know how it was!Why Make Homemade Elderberry Gummies?
My first gummy attempt looked less like bears and more like a crime scene. I boiled the syrup, wrecked the gelatin, and ended up with purple soup. But after a few patient batches, I cracked the code. These homemade elderberry gummies turned my kids into willing participants in their own immune support routine.
Honestly, the store-bought stuff is tempting. But then you flip the box over and see corn syrup, artificial flavors, and a price tag that makes you wince. Making elderberry gummies at home means you control exactly what goes in, and it’s shockingly simple. We’re talking 2 ingredients and 15 minutes of hands-on time.
Here’s the why that matters:
- Cost-effective: One jar of quality elderberry syrup costs pennies per batch compared to premium gummy brands.
- Real ingredients: No mystery additives. Just good, clean food.
- Actually tastes good: A tart-sweet pop with a honeyed finish beats sugary candy any day.
Ingredients and Substitutions
You really only need two things to make homemade elderberry gummies: a solid elderberry syrup and a high-quality unflavored beef gelatin. The magic is in the ratio. Too much gelatin and you get rubber bears. Too little, and you get sad puddles.
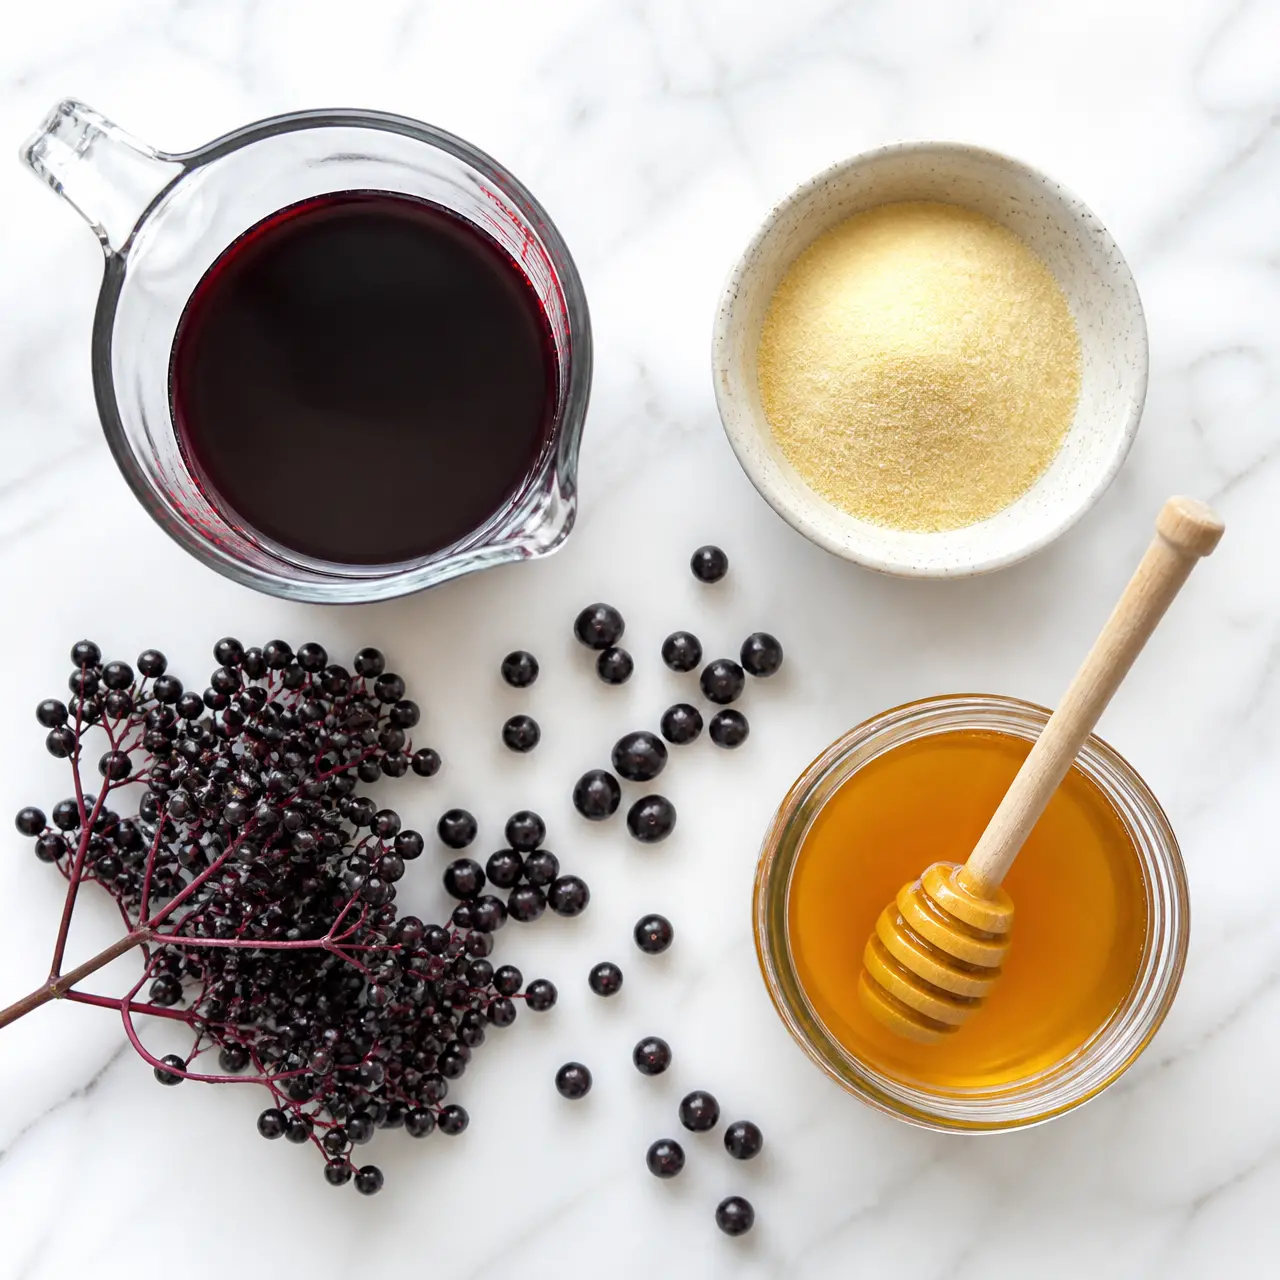
For the syrup, I always reach for a batch made with real honey rather than refined sugar. The raw honey brings its own gentle benefits, plus it balances the tartness of the black elderberry beautifully. If you’re using store-bought syrup, just check the label. You want something honest.
For the gelatin, quality matters. Grass-fed beef gelatin is my go-to. It sets clean, has no weird aftertaste, and gives you that perfect jiggle that means business. If you’re vegetarian or vegan, you can absolutely swap in agar agar powder. Use 1 tablespoon of agar agar for every 2 tablespoons of gelatin, and simmer the syrup for 3 to 5 minutes to activate it properly.
Choosing the Right Gummy Mold
I’ve tried plastic molds, and I’m here to tell you: just go straight for silicone gummy molds. They bend, flex, and release the gummies with almost no effort. If you’re having trouble getting them out, lightly coat the molds with a neutral oil before pouring. It’s a tiny step that makes a huge difference.
You don’t need anything fancy to start. A basic bear-shaped mold does the job. If you don’t have a dropper, you can use a small measuring cup with a spout and pour carefully. It’s a little messier, but it works. And if you don’t have molds at all?
Pour the warm mixture into a parchment-lined tray. Once it sets, slice it into little cubes. They won’t be bears, but they’ll still taste exactly the same. Trust me, nobody complains about the shape when they’re eating a gummy.
How to Make Elderberry Gummies (Step-by-Step)
This is where the magic happens. The whole process is quick, but the technique is everything. Let’s break it down into four simple stages so you nail that perfect gummy texture on the first try.
Stage 1: Warm the Syrup
Combine your elderberry syrup and beef gelatin in a small saucepan over medium-low heat. Whisk frequently until the gelatin fully dissolves into the liquid. Here’s the golden rule: do not let it boil. Heat above 180°F can break down the gelatin’s setting power and kill the beneficial enzymes in your raw honey. Think gentle warm bath, not rolling bubbles.
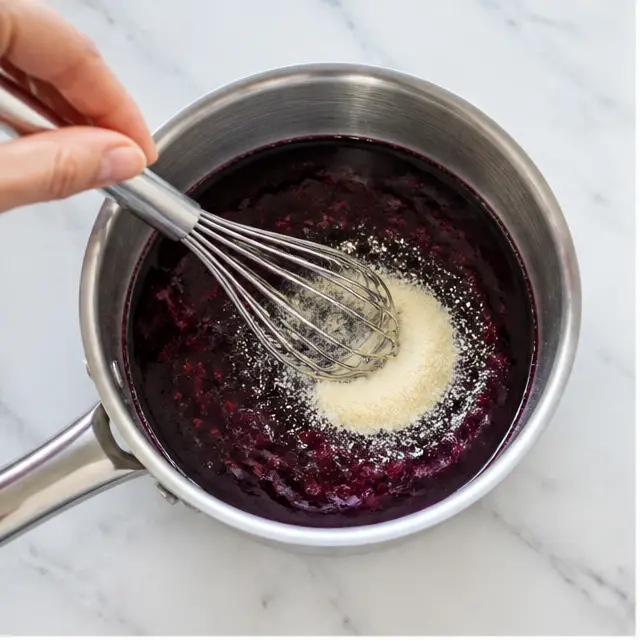
You’ll know it’s ready when the mixture is smooth, glossy, and completely free of lumps. It should look like a deep, dark amethyst purple. If your syrup was refrigerated, give it a little extra time to warm through so the gelatin melts evenly.
Stage 2: Fill the Molds
Using an eyedropper or small dropper, carefully fill your silicone gummy molds with the warm liquid. Work in batches if you need to. The mixture will start to firm up as it cools, so keep it on the stove over the lowest heat setting if you have a lot of molds to fill. Just stir it occasionally.
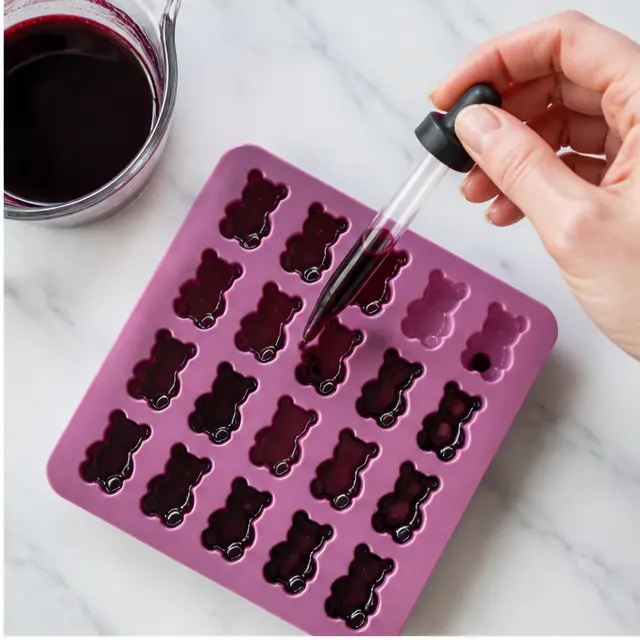
If any mixture remains after your molds are full, pour it into a flat tray and refrigerate until set. You’ll get cute little gummy squares instead of wasting anything. Zero waste is always a win in my kitchen.
Stage 3: Refrigerate Until Firm
Pop the filled molds into the refrigerator. Let them chill for 1 to 2 hours, depending on the size of your molds. You’re looking for a firm, bouncy texture that releases cleanly from the silicone. If they still feel tacky or soft, give them another 30 minutes.
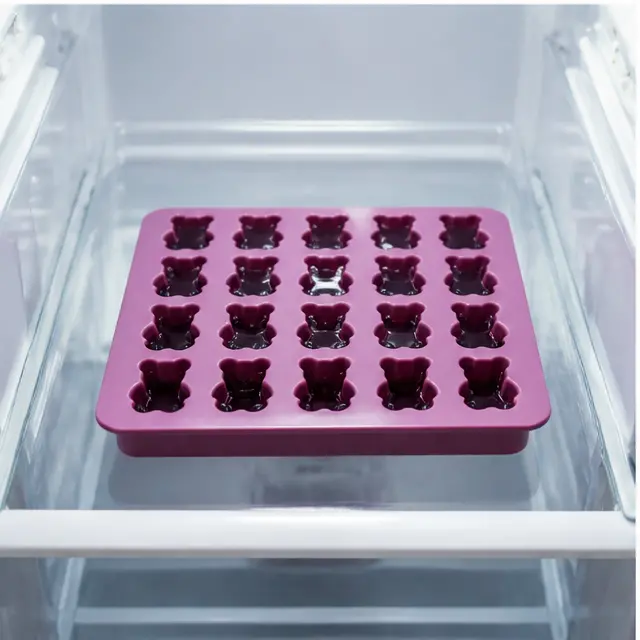
This is the hardest part, I know. The waiting. But let them set completely, and you’ll be rewarded with the most satisfying Pop! when you unmold them.
Stage 4: Unmold and Store
Once the gummies are fully set, gently press the backs of the silicone molds to pop them out. They should release easily with a little wiggle. Place them in an airtight container and keep them refrigerated at all times. These little guys are not fans of warm weather.
Tips and Variations for Perfect Gummies
Once you’ve mastered the basic homemade elderberry gummies, it’s time to make them your own. Texture preferences vary, and that’s okay. Here’s how to adjust things to suit your family.
For a softer gummy, use 7 tablespoons of gelatin. For a firmer gummy, bump it up to 9 tablespoons. The 8-tablespoon mark in the recipe is the sweet spot for most people, but play around with it.
- Citrus Boost: Add 1 to 2 tablespoons of fresh lemon juice after the syrup cools slightly. It adds a bright, tangy kick and a natural dose of vitamin C.
- Spice Swap: Swap out the traditional spices for a few cardamom pods and a pinch of nutmeg. It gives the gummies a warm, aromatic twist that’s perfect for fall.
- Vegan Gummies: As mentioned earlier, replace the beef gelatin with agar agar. Use 1 tablespoon of agar agar powder for every 2 tablespoons of gelatin, and simmer it in the syrup for 3 to 5 minutes to activate it. Swap the honey for agave to keep it fully plant-based.
Mistake Hall of Fame
❌ Gummy Soup: You didn’t use enough gelatin or you overheated it. ✅ Reheat with a little extra gelatin, whisk well, and re-pour.
❌ Rubbery Bears: You used too much gelatin or let it boil. ✅ Stick to the 8-tablespoon measurement and keep the heat low.
❌ Stuck in the Mold: The molds weren’t clean or dry. ✅ Lightly oil your silicone molds and make sure they’re completely dry before filling.
Storage and Shelf Life
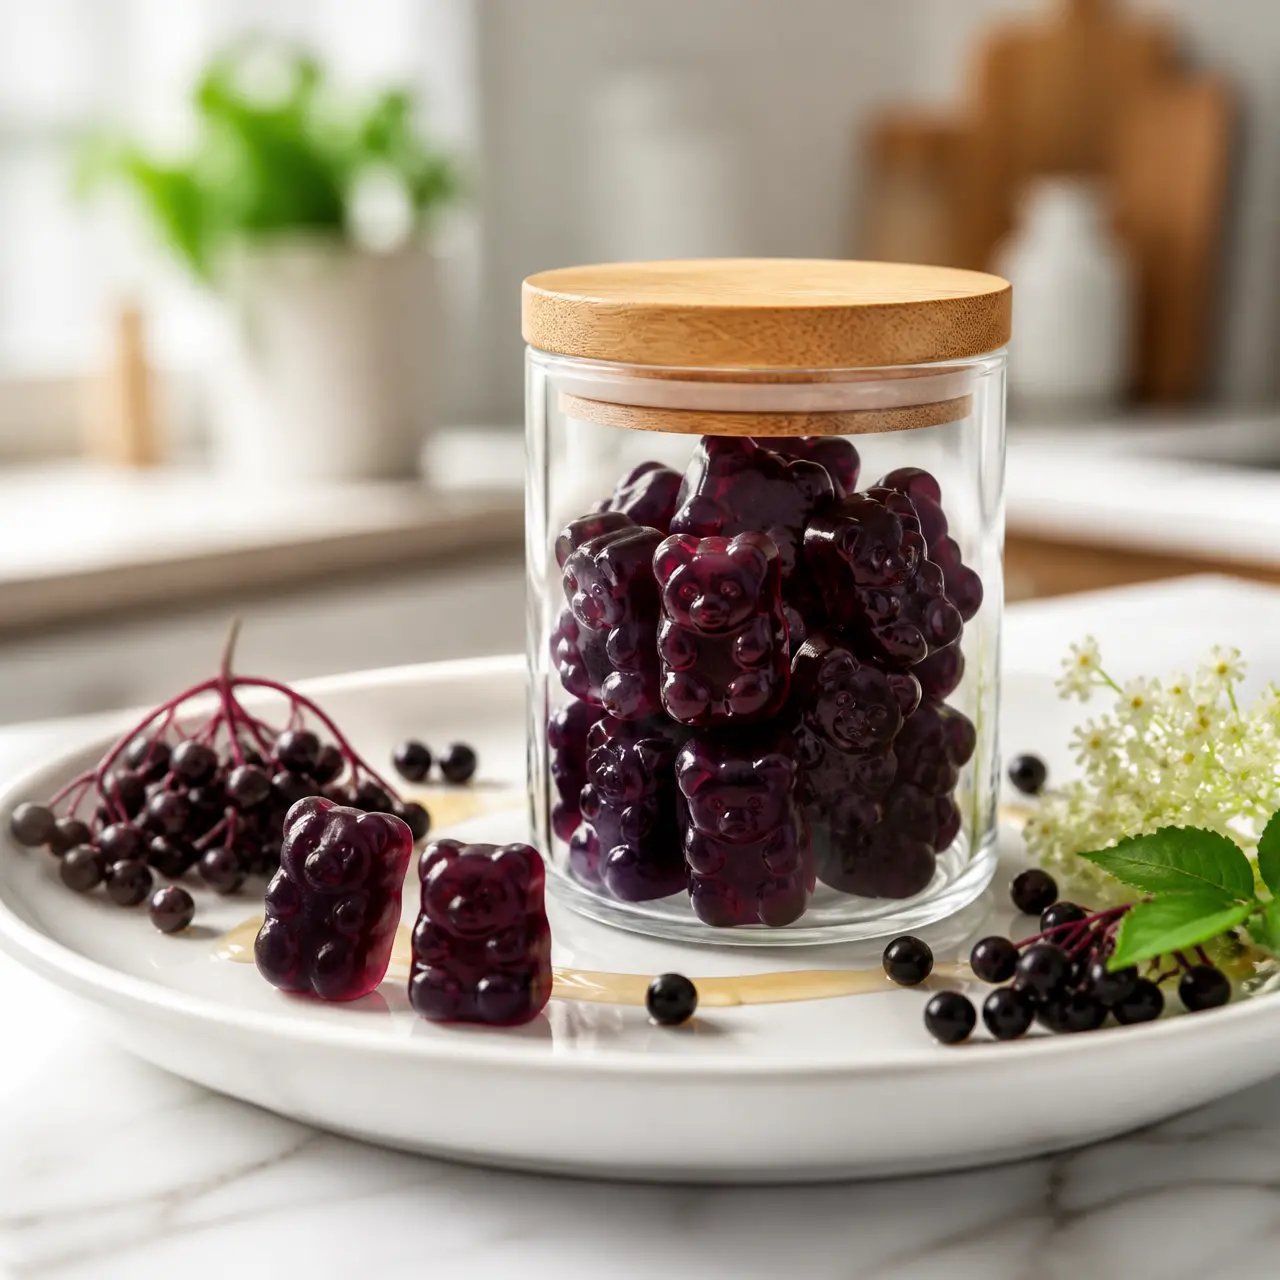
These elderberry gummies are best friends with your refrigerator. Store them in an airtight container and they’ll stay fresh for up to 2 weeks. In the summer heat, I don’t recommend leaving them out on the counter at all. They’ll soften, melt, and turn into a sticky mess faster than you’d think.
If you want to make a big batch to last through the cold season, freezing is a great option. Layer them in a freezer-safe container with parchment paper between the layers so they don’t stick together. Thaw them in the fridge overnight, and they’re good as new.
Just remember: moisture is the enemy. Always make sure your container is sealed tight, and use a dry spoon or your hands to grab them. A little bit of condensation can shorten their shelf life quickly.
Dosage and How to Use
So, how many should you actually take? It depends on the size of your gummies and who’s eating them. A standard 5 ml gummy is what I call a “daily dose.” For prevention, take one 5 ml gummy once daily. If you or your kids are actively fighting off a cold, you can take that same dose three times daily until symptoms subside.
For smaller 1 ml gummies, kids can take 3 to 5 gummies per day for prevention. Adults can double these amounts. As always, listen to your body and adjust as needed.
I like to think of these as a daily supplement, not a medicine. They’re a simple, delicious way to give your family a little extra support during the school year. And the fact that they’re made with real black elderberry and raw honey just makes me feel good about giving them out.
Frequently Asked Questions
Making these homemade elderberry gummies is more than just a fun weekend project. It’s a small act of rebellion against overpriced, sugar-laden supplements. It’s the quiet pride of knowing exactly what went into that jar.
When you pull those glossy bears out of the mold next Sunday, and your kid reaches for one without being asked, you’ll get it. The tart-sweet pop, the honeyed finish, the little burst of deep purple goodness. It’s a feeling that never gets old.
If you’re looking for more simple, real-food recipes, follow me on Pinterest for weekly inspiration. Let’s build a healthier, happier kitchen together.
Source: Learn More About This Dish
Do elderberry gummies need to be refrigerated?
Yes, absolutely. Because these homemade elderberry gummies are made with real fruit syrup and gelatin, they need to stay cold. Store them in an airtight container in the fridge for up to 2 weeks. Leaving them out, especially in warm weather, will cause them to soften, melt, or spoil.
Are elderberry gummies good for you?
When you make them yourself, yes! These elderberry gummies are packed with the immune-supporting benefits of black elderberry and raw honey, without any artificial junk. They’re a great way to get a daily dose of antioxidants, especially during the cold season. Just remember, they contain natural sugars, so enjoy them in moderation.
Can I take these gummies every day?
For most people, yes. Taking a daily 5 ml gummy for prevention is perfectly safe when used as directed. If you’re fighting an illness, you can increase to three times daily. However, if you have any autoimmune conditions or are pregnant, it’s always best to check with your doctor before adding elderberry to your daily routine.
Who should not take elderberry gummies?
Elderberry can overstimulate the immune system, so people with autoimmune diseases like lupus or rheumatoid arthritis should avoid it without medical approval. Pregnant or nursing women should also consult their doctor. As with any supplement, it’s important to source your elderberries properly and cook them thoroughly, as raw berries contain toxic compounds.
Does elderberry work? What are the benefits?
Elderberry is rich in antioxidants and vitamins that support the immune system. Studies suggest it may help reduce the duration and severity of colds. While it won’t cure the plague, it’s a fantastic natural wellness habit. Paired with vitamin C from lemon juice, these immune support gummies are a solid addition to your wellness toolkit.
How many gummies should I take per day?
The right amount depends on the size of your gummies and who’s eating them. For standard 5 ml gummies, take one daily for prevention, or three daily during illness. For small 1 ml gummies, kids can take 3 to 5 daily. Adults can double these amounts. Always listen to your body.
Where do I find elderberries in the wild? How do I forage them safely?
Elderberries grow in clusters on shrubs across North America. Proper identification is crucial, as look-alikes like pokeberries are toxic. Only harvest fully ripe, dark purple berries, and never eat them raw. Cook them thoroughly for syrup. If you’re not 100% sure about your ID, stick to buying dried or frozen elderberries from a trusted source.
How should I store my DIY elderberry gummy bears?
Keep your homemade elderberry gummies in an airtight container in the refrigerator. They’ll stay fresh and bouncy for up to 2 weeks. For long-term storage, you can freeze them in a single layer with parchment paper between layers. Just thaw overnight in the fridge before enjoying.