
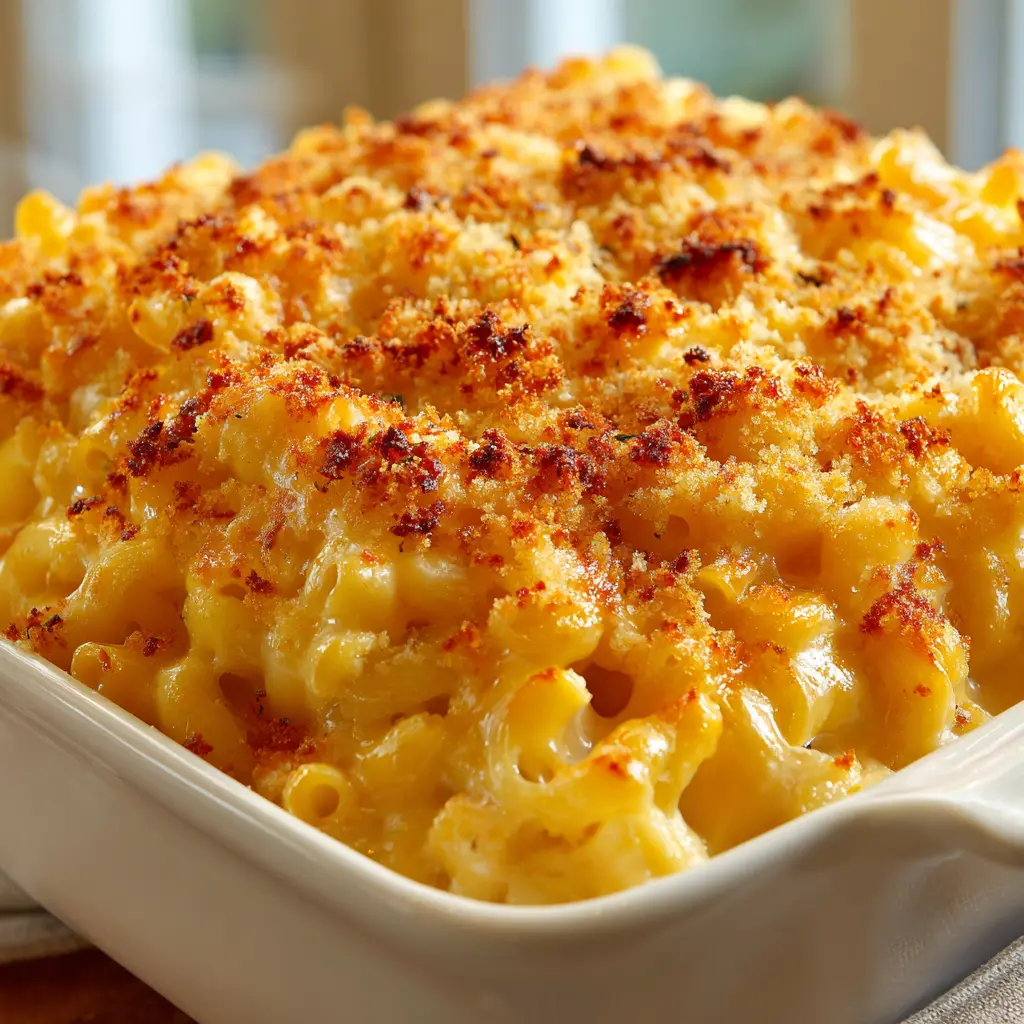
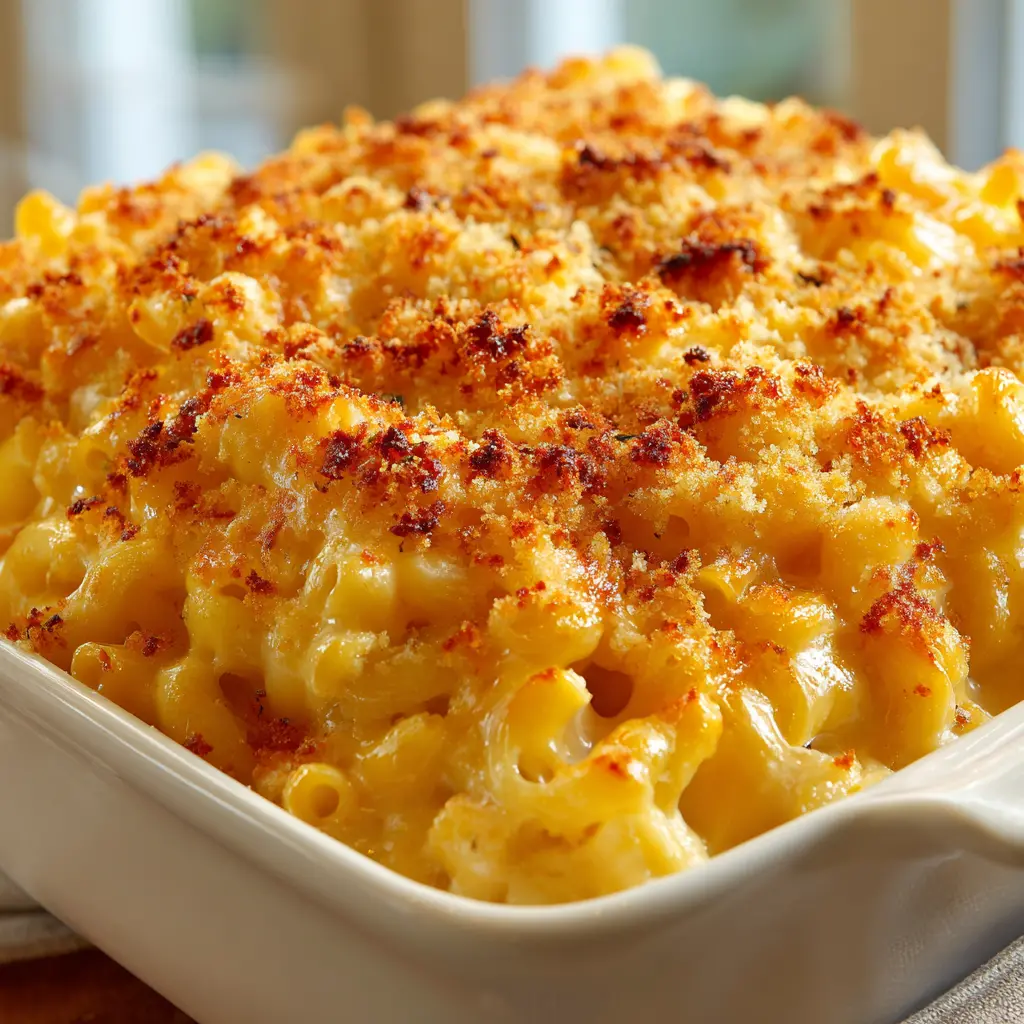
Ultimate Homemade Mac and Cheese
Ingredients
Method
- Preheat your oven to 350°F. Lightly grease a 9x13-inch baking dish.
- Bring a large pot of salted water to a boil. Cook the elbow macaroni until just al dente, about 1 minute less than package directions. Drain and set aside.
- In a large saucepan over medium heat, melt the butter. Whisk in the flour and cook, stirring constantly, for 1 to 2 minutes until the mixture is lightly golden and bubbling.
- Slowly pour in the milk and cream while whisking. Continue cooking until the sauce thickens slightly, about 4 to 6 minutes. Stir in the garlic powder, mustard powder, paprika, salt, and pepper.
- Reduce the heat to low. Stir in the shredded cheddar, mozzarella, and Parmesan until melted and smooth.
- Add the cooked macaroni to the cheese sauce. Stir well to coat all the pasta.
- Pour the cheesy pasta into the prepared baking dish and spread it evenly.
- In a small bowl, mix the panko with melted butter and smoked paprika. Sprinkle this topping over the pasta.
- Bake uncovered for 20 to 25 minutes, until bubbly and lightly golden on top. For a crispier topping, broil for 2 to 3 minutes at the end.
- Let the dish rest for 5 to 10 minutes before serving for the best texture.
Nutrition
Notes
Tried this recipe?
Let us know how it was!Why This Homemade Mac and Cheese Works
You know that moment when you open the pantry and the boxed stuff just won’t cut it? Maybe it’s a Tuesday night, the kids are restless, and you need something that feels like a hug in a bowl. Or maybe you’re staring down a holiday menu and want a side dish that’ll steal the show. That’s exactly why I perfected this homemade mac and cheese recipe.
This isn’t just any mac and cheese. It’s the one that disappears first at potlucks. The one your family will request for every birthday dinner. The one that makes you feel like a rockstar in the kitchen, even on a busy weeknight.
So what makes this creamy mac and cheese recipe so special? It’s the three-cheese blend, for starters. Sharp cheddar brings that classic tang, mozzarella adds the perfect stretch, and Parmesan gives a salty, nutty finish. Then there’s the roux-based bechamel sauce, which is honestly easier than you think. And that golden panko breadcrumb topping? Non-negotiable for that perfect crunch.
We all need a go-to comfort dish, and this is mine. Even though it’s blazing hot outside, this baked mac and cheese is worth turning on the oven for. Or, you know, make it stovetop and skip the baking entirely. I’ll show you both ways.
Ingredients You’ll Need
Let’s talk about what goes into this homemade mac and cheese. The ingredient list is short, and you probably have most of it already. That’s the beauty of a good mac and cheese recipe it’s pantry-friendly.
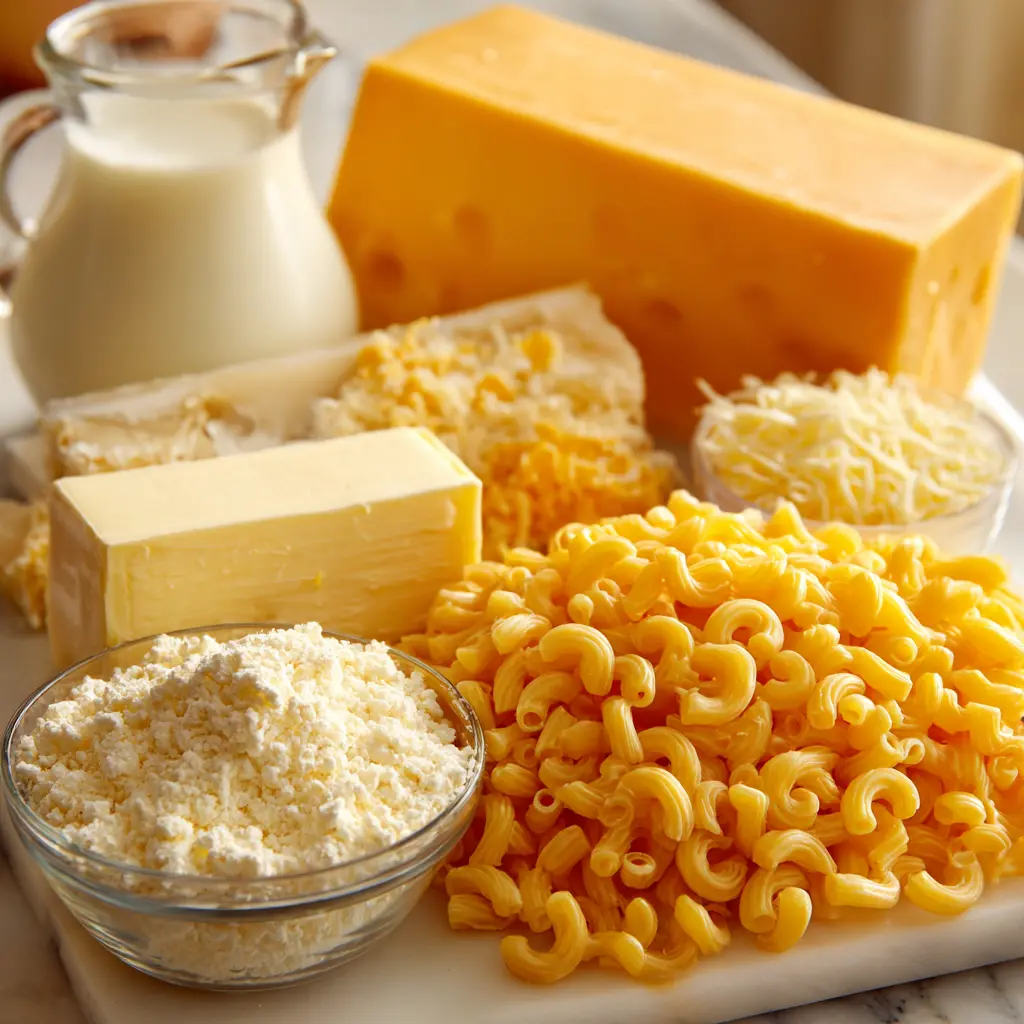
Here’s what you’ll need:
- Elbow macaroni (1 lb) classic choice, but any short pasta works
- Unsalted butter and all-purpose flour the base of your roux
- Whole milk and heavy cream for that extra creamy texture
- Sharp cheddar, mozzarella, and Parmesan the dream team of cheeses
- Garlic powder, dry mustard powder, paprika, salt, and pepper flavor boosters
- Panko breadcrumbs, melted butter, and smoked paprika for the topping
One thing I learned the hard way? Shred your own cheese from a block. I know, I know, pre-shredded is so convenient. But it’s coated in anti-caking agents that prevent it from melting smoothly. You’ll end up with a grainy sauce, and nobody wants that. So take the extra five minutes to shred your own. Your taste buds will thank you.
Best Cheese for Mac and Cheese
This is the question I get asked most often. What is the best cheese for mac and cheese? The short answer: a combination. Sharp cheddar is non-negotiable for that classic flavor. But on its own, it can be a little greasy. That’s where mozzarella comes in it adds that beautiful, stretchy melt. And Parmesan brings the umami depth.
If you want to experiment, you can swap in other cheeses. Gruyere is a fantastic substitute for some of the cheddar. Smoked gouda adds a wonderful smoky note. But for this recipe, the three-cheese blend is perfectly balanced. Trust me on this one.
How to Make Homemade Mac and Cheese
Alright, let’s get cooking. I’m going to walk you through the four main stages of this recipe. The full details are in the recipe card above, but here’s the why behind each step.
First things first, preheat your oven to 350°F. And lightly grease a 9×13-inch baking dish. This is important don’t skip the greasing, or you’ll be scraping cheese off the bottom later.
Stage 1: Cook the pasta. Bring a large pot of salted water to a rolling boil. Cook the elbow macaroni until just al dente, about 1 minute less than the package directions. Why undercook it? Because it’ll continue cooking in the oven. If you cook it fully now, you’ll end up with mushy mac and cheese. Nobody wants that. Drain the pasta, but don’t rinse it. You want that starch to help the sauce cling to the noodles.
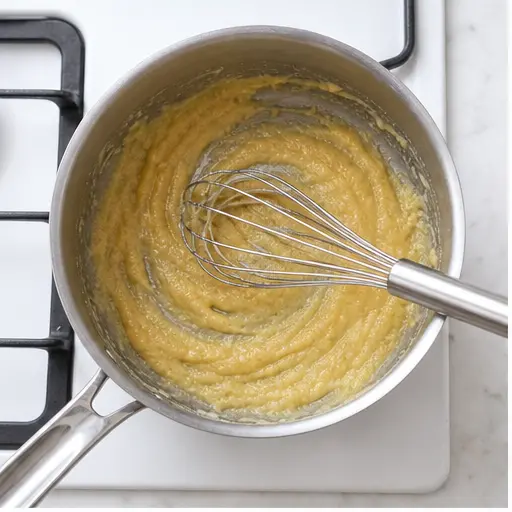
Stage 2: Make the roux. In a large saucepan over medium heat, melt the butter. Once it’s bubbling, whisk in the flour. Keep whisking for 1 to 2 minutes until the mixture turns lightly golden and smells a little nutty. This is your roux, and it’s the foundation of your bechamel sauce. Don’t let it brown too much you want a pale golden color.
Now, slowly pour in the milk and cream while whisking constantly. This is where patience pays off. Pour too fast and you’ll get lumps. Keep whisking until the sauce thickens slightly, about 4 to 6 minutes. Then stir in the garlic powder, mustard powder, paprika, salt, and pepper. The dry mustard is the secret weapon here it doesn’t make the sauce taste like mustard, it just enhances the cheesy flavor.
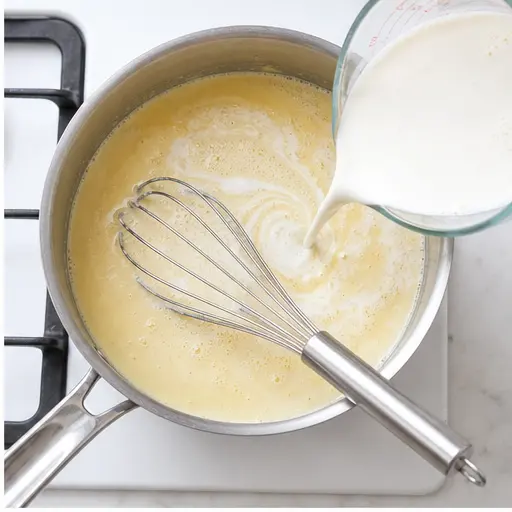
Stage 3: Melt the cheese. Reduce the heat to low. Now, add your shredded cheeses a handful at a time, stirring until each addition is fully melted before adding the next. This is crucial. If you dump all the cheese in at once, the sauce can break and turn grainy. I learned this the hard way during a Thanksgiving disaster. Low and slow is the way to go.
Once all the cheese is melted, you should have a smooth, glossy, velvety sauce. If it looks a little grainy, don’t panic. Just keep whisking slowly over low heat. It should come together.
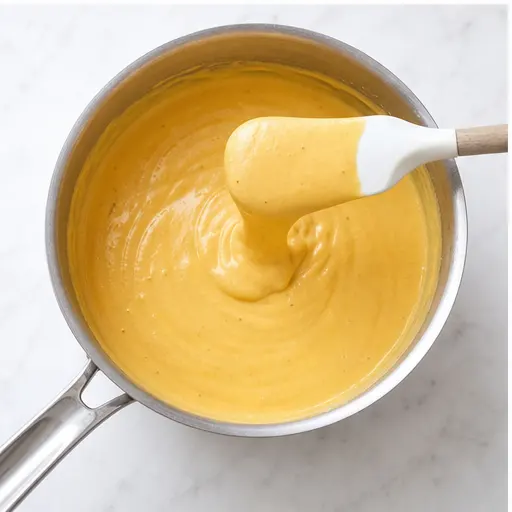
Stage 4: Assemble and bake. Add the cooked macaroni to the cheese sauce and stir well to coat every single noodle. Pour the cheesy pasta into your prepared baking dish and spread it evenly.
In a small bowl, mix the panko breadcrumbs with melted butter and smoked paprika. Sprinkle this topping evenly over the pasta. The smoked paprika adds a subtle smokiness that takes this over the top.
Bake uncovered for 20 to 25 minutes, until bubbly and lightly golden on top. For a crispier topping, broil for 2 to 3 minutes at the end. Watch it carefully it can go from golden to burnt in seconds.
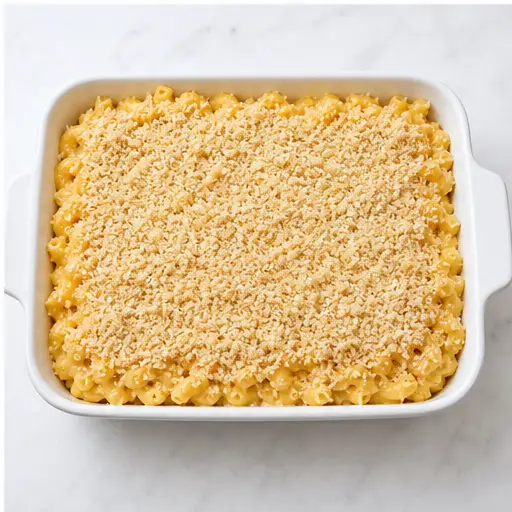
Let the dish rest for 5 to 10 minutes before serving. I know it’s hard to wait, but this helps the sauce set so you get those perfect, gooey servings instead of a soupy mess.
Tips for a Smooth Cheese Sauce
A smooth cheese sauce is the hallmark of a great homemade mac and cheese. Here are my top tips:
- Shred your own cheese. I said it before, I’ll say it again. Pre-shredded cheese is coated in cellulose, which prevents smooth melting.
- Don’t let the sauce boil after adding cheese. High heat can cause the proteins to separate, leaving you with a grainy, greasy mess.
- Add cheese gradually. A handful at a time, stirring until melted. This ensures even incorporation.
- Use room temperature dairy. Cold milk or cream can shock the roux and cause lumps. Let them sit out for 10 minutes before starting.
To Bake or Not to Bake
This is a personal preference thing. Baked mac and cheese develops that gorgeous golden crust and has a slightly firmer texture. Stovetop mac and cheese is creamier and faster ready in about 20 minutes total.
This recipe works beautifully both ways. If you’re skipping the bake, just stir the cooked macaroni into the cheese sauce and serve immediately. No breadcrumb topping needed, though you could sprinkle some on for texture. For the baked version, you get that crispy panko crust that contrasts perfectly with the creamy interior.
On a hot summer day when you don’t want to turn on the oven, go stovetop. For a holiday gathering where presentation matters, go baked. Both are winners.
Variations and Add-Ins
Once you’ve mastered the basic homemade mac and cheese recipe, the possibilities are endless. Here are some of my favorite variations:
- Add vegetables: Fold in steamed broccoli florets, sautéed mushrooms, or roasted cherry tomatoes before baking. For a summer twist, add fresh corn kernels and diced zucchini.
- Add protein: Stir in shredded roast chicken, cooked ground beef, or flaked salmon. For a heartier meal, this is the way to go.
- Change the cheese: Swap the mozzarella for smoked gouda or gruyere. Use white cheddar for a different look. Add a little pepper jack for heat.
- Different pasta shapes: Elbow macaroni is classic, but rotini, shells, bowties, or cavatappi all work great. The key is using a shape that holds onto the sauce.
- Spice it up: Add a pinch of cayenne pepper or a few dashes of hot sauce to the cheese sauce for a kick.
These are optional additions, so don’t feel pressured to include them. The base recipe is already perfect as is. But if you’re feeding a crowd or want to mix things up, these variations are a great starting point.
How to Store and Reheat Leftovers
If you have leftovers and that’s a big if here’s how to keep them delicious. Store the mac and cheese in an airtight container in the refrigerator for up to 3 to 4 days.
The key to reheating is adding moisture. Mac and cheese tends to dry out in the fridge. When reheating, add a splash of milk or cream and stir it in. For the microwave, cover the bowl with a damp paper towel and heat in 30-second intervals, stirring between each. For the oven, cover with foil and bake at 325°F for about 15 to 20 minutes.
Whatever you do, don’t just blast it in the microwave without adding liquid. You’ll end up with dry, sad noodles. And this mac and cheese deserves better than that.
Make Ahead and Freezing Instructions
This homemade mac and cheese is perfect for making ahead. Assemble the dish completely, but don’t bake it. Cover tightly with foil and refrigerate for up to 2 days. When you’re ready to bake, add about 10 minutes to the baking time since you’re starting from cold.
For freezing, I recommend freezing it before baking. Cool the assembled dish completely, then cover tightly with foil and a layer of plastic wrap. Freeze for up to 3 months. To bake from frozen, remove the plastic wrap, cover with foil, and bake at 350°F for 70 to 80 minutes. Remove the foil for the last 10 minutes to let the top brown.
If you’ve already baked it, you can still freeze leftovers. Just let them cool completely, then transfer to a freezer-safe container. Thaw in the fridge overnight before reheating.
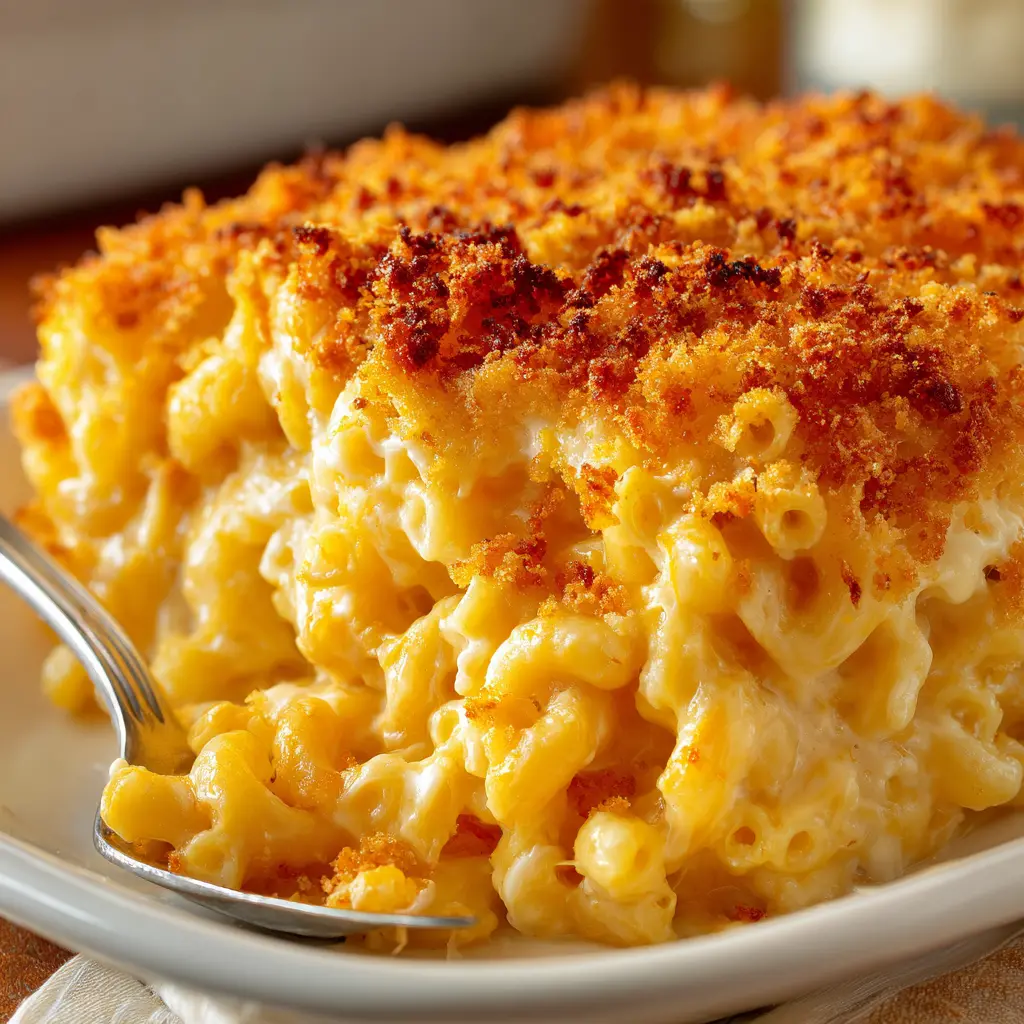
Common Mistakes to Avoid
Even experienced cooks make mistakes with mac and cheese. Here are the most common ones and how to avoid them:
Troubleshooting Guide
❌ Using pre-shredded cheese: It won’t melt smoothly. ✅ Solution: Shred your own cheese from a block. It takes 5 minutes and makes all the difference.
❌ Overcooking the pasta: It becomes mushy after baking. ✅ Solution: Cook the pasta 1 minute less than al dente. It will finish cooking in the oven.
❌ Letting the sauce boil after adding cheese: This causes the sauce to break and turn grainy. ✅ Solution: Keep the heat on low after adding cheese, and stir gently.
❌ Adding all the cheese at once: It can clump and not melt evenly. ✅ Solution: Add cheese a handful at a time, stirring until melted before adding more.
❌ Skipping the rest time: The mac and cheese will be runny. ✅ Solution: Let the dish rest for 5 to 10 minutes before serving. This allows the sauce to set.
Frequently Asked Questions
Final Thoughts
This homemade mac and cheese recipe is more than just a dish it’s a feeling. It’s the smell of butter and cheese filling your kitchen on a cool evening. It’s the sound of that first spoonful breaking through the golden crust. It’s the way everyone at the table goes quiet for a moment before saying, “Wow, this is amazing.”
I hope you make this recipe your own. Maybe you’ll add a little extra smoked paprika like I do. Maybe you’ll double the batch for your next potluck. Or maybe you’ll just make it on a random Tuesday because you deserve something comforting.
If you try this recipe, I’d love to hear about it. Share your homemade mac and cheese creations with me on Pinterest I’m always looking for inspiration from fellow home cooks.
Now go make some mac and cheese. You’ve got this.
Source: Nutritional Information
How do you store mac and cheese?
Store leftovers in an airtight container in the refrigerator for up to 3 to 4 days. Add a splash of milk when reheating to restore the creamy texture. For longer storage, freeze the unbaked dish for up to 3 months.
Can homemade mac and cheese be frozen?
Yes, absolutely. Assemble the dish but don’t bake it, then cool completely. Wrap tightly in foil and plastic wrap and freeze for up to 3 months. Bake from frozen at 350°F for 70 to 80 minutes, removing the foil for the last 10 minutes.
Can you make this mac and cheese gluten-free?
Yes, it’s easy to adapt. Use gluten-free pasta and substitute the all-purpose flour with a gluten-free all-purpose flour blend. The rest of the ingredients are naturally gluten-free. The texture will be slightly different, but it’s still delicious.
Can I make this in the crock pot?
This particular recipe is designed for stovetop or oven baking, not for a slow cooker. The roux-based sauce needs direct heat to thicken properly. For a crock pot version, you’d need a different recipe with different ratios. Stick with the stovetop or baked method for best results.
The ingredients call for 8 ounces shredded cheddar (2 cups). But I thought 8 ounces equals 1 cup?
This is a common point of confusion. Eight ounces by weight of shredded cheese equals about 2 cups by volume. Cheese is fluffy when shredded, so it doesn’t follow the same conversion as liquids. Always measure shredded cheese by weight for accuracy, or use the cup measurement as a guide.
To bake or not to bake?
It’s a personal choice. Baked mac and cheese develops a golden, crispy top and has a slightly firmer texture. Stovetop mac and cheese is creamier and faster. This recipe works beautifully both ways. For a quick weeknight dinner, skip the baking. For a special occasion, go for the baked version with the panko topping.
What type of cheese is best for mac and cheese?
A combination of cheeses works best. Sharp cheddar provides classic flavor and color, mozzarella adds stretch and creaminess, and Parmesan brings nutty, salty depth. Avoid using only soft cheeses like brie or only hard cheeses like Parmesan. A mix ensures the best melt and flavor.