
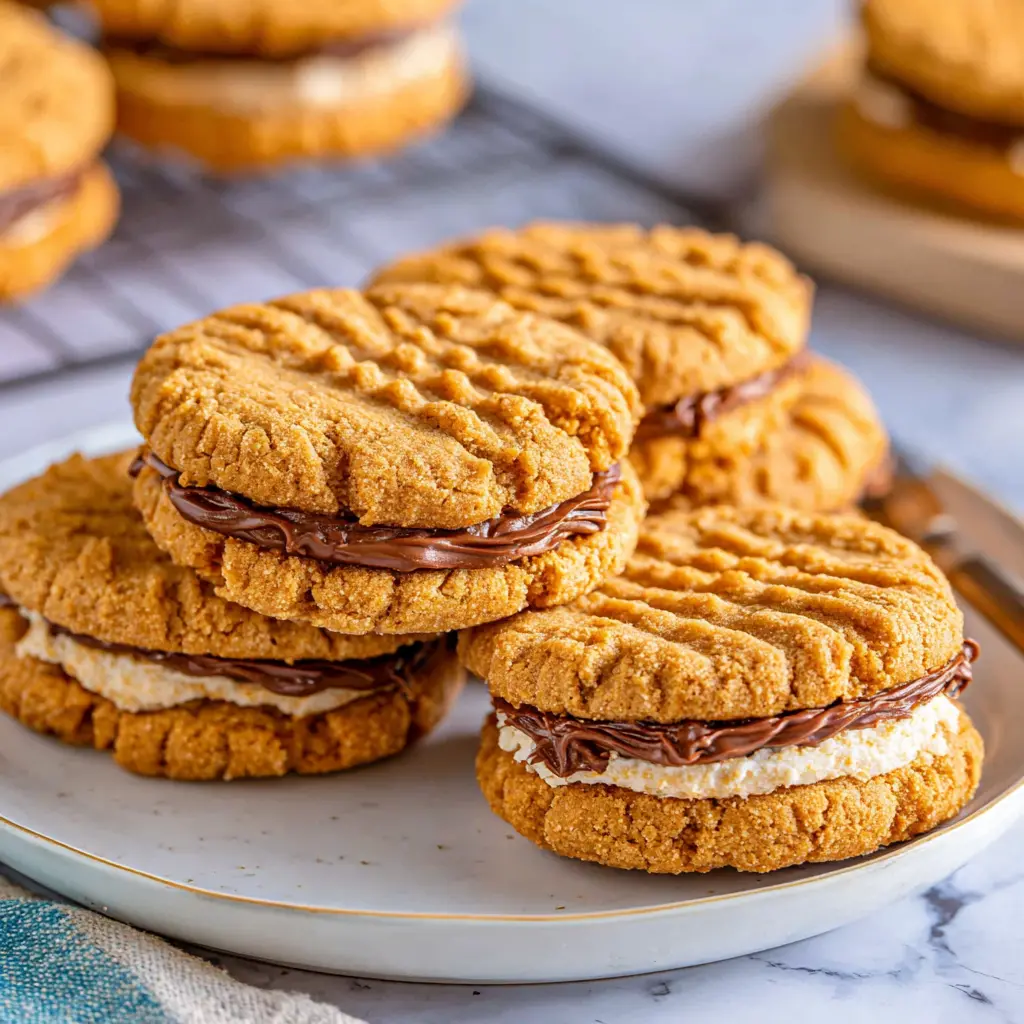
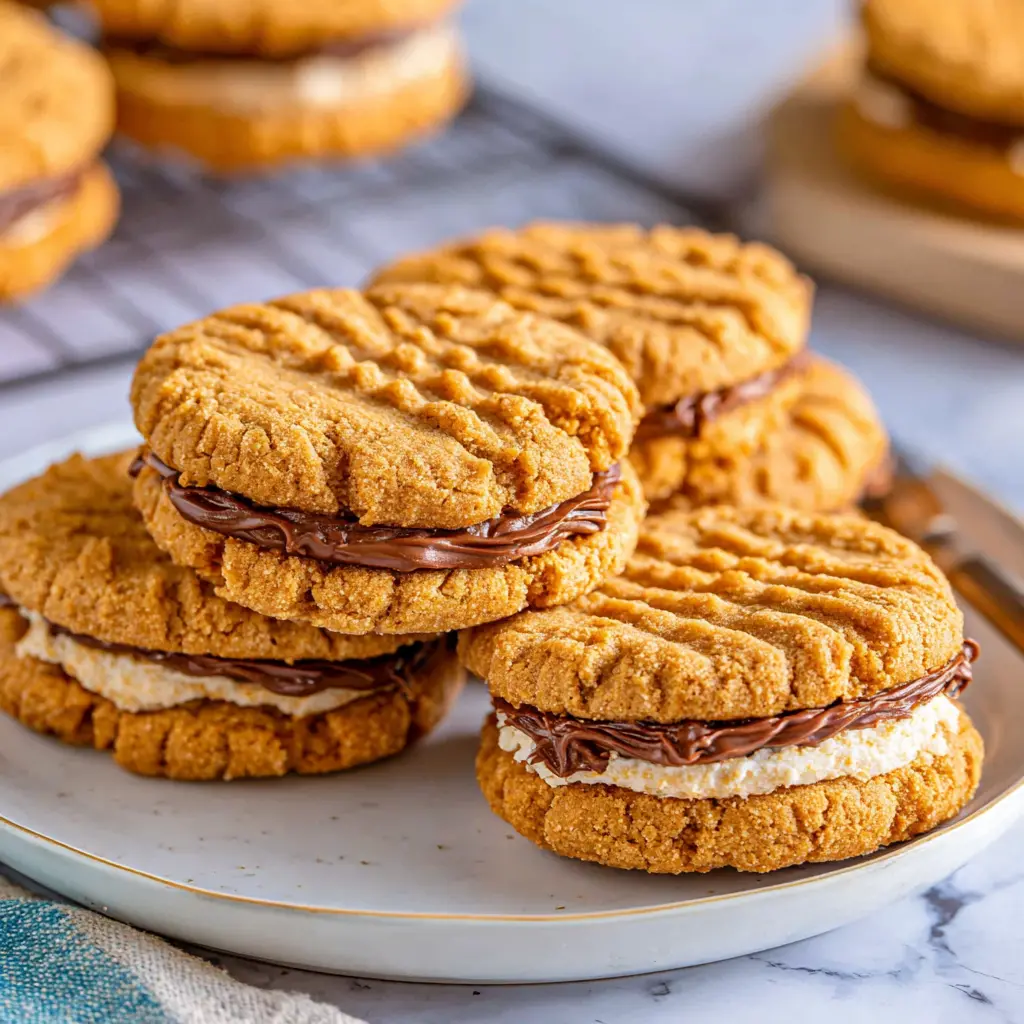
Homemade Nutter Butter Cookies: Soft Peanut Butter Sandwiches with Fluffy Filling
Ingredients
Method
- Preheat your oven to 350°F and line two baking sheets with parchment paper.
- In the bowl of a stand mixer fitted with the paddle attachment (or using a hand mixer), beat together the peanut butter and salted butter until smooth and creamy.
- Add the light brown sugar and granulated sugar and mix until thoroughly combined.
- Add the eggs one at a time, beating well after each addition so they are fully incorporated.
- Stir in the vanilla extract.
- Gradually add the flour and baking soda, mixing on low speed just until no dry streaks remain. Scrape down the sides of the bowl as needed.
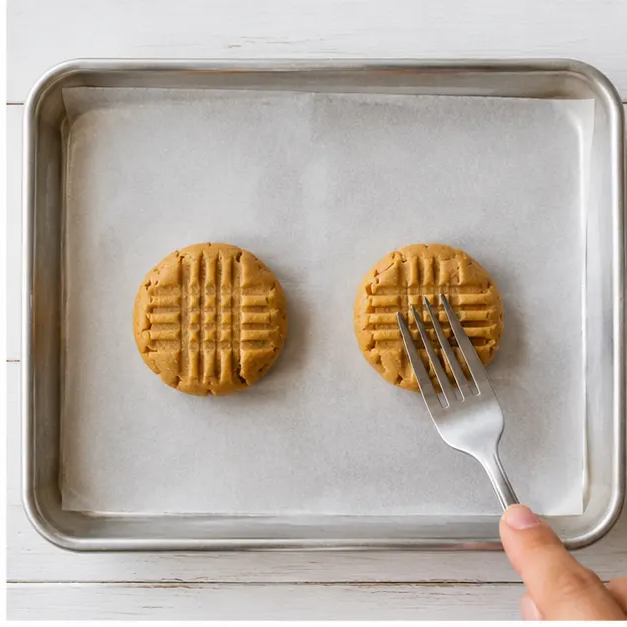
- For each cookie, scoop two 1-tablespoon-sized portions of dough and place them side by side on the prepared baking sheets, spacing them about 3 inches apart. Using a fork, gently press a crisscross pattern into each pair, flattening them slightly.
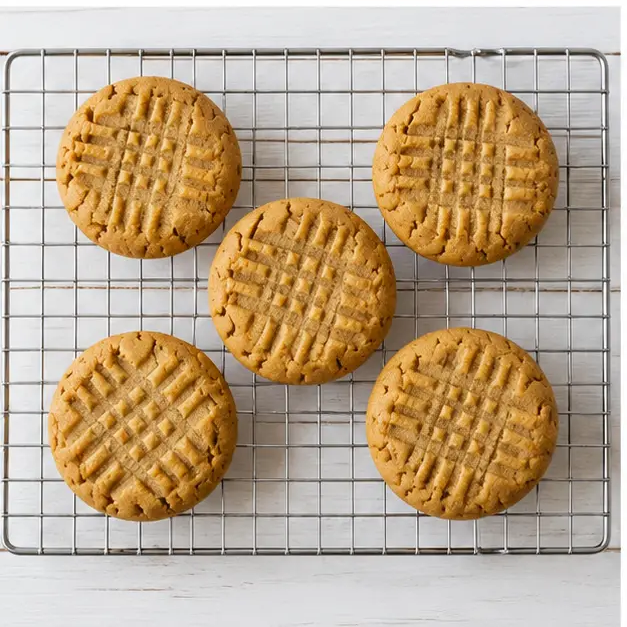
- Bake for 12 to 13 minutes, until the edges are golden brown and the tops no longer look shiny. Let the cookies cool on the baking sheets for 5 minutes, then transfer them to a wire rack to cool completely.
- While the cookies bake, prepare the filling. In a medium bowl, beat together the peanut butter (1 cup plus 2 tablespoons) and unsalted butter until smooth.
- Gradually add the powdered sugar, mixing on low speed until it's all incorporated; the mixture will be thick.
- Add the heavy cream and vanilla extract, then beat on medium-high speed for 2 minutes until the filling is light and fluffy.
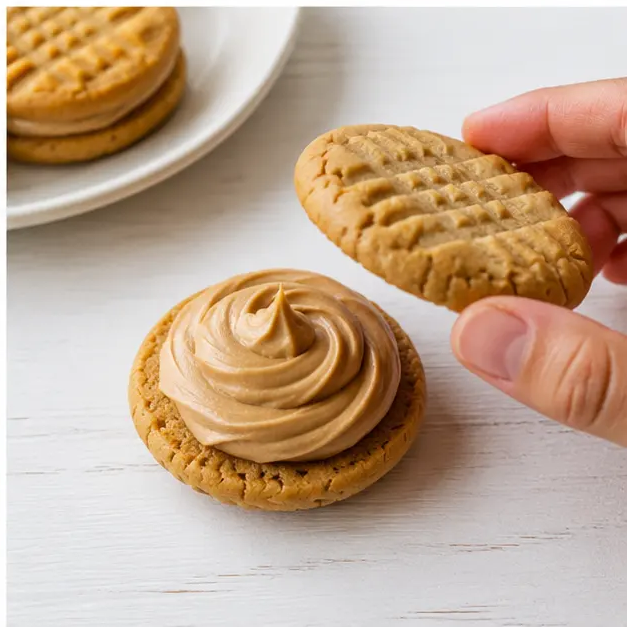
- Spread a generous amount of the filling onto the flat side of half of the cooled cookies.
- Place the remaining cookies on top, flat side down, to form sandwiches. Serve right away or store in an airtight container.
Nutrition
Notes
Tried this recipe?
Let us know how it was!Why This Recipe Works
I’ll never forget the first time I tried to make copycat Nutter Butter cookies from scratch. I was maybe twelve? The cookies spread into one giant peanut butter pancake, and the filling? Let’s just say it slid right off. I was heartbroken. But that failure taught me everything I know about these peanut butter sandwich cookies.
This homemade nutter butter cookies recipe isn’t a fluke. I’ve tested it at least eight times to nail the texture: a cookie that’s sturdy enough to hold a sandwich but still tender and crumbly, with that classic fork-mark pattern. The filling is light and fluffy, just like the original, but made with real ingredients you already have in your pantry.
The beauty of this recipe? No weird stabilizers. No hydrogenated oils. Just peanut butter, butter, sugar, a little heavy cream, and some patience. And I promise you can do this – even if you’ve never made sandwich cookies before.
Key Ingredients for Homemade Nutter Butter Cookies
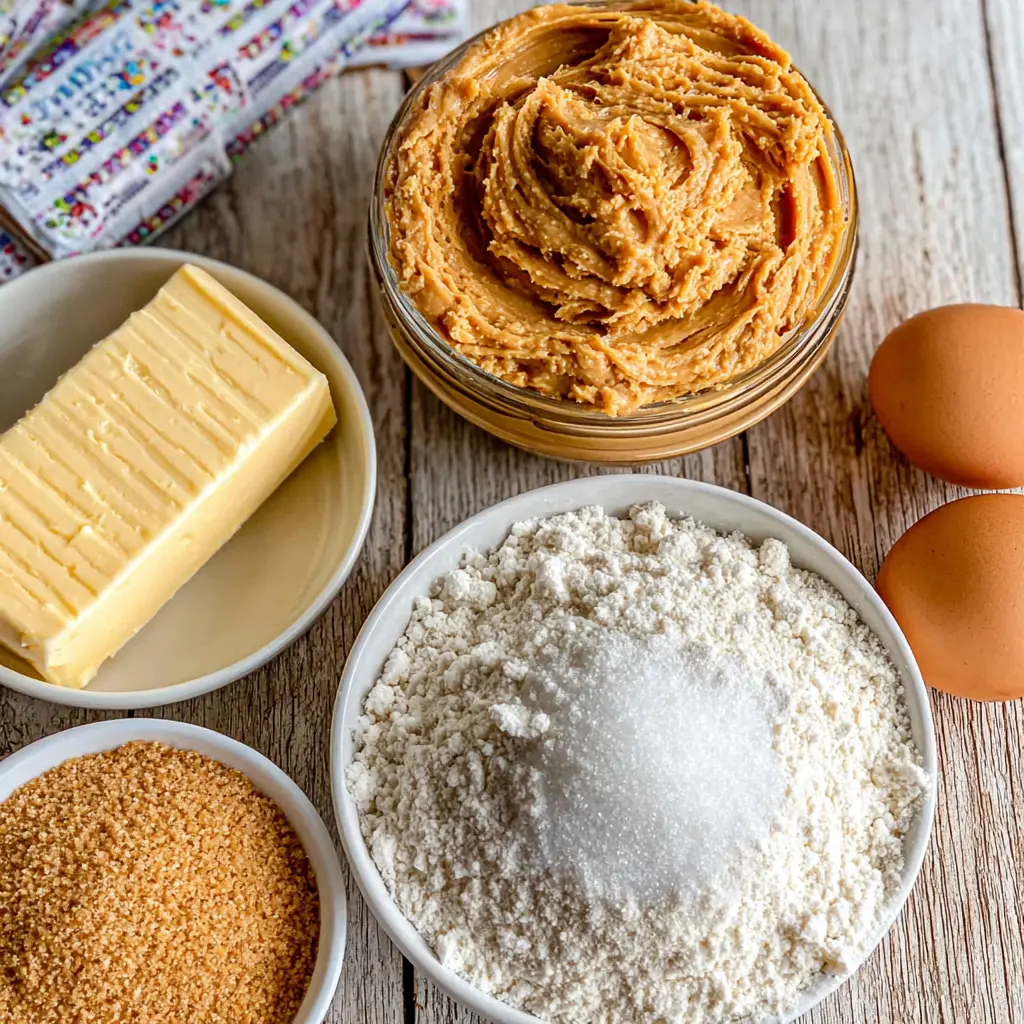
Let’s talk about what goes into these cookies and why each ingredient matters. I’ve learned a lot about the science of no-spread cookie recipes over the years, and this one relies on a few critical choices.
Peanut butter. Use creamy, not natural. Natural peanut butter separates and makes the dough too oily. The original uses a shelf-stable peanut butter, so stick with classic brands like Jif or Skippy for the most authentic taste. You’ll need it for both the cookie and the filling.
Butter. Salted for the cookie dough, unsalted for the filling. The salt in the dough balances the sweetness. Make sure it’s softened – not melted, not hard. Leave it on the counter for about an hour.
Sugars. A mix of light brown sugar and granulated sugar. Brown sugar adds moisture and a slight chewiness, while white sugar helps the cookies spread just a little and then set.
Flour and baking soda. All-purpose flour gives structure. The baking soda helps with browning and a tiny bit of lift. No extra leavening needed.
Heavy cream. This is the secret to that pillowy, fluffy filling. Water or milk would make it runny. Don’t skip it, and don’t substitute.
How to Make Homemade Nutter Butter Cookies
I’m going to walk you through the four main stages. Don’t worry if the dough feels a little sticky at first – that’s normal. If your kitchen is hot (hello, July in LA), chill the dough for 15 minutes before shaping.
Stage 1: Make the Dough
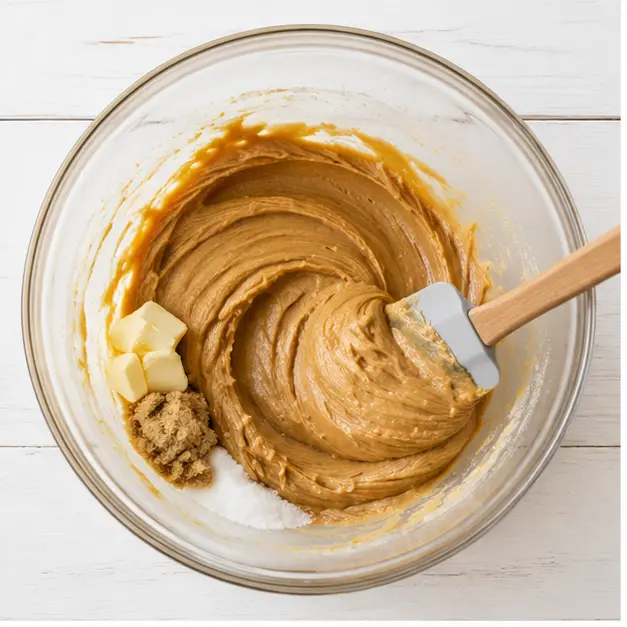
Start by creaming the peanut butter, softened salted butter, and both sugars until they’re light and fluffy. You’ll see the color change from dark brown to a pale tan. Add eggs one at a time, then vanilla. Finally, mix in the flour and baking soda just until combined. Overmixing = tough cookies. Scrape the bowl well.
Stage 2: Shape and Mark
Scoop two 1-tablespoon-sized portions of dough and place them side by side on the prepared baking sheet. They should be close but not touching – they’ll spread just a bit in the oven. Using a fork, gently press a crisscross pattern into each pair. Apply even pressure, but don’t flatten them into pancakes. You want that classic fork-marks look, which is basically the signature of these crunchy peanut butter cookies.
Stage 3: Bake to Perfection
Bake at 350°F for 12 to 13 minutes. The edges should be golden brown and the tops should no longer look shiny. Let them cool on the baking sheet for exactly 5 minutes – that’s important for setting the structure – then transfer them to a wire rack to cool completely. Don’t rush this. Even slightly warm cookies will make the filling melt and ooze out during assembly.
Stage 4: Make the Filling and Assemble
While the cookies cool, beat together the creamy peanut butter and unsalted butter. Gradually add the powdered sugar – it’ll look thick and crumbly at first. Then add the heavy cream and vanilla, and whip on medium-high speed for a full 2 minutes. You’ll see it transform into a light, fluffy, dreamy frosting. Spread a generous amount onto the flat side of half the cookies, then top with another cookie flat-side down. Gently press to adhere, but don’t squeeze the filling out.
Top Tips for Perfect Nutter Butter Cookies
After all those failed batches, I’ve collected some hard-won wisdom. Here’s what makes the difference between good and “I can’t believe these are homemade.”
- Chill the dough if sticky. If your kitchen is warm, the dough can become too soft. Pop it in the fridge for 15 minutes before scooping. This prevents the cookies from spreading into each other.
- Use a cookie scoop. Even-sized cookies make perfect sandwiches. I use a 1-tablespoon scoop (the #60) for consistent little rounds.
- Let cookies cool completely. I said it before but it’s worth repeating: warm cookies + creamy filling = sloppy mess. Wait until they’re at room temperature.
- Whip the filling for the full 2 minutes. Set a timer. That fluffiness doesn’t happen by magic – it’s from incorporating air into the peanut butter and butter mixture with heavy cream.
- Don’t over-bake. The cookies will still look slightly soft in the center when you pull them out. They’ll set as they cool on the sheet. Overbaking = dry, crumbly cookies that crack when you sandwich them.
Variations to Try
Once you’ve mastered the basic recipe, feel free to play around. I’ve tested a few and they’re all delicious.
- Extra crunchy. Use crunchy peanut butter in the cookie dough (keep creamy for the filling). You’ll get little peanut pieces in every bite.
- Gluten-free. Substitute the all-purpose flour with a good gluten-free 1-to-1 baking blend. I’ve used Bob’s Red Mill with great success. The texture won’t be exactly identical but still wonderful.
- Double peanut butter. For super peanut butter lovers, add 2 tablespoons of peanut butter powder (like PB2) to the filling along with the powdered sugar.
- Mini versions. Scoop 1/2-tablespoon portions for bite-sized sandwich cookies. Reduce bake time to 8–9 minutes.
How to Store Homemade Nutter Butter Cookies
These cookies keep surprisingly well – probably because they’re basically peanut butter and butter. Store them in an airtight container at room temperature for up to 5 days. If your kitchen is humid, they may soften a little, but that’s not necessarily a bad thing. They’ll still taste amazing.
For longer storage, you can freeze the baked, unfilled cookies for up to 3 months. Just layer them between sheets of parchment paper in a freezer bag. Thaw at room temperature, then make the filling and assemble. The filling itself can also be refrigerated for up to a week – let it come to room temperature and re-whip for a few seconds before using.
Pro tip: If you’re making these for a party, bake and freeze the cookies ahead of time, then fill them the morning of the event. That way they stay fresh and the filling doesn’t sit too long.
Frequently Asked Questions
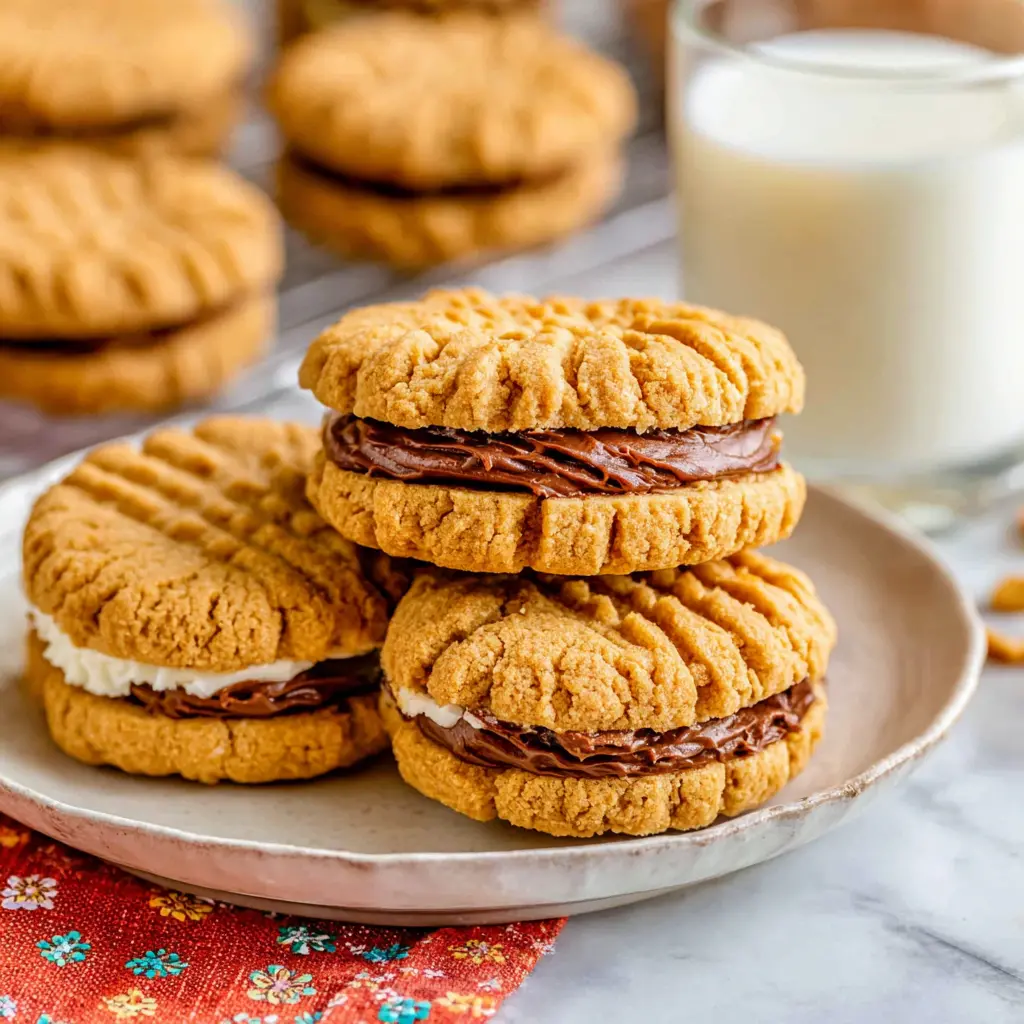
I hope you love these homemade nutter butter cookies as much as I do. They’re the ultimate lunchbox cookie, a hit at potlucks, and just the thing when a childhood craving hits. If you make them, I’d love to see your results – share a photo and tag me on my Pinterest board! Happy baking, and remember: that imperfect fork pattern is character, not a flaw.
Source: Learn More About This Dish
How do I make homemade Nutter Butter cookies?
Start by creaming peanut butter, butter, and sugars. Add eggs, vanilla, then flour and baking soda. Scoop two 1-tablespoon dough balls per cookie, press with a fork, and bake at 350°F for 12–13 minutes. For the filling, beat peanut butter, butter, powdered sugar, vanilla, and heavy cream until fluffy. Spread on cooled cookies and sandwich.
What is the filling in a Nutter Butter cookie?
In this homemade version, the filling is a mix of creamy peanut butter, unsalted butter, powdered sugar, heavy cream, and vanilla extract. The key is to whip it on medium-high speed for 2 minutes until it’s light and fluffy – this replicates the texture of the store-bought filling perfectly.
What flavor is the Nutter Butter cookie?
Nutter Butter cookies are peanut butter flavored. The cookie itself is a crisp, peanut-butter-forward shortbread-like base, while the filling is a sweeter, creamier peanut butter frosting. The combination gives you a double peanut butter hit that’s both savory and sweet.
What peanut butter is used in Nutter Butter cookies?
Store-bought Nutter Butters use a stabilized peanut butter similar to Jif or Skippy. For this homemade recipe, I recommend using creamy, processed peanut butter – not natural or organic brands that separate. The added sugars and stabilizers in processed peanut butter give the cookies the right texture and flavor.