
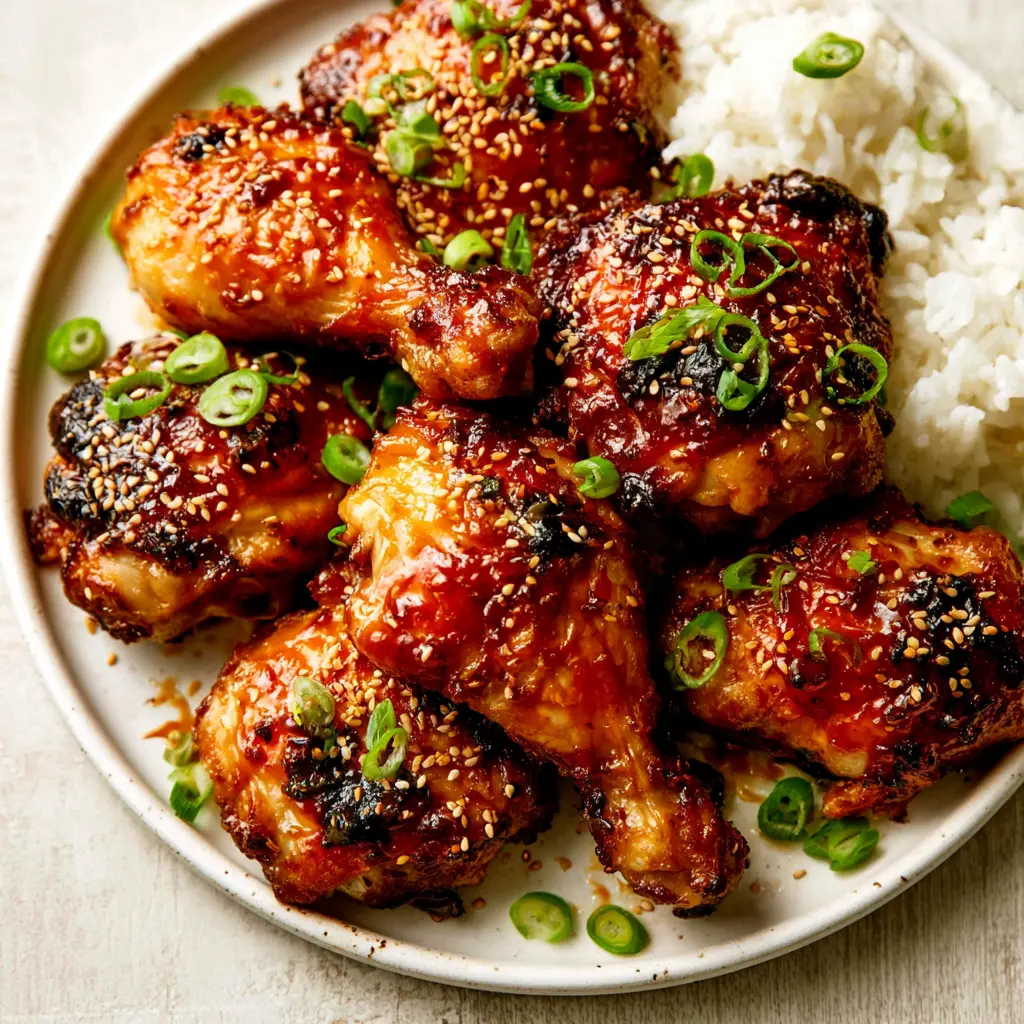
Why These Miso Chicken Thighs Are So Good
You know that jar of white miso paste in your fridge? The one you bought for a recipe you never made, and now it just sits there judging you every time you grab the milk?
I get it. Miso feels intimidating. It’s fermented soybean paste, which sounds like something you need a special class to use. But here’s the truth: these miso chicken thighs are the easiest way to make dinner taste like it came from a Japanese restaurant. No special skills, no obscure equipment, just a paste that transforms into something magical in a hot oven.
The first time I made savory miso chicken thighs, I burned the glaze. Came out bitter, the garlic turned acrid, and my smoke alarm went off mid-bite. The fix was embarrassingly simple: reserve some glaze for the end and baste in stages. That’s the whole secret, and you’re about to benefit from my mistake.
These deliver crispy skin, a sticky caramelized miso glaze, and that deep umami flavor that makes you close your eyes on the first bite. Ready in about 50 minutes, mostly hands-off. Your kitchen will smell like a real Japanese restaurant long before dinner hits the table.
What Is Miso?
Miso is fermented soybeans mixed with salt and a cultured grain called koji. During that fermentation, enzymes develop that do two amazing things: tenderize the meat and build an umami flavor you can’t get any other way. Making miso chicken thighs from scratch suddenly feels a lot less scary once you know that.
For this recipe, reach for white miso paste. It’s milder, sweeter, and lighter in color, so it creates a golden glaze instead of something dark and overly salty. Red miso paste works too, but it’s fermented longer and packs way more salt. Use less of it, and expect a deeper, earthier color on the final dish.
Ingredients & Substitutions
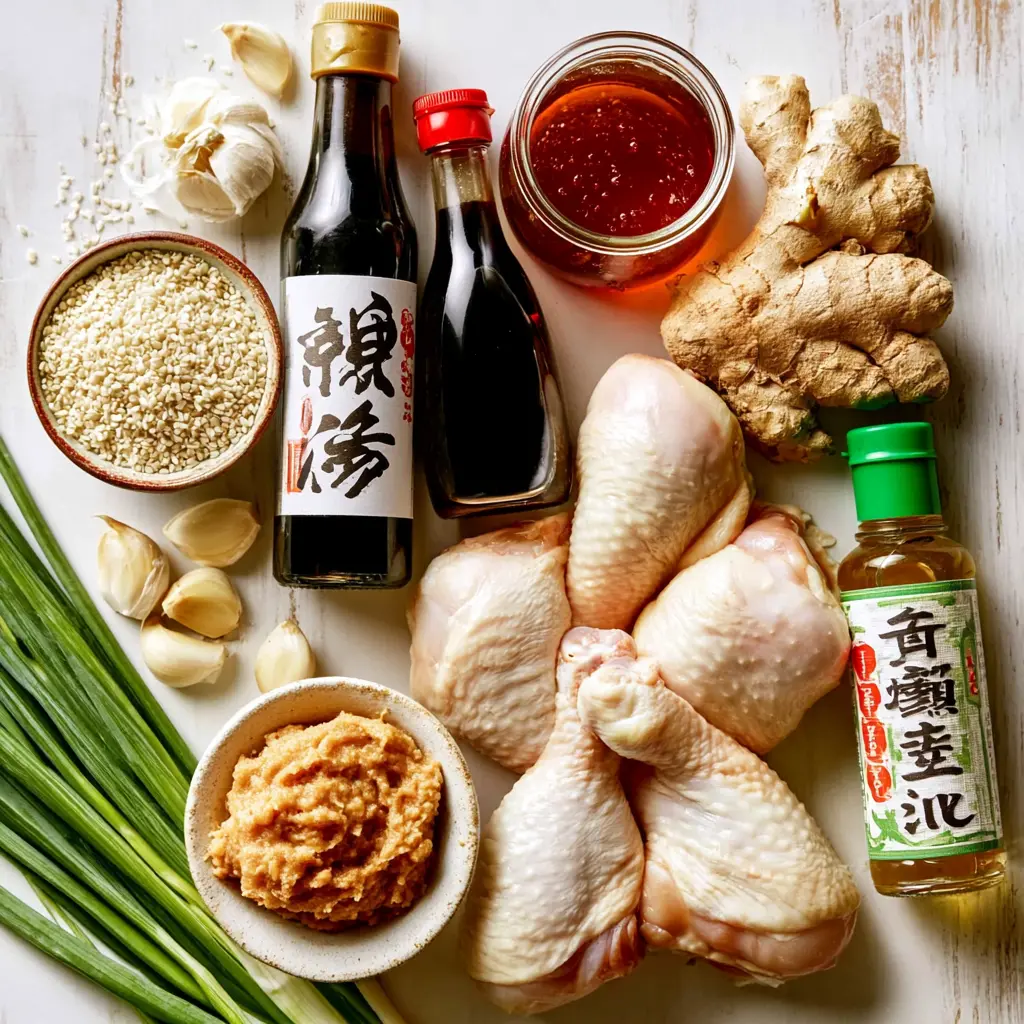
You only need a dozen ingredients for these miso chicken thighs, and most of them are probably already in your pantry. Here’s what matters:
- Bone-in, skin-on chicken thighs: The hero of this dish. The skin crisps up, and the bone keeps the meat juicy. Boneless skinless chicken thighs work too, just reduce the cooking time by about 10 minutes.
- White miso paste: Grab it in the refrigerated section at Trader Joe’s, Whole Foods, or your local market.
- Mirin: A sweet Japanese cooking condiment that adds shine and depth. No mirin? Add a little extra honey and rice vinegar.
- Soy sauce: Low-sodium works great. For a gluten-free version, swap in tamari or coconut aminos.
- Rice vinegar: The acid that balances all that saltiness.
- Honey or maple syrup: Your call. Both caramelize beautifully.
- Fresh ginger and garlic: Grate them fresh, it’s non-negotiable. Keep the ginger in your freezer, it grates way easier.
- Toasted sesame oil: A little goes a long way. That nutty aroma is what makes the whole thing sing.
The honey miso glaze comes together in one bowl. Whisk, taste, adjust. That’s it. Feel like a chef yet?
How to Make Miso Chicken Thighs
This recipe moves through four stages. None of them are hard, but each one matters. Here’s the why behind every step, so you’re not just following instructions blindly.
Stage 1: Make the Glaze and Marinate
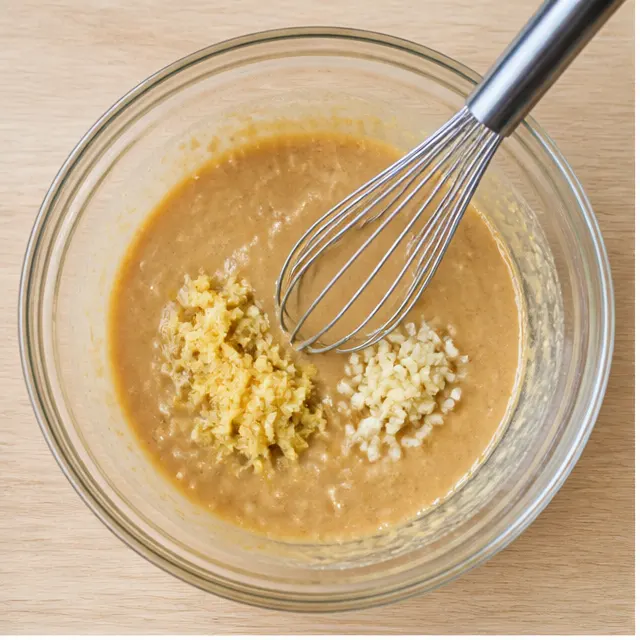
Whisk the white miso paste, mirin, soy sauce, rice vinegar, honey, ginger, garlic, and toasted sesame oil until smooth. It’ll be thick, almost paste-like. Taste it and adjust the sweetness or saltiness to your liking.
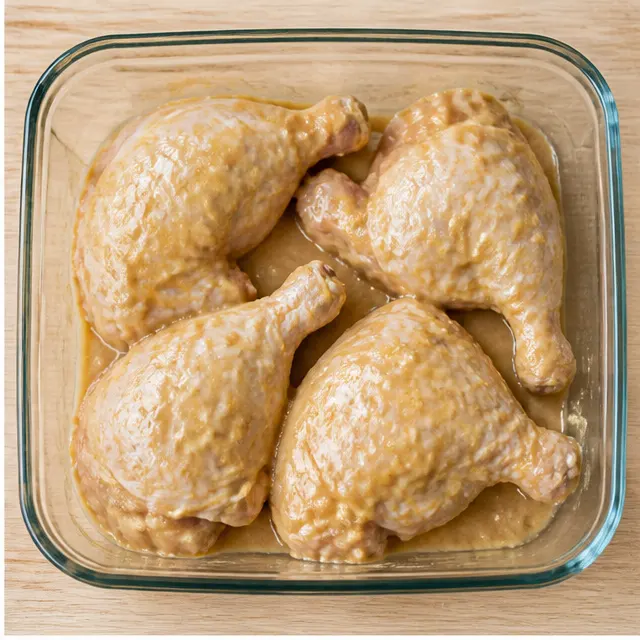
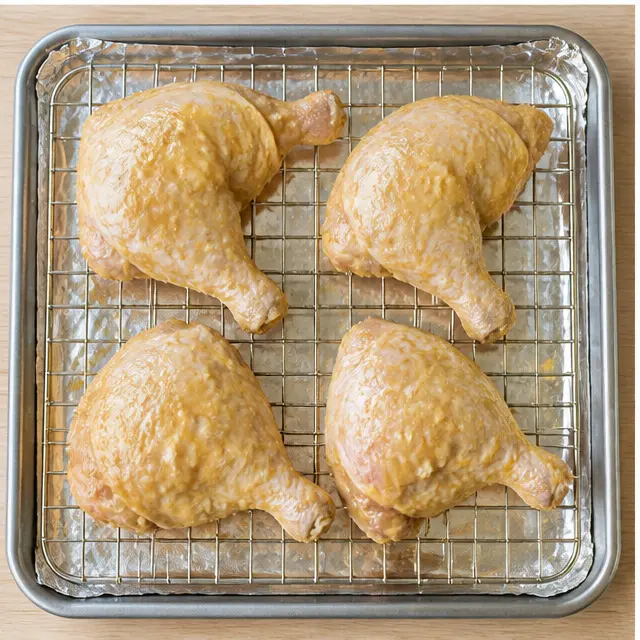
Here’s the move that saves you from my smoke alarm story: spoon out two tablespoons of glaze and set them aside for basting. The rest gets massaged into the chicken, including under the skin. That gets flavor deep into the meat, not just on the surface.
Pat the chicken completely dry with paper towels first. Wet skin steams instead of crisps, and you want crisp. This Japanese marinated chicken technique is simple but the order of operations matters.
Stage 2: Roast on a Wire Rack
Let the chicken marinate for at least 30 minutes, or up to overnight. Then preheat your oven to 400°F and set a wire rack over a rimmed baking sheet. The rack is non-negotiable if you want crispy skin all over, not just on top.
Line that baking sheet with foil or parchment. The sugar in this glaze caramelizes and sticks like cement. I learned this one the hard way, and I’m still scrubbing that pan. Trust me on the liner.
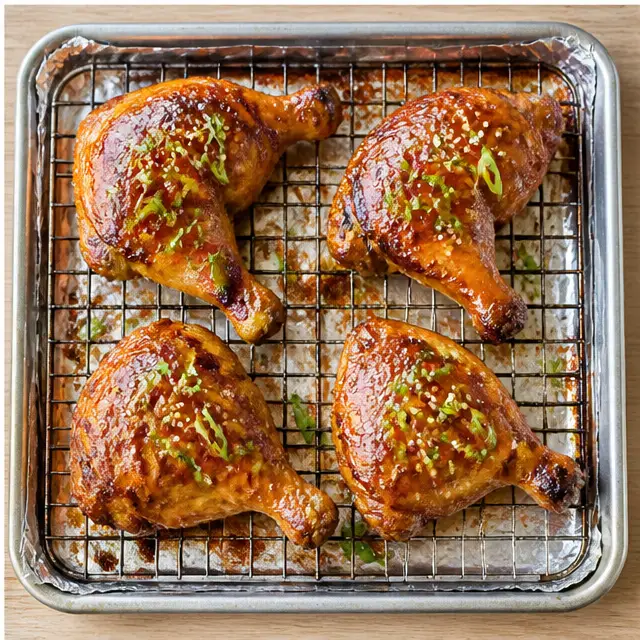
Roast for 25 minutes. The skin will start to brown, the fat will render, and your kitchen will smell incredible around minute 15. This is the moment where miso chicken thighs become your new favorite thing. Sheet pan chicken thighs have never looked this good.
Stage 3: Brush and Caramelize
Pull the sheet out and brush each thigh generously with your reserved glaze. This is the turning point. The glaze goes from pale and pasty to shiny and golden right before your eyes.
Back in the oven for 8 to 12 minutes. Watch it carefully. The honey and mirin caramelize fast, and there’s a thin line between deep amber lacquer and bitter burned mess. Don’t wander off to fold laundry. I’m serious.
You’re looking for the edges to turn that gorgeous deep amber. The sizzle changes, the smell gets sweeter and saltier at the same time. That’s your cue that the caramelized miso glaze is doing exactly what it should.
Stage 4: Rest, Garnish, Serve
Pull the chicken out when an instant-read thermometer hits 165°F in the thickest part, away from the bone. Let it rest for 5 minutes on a cutting board. I know, waiting is the hardest part of any recipe, but this is what keeps the juices in.
Scatter sesame seeds and sliced scallions over the top. The contrast between crispy skin, sticky glaze, and fresh crunch is everything. Try not to eat one straight off the cutting board. I won’t tell anyone if you do.
Want extra char? Hit the broil setting for the last 2 minutes. Stay right by the oven. The broiler goes from perfect to scorched in about four seconds flat.
Air Fryer Instructions
Got an air fryer? These miso chicken thighs work beautifully in there too. It’s also a lifesaver when it’s August in California and turning on the oven feels like a crime against humanity.
Preheat the air fryer to 375°F. Place the marinated thighs skin side down, cook for 12 minutes, flip, brush with the reserved glaze, and cook another 10 to 12 minutes until the thermometer reads 165°F.
You can also grill these. Medium heat, skin side down first, 6 to 8 minutes per side, brushing with glaze at the end. Smoky char plus that sticky honey miso glaze? Unreal. Grilled miso chicken deserves a spot in your summer rotation.
Tips & Variations
Here’s everything I wish someone told me before my first batch of miso chicken thighs. Read this, skip the learning curve.
For the crispiest skin:
- Pat the chicken completely dry before marinating. Moisture is the enemy of crisp.
- Use the wire rack. It lets hot air circulate underneath and keeps the bottom from getting soggy.
- Let the chicken sit at room temperature 15 to 30 minutes before roasting, so it cooks evenly.
Swaps that actually work:
- Red miso for white: Use half the amount, it’s much saltier and darker.
- Maple syrup or brown sugar for honey: They all caramelize similarly.
- Lime juice for rice vinegar: Brighter and more citrusy.
- Boneless skinless thighs: Reduce roasting time by about 10 minutes and check earlier.
- Want pan-seared chicken thighs instead? Sear skin side down in a hot cast iron skillet for 5 minutes, flip, then finish in the oven at 400°F.
Mistakes I’ve made so you don’t have to:
- ❌ Not drying the chicken → ✅ Pat it dry, every single time
- ❌ Skipping the foil liner → ✅ Sticky glaze bonds to metal like glue
- ❌ Walking away during the broil → ✅ Stay right there, it goes from perfect to scorched in seconds
- ❌ Using too much red miso → ✅ Start with less, you can’t unsalt it
- ❌ Not using a meat thermometer → ✅ 165°F in the thickest part, no guessing
Storage & Reheating
These miso chicken thighs keep beautifully. Store them in an airtight container in the fridge for up to 3 days. The flavors actually deepen overnight, which is a nice bonus for leftovers.
For reheating, skip the microwave if you can. It makes the skin sad and rubbery. Here’s the better way:
- Oven: 300°F for 15 minutes, until warmed through
- Air fryer: 350°F for 5 to 7 minutes, brings back that crisp
- Microwave: Fine in a pinch, just accept the skin won’t be crispy
You can also freeze the raw marinated chicken in a freezer bag for up to 3 months. Thaw overnight in the fridge, then cook as directed. That’s meal prep gold, and leftover miso chicken thighs make amazing salads the next day.
What to Serve with Miso Chicken Thighs
These are the centerpiece. Keep the sides simple and let that umami-packed dinner shine. You don’t want anything competing with that glaze.
- Steamed short-grain rice: The sticky rice pairing is made for soaking up the extra glaze pooling on the plate.
- Sautéed bok choy: Garlic, a splash of soy sauce, five minutes, done.
- Cucumber sesame salad: Cool and crunchy, the perfect contrast to rich, sticky chicken.
- Charred shishito peppers: Blistered in a hot pan with a sprinkle of salt. So good in summer.
Or go bowl-style with brown rice and pickled vegetables. Great for meal prep, and the leftovers taste amazing cold over greens the next day.
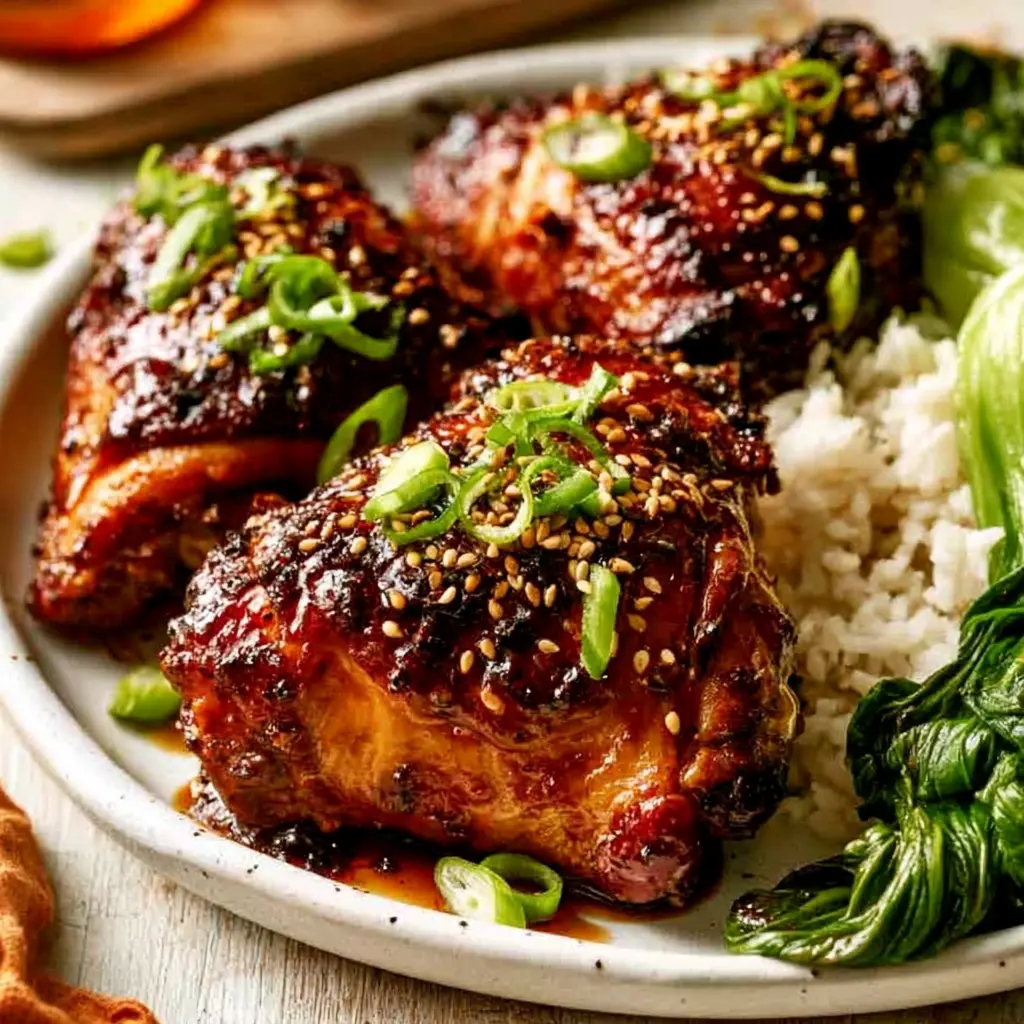
When you make these miso chicken thighs, and you will, don’t skip the last five minutes of resting. That’s where the glaze settles into something you’ll want to eat with a spoon.
I’d love to see how yours turn out. The caramelization, the crispy edges, all of it. If you’re looking for more weeknight dinner inspiration, I pin new recipes every week. Follow me on Pinterest and say hi when you do.
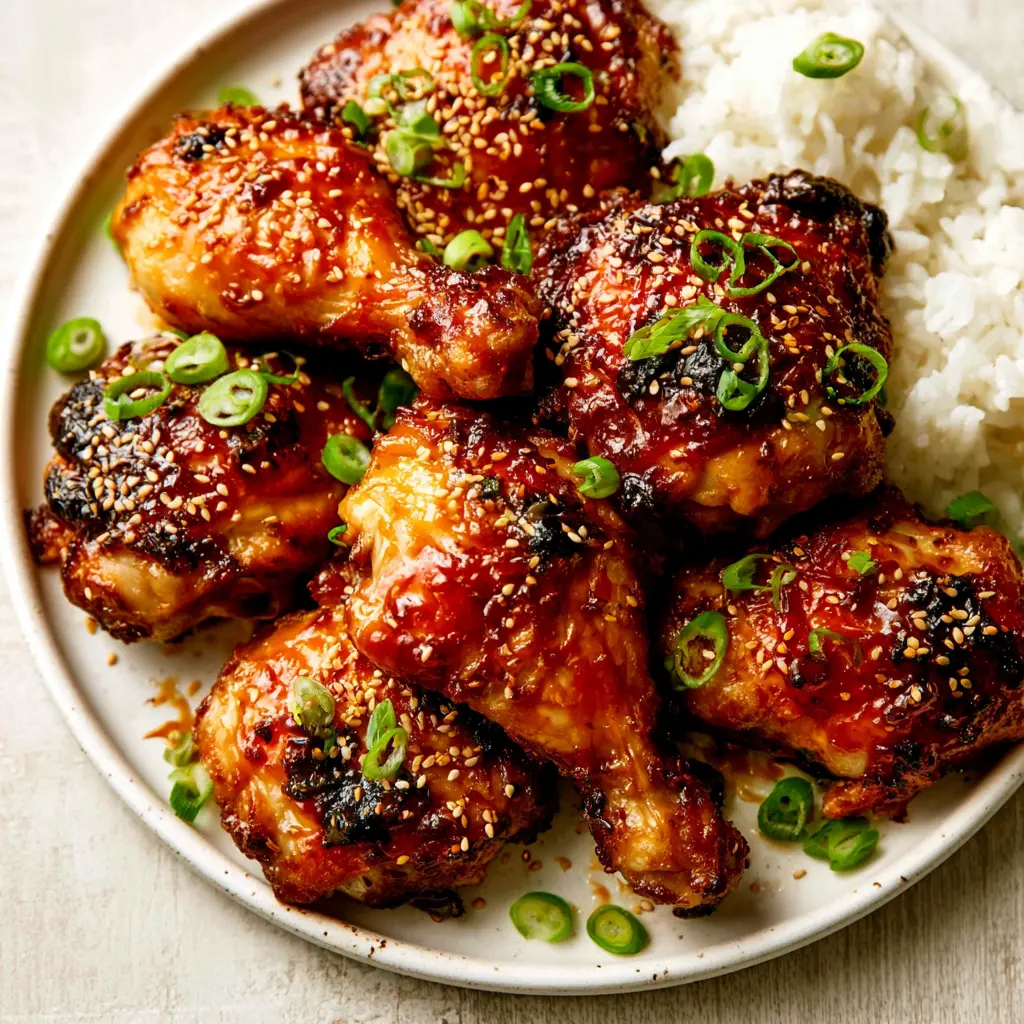
Miso Chicken Thighs with Sticky Caramelized Glaze
Ingredients
Method
- Whisk miso paste, mirin, soy sauce, rice vinegar, honey, ginger, garlic, and toasted sesame oil in a medium bowl until smooth. Taste the thick glaze and adjust sweetness or saltiness if you like.
- Pat chicken thighs thoroughly dry with paper towels. Removing surface moisture is essential for crispy skin.
- Spoon 2 tablespoons of the glaze into a small bowl and set aside for basting. Add remaining glaze to the chicken and massage into the meat, including under the skin. Cover and refrigerate for at least 30 minutes, or up to overnight.
- Position a rack in the middle of the oven and preheat to 400°F. Set a wire rack over a rimmed baking sheet. Place the chicken thighs skin side up on the rack, spacing them apart.
- Roast for 25 minutes until the skin starts to brown and the fat renders. Pull the sheet out and brush each thigh generously with the reserved glaze.
- Return to the oven for 8 to 12 more minutes, watching carefully, until the glaze is deep golden and an instant-read thermometer registers 165°F in the thickest part without touching bone.
- Let the thighs rest on a cutting board for 5 minutes, then scatter with sesame seeds and sliced scallions before serving.
Nutrition
Notes
Tried this recipe?
Let us know how it was!Frequently Asked Questions
Expert Notes & Data Insights
I’ve tested these miso chicken thighs more times than I care to admit, and I’ve tracked what actually works. Here’s the nerdy stuff that makes the difference between good chicken and chicken you’ll dream about.
Cooking time by cut (tested at 400°F):
| Cut | Approximate Time | Internal Temp |
|---|---|---|
| Bone-in, skin-on thighs | 35-40 minutes | 165°F |
| Boneless, skinless thighs | 22-28 minutes | 165°F |
| Bone-in drumsticks | 35-40 minutes | 165°F |
| Boneless, skinless breasts | 20-25 minutes | 165°F |
The range matters more than the exact number because ovens lie. Mine runs 15 degrees hot. Yours might run cold. That’s why the thermometer is your real boss.
Marinating windows that actually matter: Thirty minutes is the minimum, and you’ll still get good flavor. Four to six hours is the sweet spot where the miso really penetrates. Overnight, up to 24 hours, is the maximum before the salt starts breaking down the meat texture. Beyond that, the chicken gets mushy. Trust me, I pushed it to 48 hours once. Mushy.
Miso substitution ratios: If the recipe calls for white miso and you only have yellow, use about 25% less and add a teaspoon of honey. If you only have red, use half the amount and expect a darker, saltier, more intense final dish. The glaze won’t look as golden, but it’ll still be delicious.
The science of why thighs win: Chicken thighs have roughly three times more fat than breasts. Fat carries flavor and keeps the meat moist even if you accidentally overcook it by a few minutes. Breasts have almost no margin for error, which is why I always recommend thighs for this recipe. They’re forgiving in a way that makes cooking fun instead of stressful.
Why the glaze caramelizes (and burns): The honey and mirin in this recipe are packed with sugar. Sugar starts caramelizing around 320°F and burns around 350°F. Your oven runs at 400°F, which means the glaze is always on the edge of that sweet spot. That’s exactly why we baste at the end instead of the beginning, and why the broiler needs your full attention. You’re not babysitting, you’re orchestrating.
One more data point from my kitchen: The resting period isn’t just about juice. During those 5 minutes, the caramelized glaze sets and becomes tacky instead of runny. I tested it side by side once. The rested batch had noticeably more glaze clinging to the chicken. That’s the difference between a dinner that eats like a bowl of components and one that tastes like a composed dish.
Alright, go make these. Your kitchen is about to smell incredible, and dinner is going to disappear faster than you expect. When you do make them, tag me or leave a comment I genuinely love seeing how the caramelization turns out on other people’s chickens. And if you’re collecting weeknight wins, come follow me on Pinterest where I share new recipes every week.