
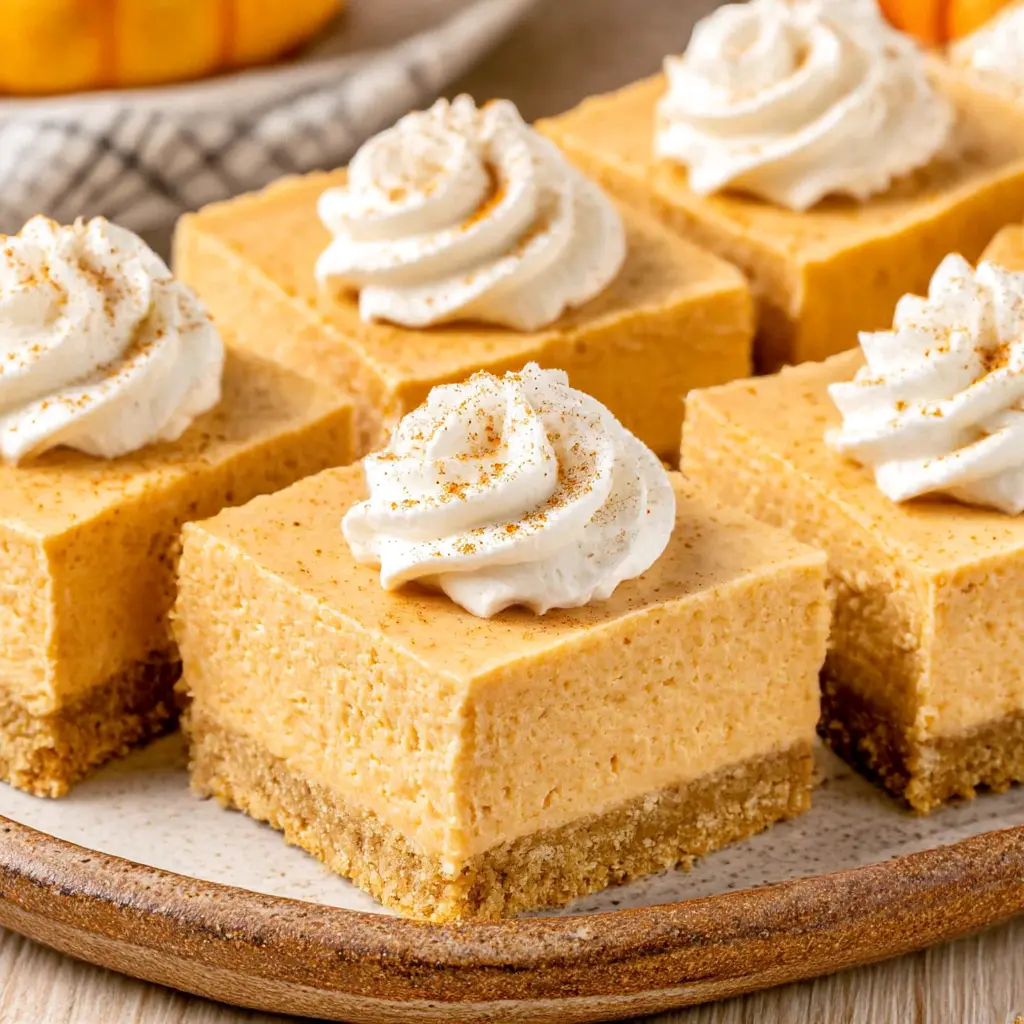
Why You’ll Love These No Bake Pumpkin Bars
It’s August in Los Angeles, which means it’s 90 degrees outside, my kitchen feels like a sauna, and yet all I want is pumpkin spice. Anyone else? And here’s the kicker: I also want a dessert that feeds a crowd, takes almost zero effort, and keeps my kitchen cool. That’s a tall order. These no bake pumpkin bars deliver on all three.
Truthfully, I was skeptical about no-bake cheesecake at first. So many recipes online end up as a soupy mess. But these turned out so good that my husband Marco grabbed one before I could even photograph it and said, “Don’t tell me these are healthy. They taste too good.” They’re not healthy, but they’re worth every single bite.
With Labor Day weekend right around the corner, this is the perfect make-ahead dessert for your final summer cookout.
- No oven required. The fridge does the baking, not your kitchen.
- 15 minutes of actual prep. That’s the real hands-on time, I promise.
- Make-ahead magic. Chill overnight and you’re ready for the party.
- Clean, sliceable bars. No soup in a pan, just beautiful squares.
The first time I tested these no bake pumpkin bars, I remember standing over the pan with a fork, telling myself I’d only take a tiny taste for quality control. Twenty minutes later, I’d eaten a full bar and I had no regrets. The cool, creamy pumpkin layer. The buttery brown sugar graham crust. The cloud-like whipped cream on top. It’s fall in a single bite.
What You Need to Make No Bake Pumpkin Bars
You won’t need any fancy equipment here. A square baking pan, a couple of mixing bowls, and a hand mixer or stand mixer are all you need. The ingredient list is short too, and that’s exactly why I love this recipe.
But a few choices really matter, so let me walk you through the key players.
- Full-fat cream cheese. This one’s non-negotiable. Light cream cheese has more water content, which means a softer filling that may not set properly. Use the brick-style, full-fat kind and let it soften at room temperature for about an hour before you start.
- Cold heavy whipping cream. The colder the better. I chill my mixing bowl and whisk in the freezer for 10 minutes before whipping. Cold cream reaches stiff peaks much faster, and those stiff peaks are what give the filling its structure.
- Graham cracker crumbs. Fine crumbs make the best crust. If you’re crushing your own, really get them fine, because a crumbly crust is a sad situation.
- Canned pumpkin puree. Not pie filling. I’ll explain in a second because this is the mistake I see most often.
- Pumpkin spice and brown sugar. These go right into the crust and the filling, bringing that warm, cozy fall flavor.
There’s also a tiny bit of lemon juice in the filling. It’s not there to make things lemony, it just brightens everything up and balances the sweetness. A small detail, but it makes a difference.
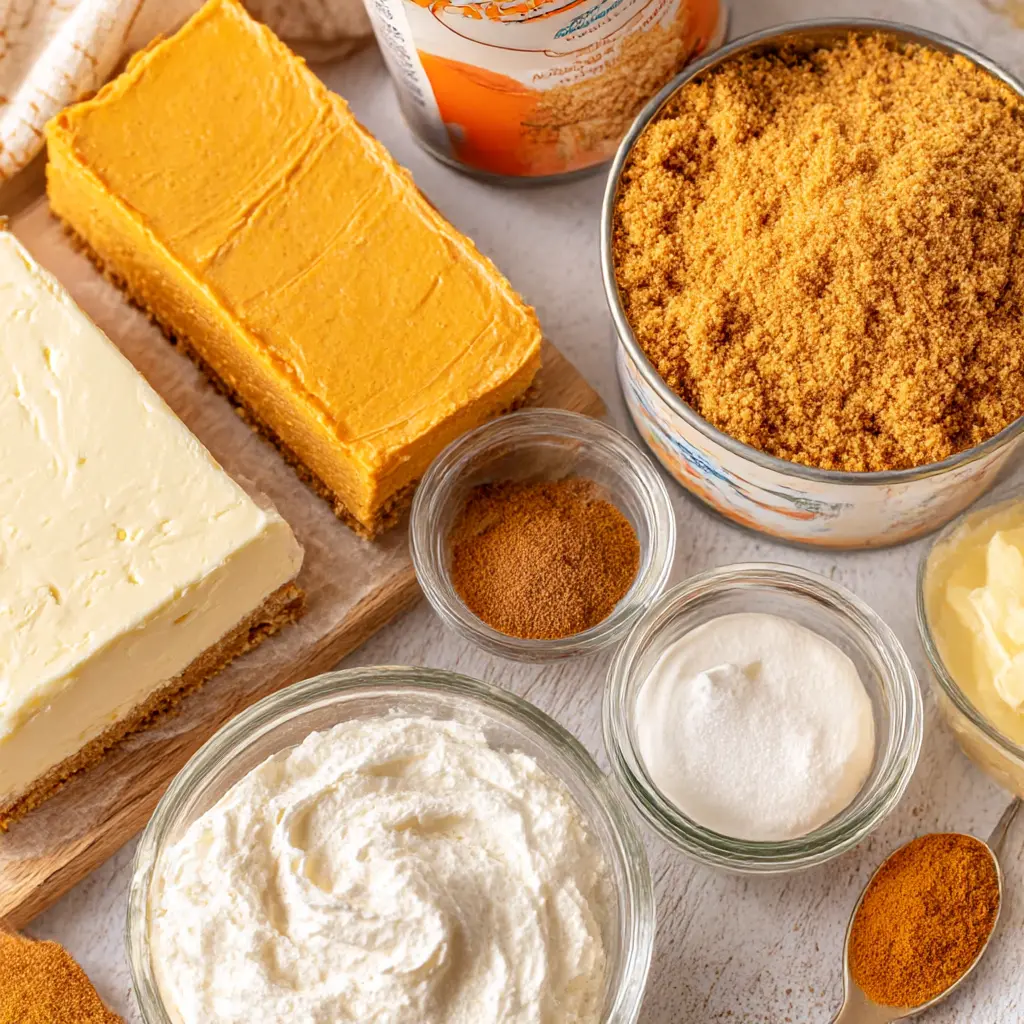
What Type of Pumpkin to Use
Here’s the thing. At the grocery store, you’ll see two very similar-looking cans. One says “100% pure pumpkin” and the other says “pumpkin pie filling.” They are not the same, and using the wrong one will ruin these bars.
Pumpkin puree is just plain, cooked, pureed pumpkin. Nothing added. That’s what you want. It’s thick, it’s earthy, and it lets you control the sweetness and spice yourself.
Pumpkin pie filling already has sugar and spices mixed in. It’s softer and sweeter, which means your bars might not set properly, and the flavor will be cloying on top of the cheesecake layer.
Read the label before you buy. Use pure pumpkin puree and your no bake pumpkin bars will set up perfectly. This is honestly the real secret to good pumpkin bars. If you want to use homemade pumpkin puree, make sure it’s thick. Watery pumpkin is the enemy of a firm cheesecake filling.
What If I Don’t Have Pumpkin Spice?
No worries at all. Pumpkin spice is really just a cozy blend of warm spices, and you probably have everything you need in your cabinet already.
Whisk together 1 teaspoon of cinnamon with a pinch of ginger, nutmeg, and cloves. That’s your homemade pumpkin pie spice, ready in about 30 seconds.
I actually make my own blend quite often. It lets me adjust the balance to match my mood, and honestly, it tastes even brighter than the store-bought stuff.
How Do No-Bake Cheesecake Bars Set?
I get this question all the time. How does a cheesecake firm up without eggs and without heat?
Two things do the heavy lifting here. First, you’re whipping heavy cream to stiff peaks. Those peaks trap air and create structure, like tiny support beams holding up your filling. Second, full-fat cream cheese is naturally thick and dense. When you fold them together and let everything chill, you get a filling that sets in the refrigerator into a perfectly sliceable texture.
The chilling time is the real magic. At least 8 hours, but overnight is better. The cold firms up the cream cheese and lets the flavors meld together. It’s like the fridge is doing the baking for you while you sleep.
What Does a Properly Set Bar Look Like?
Here’s your visual cue: the filling should feel firm to the touch, like a soft cheesecake. Press it gently and it should spring back. When you slice into it, you should get clean edges, not a smeared mess. If it’s still soft, give it more time in the fridge. Patience, my friend.
How to Make No Bake Pumpkin Bars, Step by Step
Making these dessert bars is genuinely simple, but a few details separate good from unforgettable. Here are the four big stages.
Stage 1: Press the Brown Sugar Graham Crust
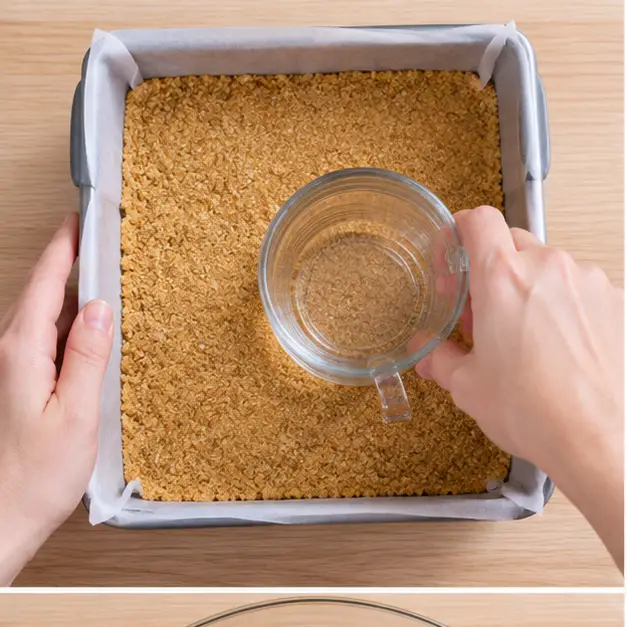
The crust gets a fall upgrade with brown sugar and pumpkin spice mixed right into the graham crumbs. Melted butter brings it all together. Press it into a parchment-lined pan using the flat bottom of a measuring cup, and press firmly. A tightly packed crust slices cleanly, a loose one crumbles all over the place. The parchment overhang is your best friend here, it lets you lift the whole slab out later for perfect cutting.
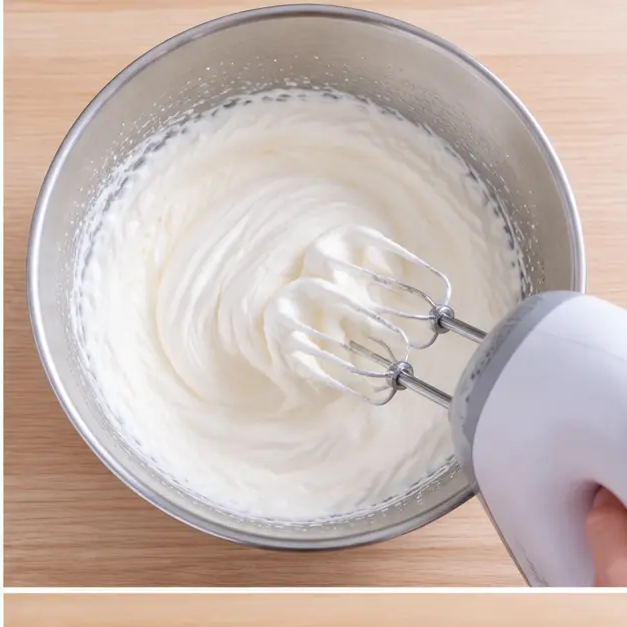
Stage 2: Whip the Heavy Cream
Cold cream in a chilled bowl, medium-high speed, and mix until stiff peaks form. You’re looking for peaks that stand straight up when you lift the whisk. If they flop over, keep going. Just don’t overdo it, because over-whipped cream turns grainy and eventually becomes butter. That’s a whole different recipe, folks. Pop the whipped cream in the fridge while you make the filling.
Stage 3: Make the Velvety Pumpkin Filling
Beat the softened cream cheese with sugar and salt until it’s completely smooth. No lumps, no excuses. Then add vanilla, a little lemon juice, pumpkin puree, and pumpkin spice. Beat again until everything is silky and well combined. This is where that smooth and creamy filling really comes together.
The important part here is gentle folding. Use a rubber spatula and fold the whipped cream into the pumpkin mixture just until no white streaks remain. Overmixing deflates all that air you worked so hard to create, leaving you with a denser, heavier bar. Be gentle. Think of it as tucking the whipped cream in, not wrestling with it.
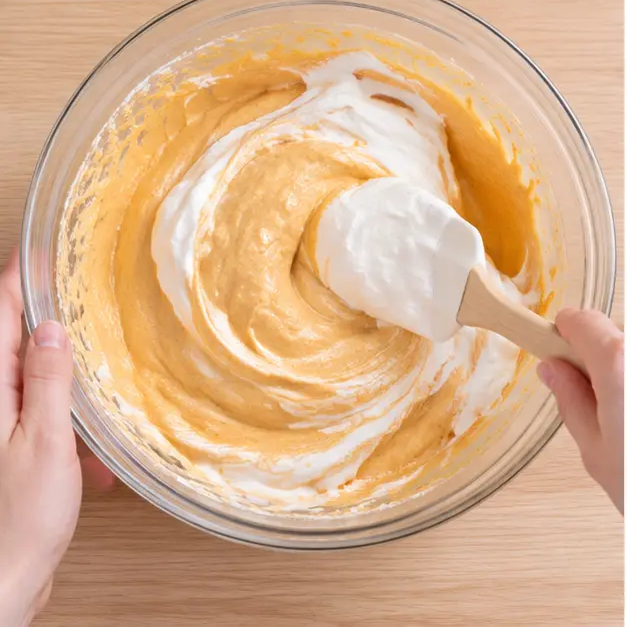
Stage 4: Chill, Slice, and Swirl
Spoon the filling over the crust and smooth it into an even layer. Then comes the hardest part of this whole recipe: waiting. At least 8 hours in the refrigerator, and honestly, overnight gives you the best flavor and the firmest texture.
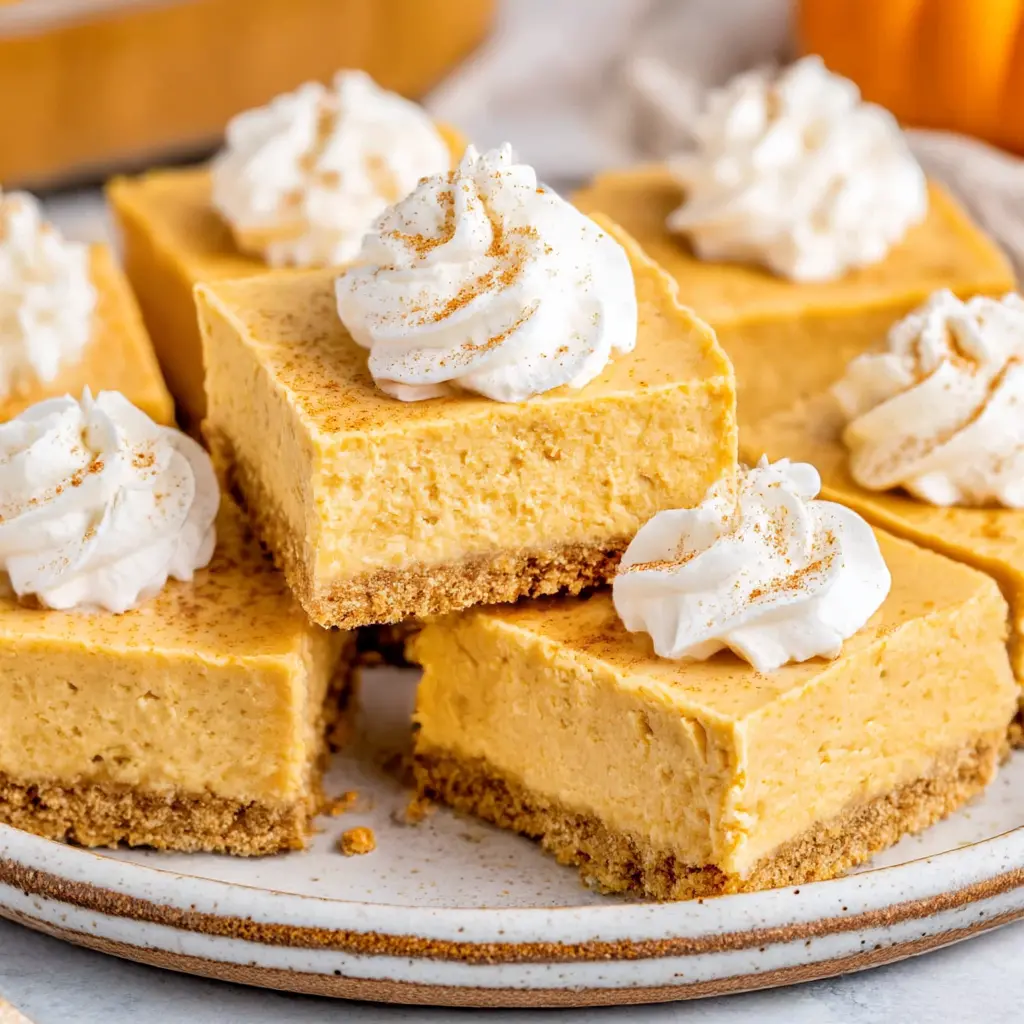
For razor-sharp edges, pop the fully chilled pan in the freezer for about an hour before slicing. Then use a sharp knife and wipe it clean between every cut. A 4 by 3 grid gives you 12 perfect bars. Top each one with a swirl of homemade whipped cream, a dusting of pumpkin spice, and you’ve got a dessert that looks bakery-made. The contrast of that cool spiced filling against the buttery crust is unreal.
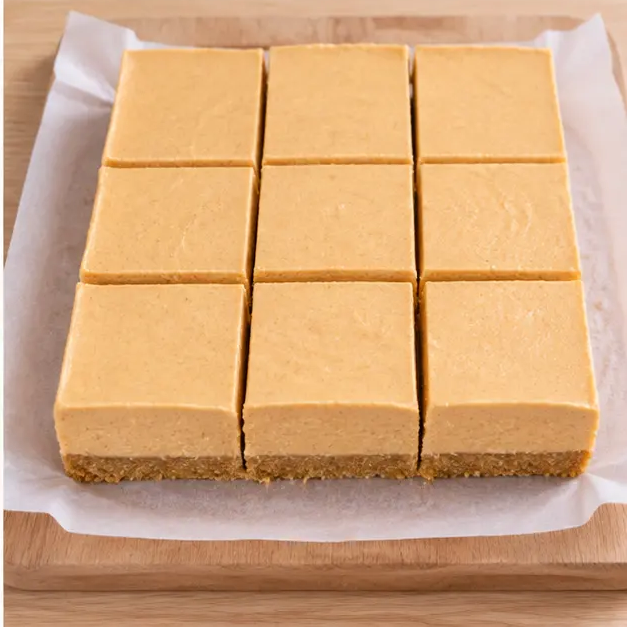
No-Bake Cheesecake Tips and Variations
I’ve made this recipe so many times that I’ve collected a few hard-earned tips. Read these before you start, and you’ll nail it on the first try.
- Room-temperature cream cheese is non-negotiable. Set it out an hour before. Cold cream cheese creates lumps that no amount of beating will fix.
- Chill your mixing bowl. Ten minutes in the freezer before whipping the cream makes a real difference in how fast you reach stiff peaks.
- Press that crust with confidence. Use the flat bottom of a measuring cup and really pack it down. Your bars will thank you when you’re slicing them.
- Decorate right before serving. The whipped cream swirls look best fresh, and the bars store longer without topping.
Alcohol-Free Variation
This recipe can easily be made without alcohol. Here are the substitutions I recommend:
- Rum → pineapple juice + 1/2 tsp almond extract. For tropical sweetness
These swaps maintain the depth of flavor while keeping the dish completely alcohol-free. Perfect for family-friendly meals or personal preference.
Crust Variations
Graham crackers are the classic choice, but this crust loves company. Swap in gingersnap crumbs for a warmer, spicier bite that pairs beautifully with the pumpkin filling. Biscoff cookies work wonders too, they bring a caramelized flavor that’s hard to beat. Need a gluten-free version? Gluten-free graham crackers or gingersnaps work just as well since the butter and brown sugar ratio stays the same.
Want to feed an even bigger crowd? Double the whole recipe and use a 9×13 baking dish, just plan for a slightly longer chilling time. You can also make these in a springform pan for round, cheesecake-style bars. Whatever pan you choose, the parchment handles are key for lifting out those bars cleanly.
Substitutions
Here’s the answer to the question I get more than any other: yes, you can use Cool Whip. For the filling, swap the homemade whipped cream for about 8 ounces of thawed whipped topping and fold it in gently. It works great as a shortcut. But for the topping swirls, I genuinely recommend real whipped cream with powdered sugar and vanilla. It pipes better, holds its shape longer, and the flavor is noticeably silkier.
If you’re dairy-free, look for a good dairy-free cream cheese alternative. Just know the texture might come out slightly softer than the classic version. And don’t skip the chilling time, that’s what makes these come together.
Storage and Make-Ahead Instructions
Here’s the best news of all. These no-bake pumpkin cheesecake bars are the ultimate make-ahead dessert. Make them up to 2 days before your gathering, and honestly, they taste even better once the flavors have had time to meld.
Store the bars in an airtight container in the refrigerator for up to 4 days. Keep the whipped cream topping off until right before serving, it holds up better that way. If you’ve already topped them, they’ll still be fine, just a little softer on top.
Freezing works beautifully too. Freeze the undecorated bars, tightly wrapped in plastic wrap and foil, for up to 2 months. Thaw them overnight in the refrigerator, then add fresh whipped cream and a sprinkle of pumpkin spice. It’s like having a bakery dessert tucked away in your freezer, ready for any fall get-together.
plan: make these bars on Saturday, let them chill overnight, and you’ve got a stress-free dessert ready whenever the party kicks off on Monday. No oven heating up your kitchen. No last-minute mixing panic. Just lift the slab out of the pan, slice it into squares, swirl on the whipped cream, and you’re the hero of the cookout.
Frequently Asked Questions
Over the years, I’ve collected a lot of questions about no bake pumpkin bars. Some from readers, some from my sister, some from myself at 11 PM wondering why my first attempt turned into soup. Let me answer the ones I hear most often.
Why is my filling not smooth?
Almost always, it’s the cream cheese. If it’s even slightly cold, you’ll get lumps that no amount of beating will fix. Set it on the counter for a full hour before you start. Cutting it into cubes speeds things up. And always beat the cream cheese and sugar together first, before you add the pumpkin and spices. That extra minute of mixing makes a huge difference.
Can I use reduced-fat cream cheese?
I know you want me to say yes, but I won’t. Reduced-fat cream cheese has more water in it, and that extra water prevents the filling from setting properly. You’ll get a softer bar that’s hard to slice and a little too delicate. Full-fat, brick-style cream cheese is the only way to go here. Trust me on this one.
Can I use Cool Whip instead of heavy cream?
You can. Use about 8 ounces of thawed whipped topping and fold it in gently in place of the homemade whipped cream. It still works, and I’ve done it when I was short on time. But I’ll be honest with you, the texture isn’t quite as silky, and it’s sweeter than real cream. For the swirls on top, use real whipped cream. It pipes better and holds its shape longer.
Why won’t my cream whip to stiff peaks?
Cold is the secret. Heavy cream needs to be properly chilled, and so does your bowl and whisk. Pop them in the freezer for 10 minutes before you start. Also make sure you’re using heavy cream or heavy whipping cream, not half-and-half. Check the fat content on the carton. If your cream is cold and still won’t whip, you might have over-beaten it, which is a whole different heartbreak.
How do I get clean slices?
The freezer trick, hands down. Once the bars are fully chilled, transfer the whole pan to the freezer for about an hour. Then use a large sharp chef’s knife, and wipe the blade clean between every single cut. This gives you those bakery-style edges that make everyone think you bought dessert from a fancy shop.
Are these bars freezer-friendly?
They freeze beautifully. I keep a batch in my freezer during fall for unexpected guests or just for when the pumpkin craving strikes. Freeze the undecorated bars tightly wrapped for up to 2 months, thaw overnight in the fridge, then add fresh whipped cream right before serving. Tastes just like day one.
Troubleshooting Common Issues
Every recipe has its moments, and I’ve seen them all during testing. Let me help you fix the mishaps so you don’t have to learn the hard way like I did.
The bars are too soft and won’t hold their shape
If your filling is acting more like pudding than cheesecake, check three things. Did you whip the cream to stiff peaks? Soft peaks won’t provide enough structure. Did you use full-fat cream cheese? Low-fat is a recipe for disaster here. And did you chill for at least 8 hours? Patience matters. Also, make sure you didn’t accidentally use pumpkin pie filling, which is too loose and watery for this recipe.
The crust is falling apart when I slice
I’ve been there, and it’s heartbreaking. The fix starts at the very beginning. Your crumbs need to be very fine, not crushed into jagged little pieces. The butter-to-crumb ratio needs to be right; the mixture should feel like wet sand and hold together when you press it in your fist. And press it into the pan firmly. A measuring cup with a flat bottom does the job perfectly.
My filling has lumps
Room temperature cream cheese, I’m saying it for the third time for a reason. Cut it into cubes, set it on the counter for a full hour, and beat it with the sugar until completely smooth. If you already have lumps, you can strain the filling through a fine mesh sieve, but that’s a mess. Prevention is way easier than the cure.
My whipped cream turned grainy
You pushed it too far. Over-whipped cream starts to separate and eventually turns into butter. The good news is it’s not wasted, you just can’t use it in this recipe. Whip a fresh batch and stop as soon as you see stiff peaks. Trust me, they arrive faster than you think, so watch closely.
Expert Notes & Data Insights
After a full season of testing and retesting these no bake pumpkin bars, I’ve collected some genuine insights that I’m excited to share with you.
The science behind the no-bake set
Understanding why this recipe works makes you a better baker, promise. Whipped cream traps millions of tiny air bubbles in a delicate web. Those bubbles are what give the filling its light texture and help it hold its shape. The full-fat cream cheese acts as the structural base. When you fold them together and let the cheesecake chill, the air bubbles stabilize, the cream cheese firms up, and the whole thing sets into a sliceable dessert without any heat or gelatin. That’s the magic.
What my testing revealed
I tested these bars at different chill times, and the sweet spot in my kitchen was 8 hours minimum. At 4 hours, the bars were soft and a little messy. At 6 hours, better, but still not sliceable. At 8 hours, perfect. At 24 hours, even better. The flavor deepened as the spices and pumpkin melded with the cream cheese, and the texture turned firm and luxurious. My recommendation? Always make these the day before you need them.
On making ahead
In fact, I’ll go one step further and say these are the ideal make-ahead dessert. They taste better after a night in the fridge. The crust settles, the filling sets completely, and the flavors marry in a way that just doesn’t happen after only a few hours. For Thanksgiving or Labor Day, it takes all the pressure off your kitchen timeline.
The real data on shelf life
From my experience, these bars keep beautifully for up to 4 days in the refrigerator when stored in an airtight container. I don’t recommend leaving them at room temperature for more than 2 hours, as with any dessert that contains cream cheese and fresh dairy. And if you’re planning a backyard gathering in the California heat, keep the platter in the shade or on a bed of ice.
Final thoughts from my kitchen
It’s almost September now, and the weather in Los Angeles is still holding onto summer. But with this recipe, I have autumn in my refrigerator whenever I want it. These cool, creamy, spiced no bake pumpkin bars are proof that you can have fall even when the calendar says otherwise.
So go ahead, make these bars for your next gathering. Or just make them for yourself on a Tuesday night. I’m not judging. Marco certainly isn’t. Happy baking, folks, and save me a square.
What are the ingredients for a 3-ingredient no-bake pumpkin dessert?
If you’re looking for a simple 3-ingredient no-bake pumpkin dessert, the classic combination is canned pumpkin puree, instant vanilla or cheesecake-flavored pudding mix, and thawed whipped topping. However, these no-bake pumpkin cheesecake bars use a richer ingredient list: a brown sugar graham cracker crust, cream cheese, powdered sugar, pumpkin puree, pumpkin pie spice, and freshly whipped heavy cream. The result is a creamy, layered fall dessert that sets in the fridge and is perfect for Thanksgiving or any autumn gathering.
What is the secret to making great pumpkin bars?
The secret to great pumpkin bars is using full-fat cream cheese at room temperature, canned pumpkin puree (not pumpkin pie filling), and freshly whipping heavy cream to stiff peaks. Overworking the filling or using low-fat ingredients can make it runny or dense. Chilling the bars for at least 4 to 8 hours, ideally overnight, lets them set firmly so they slice cleanly and the flavors have time to meld beautifully.
Can I make no-bake pumpkin cheesecake bars with Cool Whip?
Yes, you can use Cool Whip in place of freshly whipped cream in most no-bake cheesecake bars, but it will change both the texture and the sweetness. Cool Whip is stabilized, so it helps the filling hold its shape, but it is sweeter and less airy than homemade whipped cream. If you swap it in, reduce the sugar in the filling slightly and gently fold the Cool Whip into the cream cheese mixture. For the fluffiest, creamiest result, this recipe calls for freshly whipped heavy cream.
What is an easy recipe for pumpkin bars?
One of the easiest pumpkin bar recipes is these no-bake pumpkin cheesecake bars. Simply mix graham cracker crumbs with melted butter and brown sugar for the crust, press it into a pan, then beat cream cheese with sugar, stir in pumpkin puree and pumpkin pie spice, and fold in whipped cream. Pour the filling over the crust, chill for at least 4 hours or overnight, and serve topped with whipped cream. No oven is needed, and the bars are make-ahead friendly, making them a stress-free dessert for fall parties and holidays.