
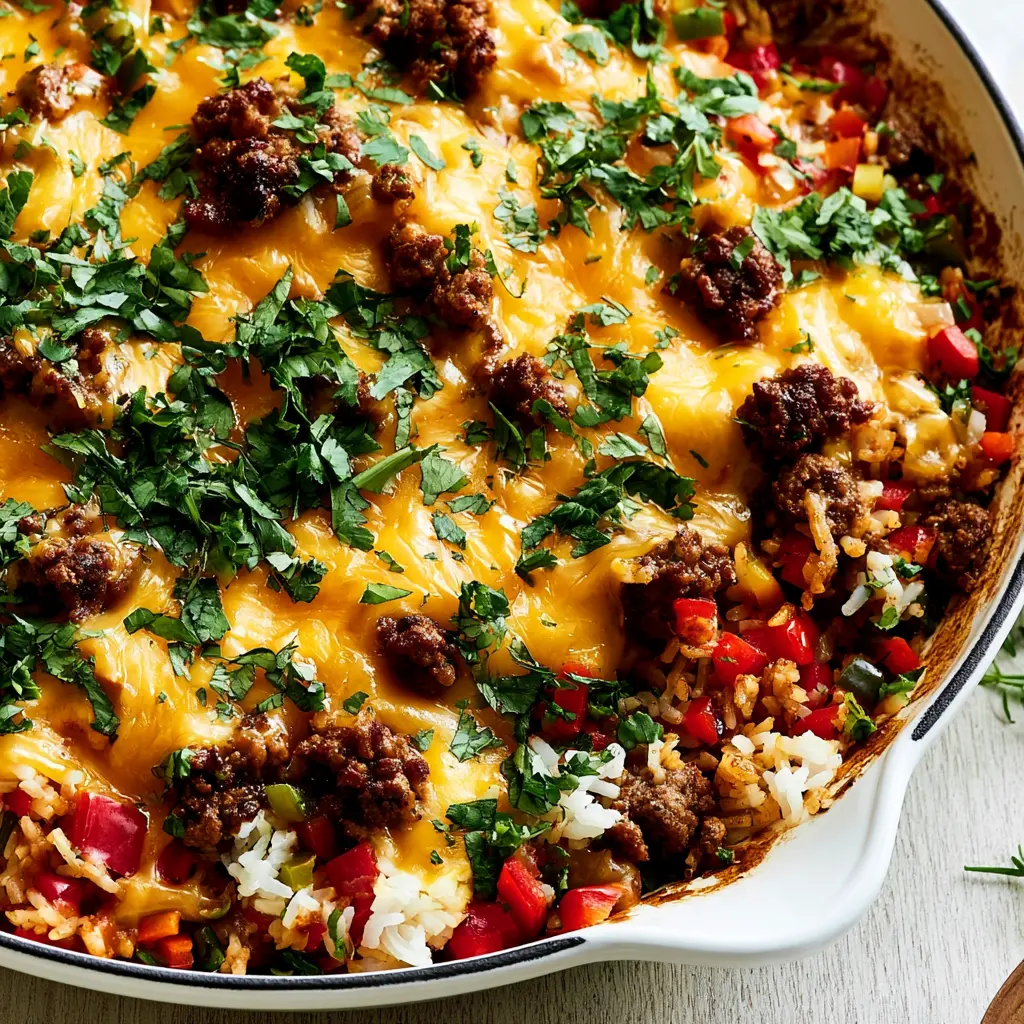
Why You’ll Love This One Pan Taco Skillet
It’s 6 PM, you’re tired, and dinner still hasn’t happened. Sound familiar? Between school pickup, sports practice, and the endless to-do list, the last thing you need is a recipe with three pots and a complicated technique.
That’s exactly why this one pan taco skillet became my weeknight lifesaver. The first time I made it, I had zero energy and even less patience. But forty minutes later? I was eating a warm, cheesy, satisfying dinner that felt like a hug in a bowl. And the kitchen? Basically clean already.
This isn’t just another ground beef taco skillet. It’s the one you’ll actually make on a Tuesday when you’re exhausted. Here’s why:
- One skillet, minimal cleanup. That’s the whole promise. No colanders, no extra pots, no dish mountain.
- Real food, pantry staples. Canned tomato sauce, rice, broth, peppers, and cheese. Nothing fancy, everything you can grab at Ralphs or Trader Joe’s.
- It’s forgiving. Use ground turkey, skip the cheese, add extra veggies. The recipe begs to be riffed.
- It reheats like a dream. Lunch tomorrow? Solved.
What You’ll Need
Let’s talk about the ingredients before you start. You’re building a taco skillet that’s rich, savory, and loaded with texture. The ingredients list is short, but every component earns its spot.
The heart of this dish is ground beef. I use 1 pound, and I like an 85/15 blend so it browns nicely without leaving the pan swimming in grease. Ground turkey or ground chicken work beautifully too, just add a touch more olive oil since they’re leaner.
The rice is next. Dry long-grain white rice is key here. It cooks right in the pan, absorbing all that seasoned tomato broth as it simmers. That’s what makes this a true one skillet dinner instead of a meat-and-rice combo you have to cook separately.
And you can’t skip the peppers. I use about 3 cups of chopped bell peppers, mixed colors for visual appeal. Red, orange, and yellow peppers get sweet and tender as they simmer, while the green ones hold a bit of bite.
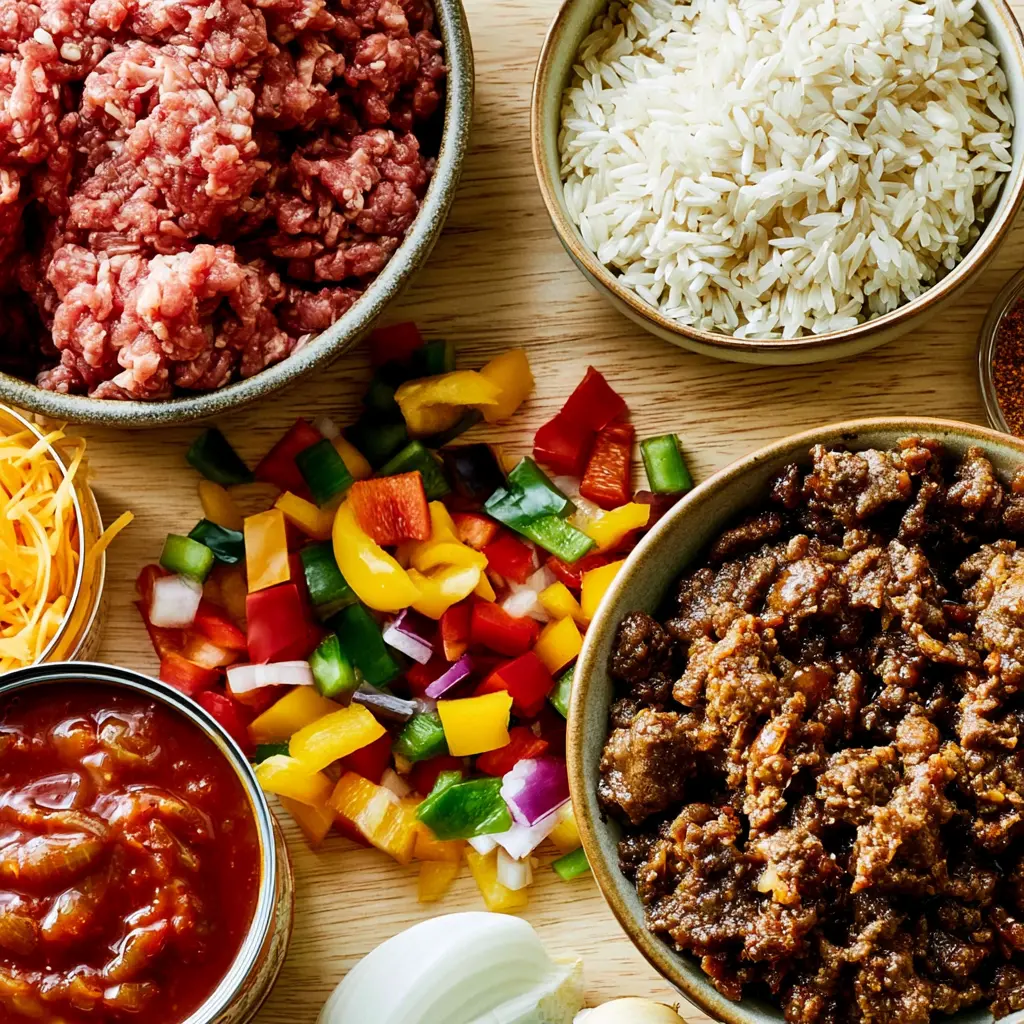
Here’s the quick rundown of everything you’ll need:
- 1 lb ground beef (or turkey/chicken)
- 1 cup dry long-grain white rice
- 15 oz canned tomato sauce (not jarred pasta sauce)
- 2 cups beef or chicken broth
- 3 cups chopped bell peppers
- 1 cup shredded sharp cheddar
- Plus onion, garlic, olive oil, and taco seasoning
One note on the taco seasoning: you can use a 1/2 tablespoon of your favorite store-bought blend, or mix your own with chili powder, cumin, and a little oregano. Adjust it to your heat preference.
How to Make a One Pan Taco Skillet
The method is straightforward, but let me walk you through the why behind each stage. It’s the difference between a good dinner and a great one.
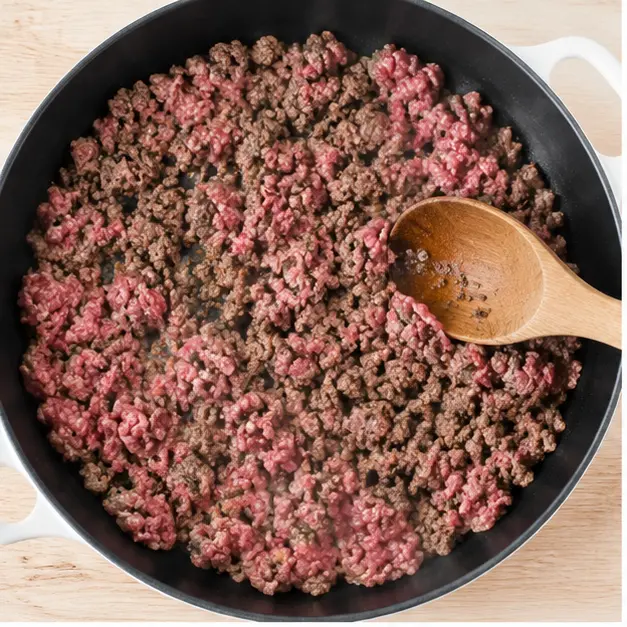
Stage 1: Brown the beef. Heat a tablespoon of olive oil in a large skillet (a 12-inch pan is ideal) over medium heat. Add the ground beef and let it cook, breaking it up with a spatula, for about 10 minutes until it’s no longer pink.
This step isn’t just about cooking the meat. It’s about building flavor. Those browned bits on the bottom of the pan are pure gold. They’ll flavor the entire dish as the sauce simmers.
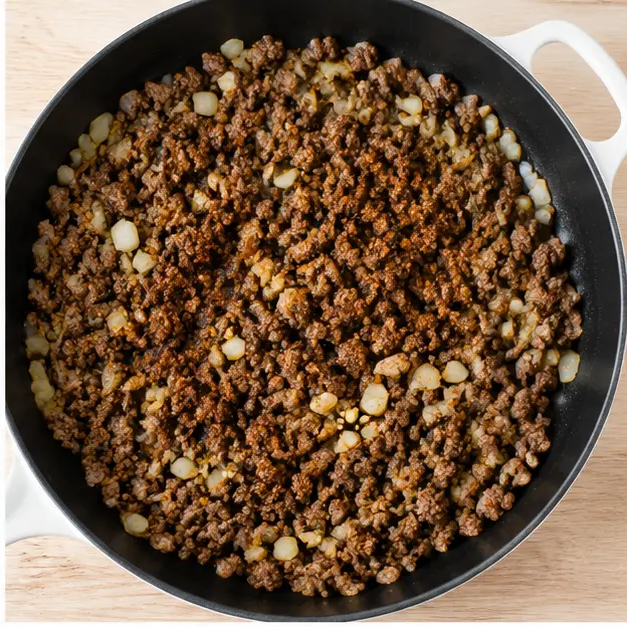
Stage 2: Aromatics and seasoning. Stir in the finely chopped onion and minced garlic. Cook for another 5 minutes until they’re soft and fragrant. Then add the taco seasoning and stir it through the meat.
That smell, the cumin and garlic hitting the warm beef, is when you know dinner is coming together. It’s the moment my kids wander into the kitchen asking, “What’s for dinner?”
Stage 3: The liquid and rice. Pour in the canned tomato sauce, beef broth, and dry rice. Add the chopped bell peppers on top. Stir everything together, cover the pan, and bring it to a boil.
Then turn the heat to low and let it simmer, covered, for 20 to 25 minutes. Stir a few times while it cooks so the rice doesn’t stick to the bottom. You’ll know it’s done when the rice is tender and most of the liquid has absorbed.
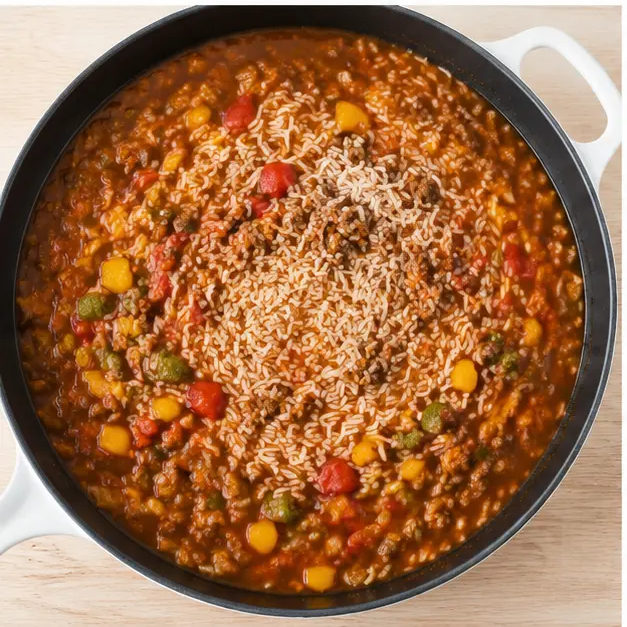
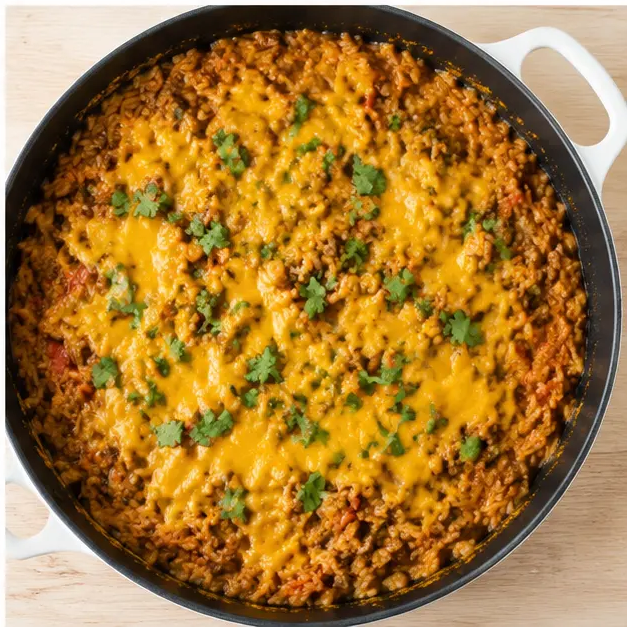
Stage 4: Melt the cheese. Once the rice is cooked, sprinkle the shredded cheddar over the top. Cover the pan for 1 minute, just until the cheese melts into a gooey, golden layer.
That visual moment, the cheese bubbling and stretching as you scoop it out, is the payoff. It’s what makes this feel like a special meal even on a chaotic Tuesday.
Pro Tips for the Best Taco Skillet
After making this cast iron skillet recipe more times than I can count, I’ve learned a few things the hard way. Here are the mistakes I’ve made so you don’t have to.
❌ Mistake: Using a skillet that’s too small.
✅ Solution: Use a 12-inch skillet or larger. Everything needs room to cook evenly, and a smaller pan leads to crowded ingredients and soggy peppers. Trust me, I’ve ended up with a half-cooked mess more than once.
❌ Mistake: Rushing the simmer.
✅ Solution: Don’t rush it. Those 20 to 25 minutes of simmering are what let the rice soften and the sauce thicken into something cohesive. If you crank the heat, you’ll burn the bottom and leave the rice crunchy.
❌ Mistake: Adding salt before tasting.
✅ Solution: Taste first. Your taco seasoning and cheddar cheese both bring sodium to the party. You might not need any extra salt at all.
❌ Mistake: Melting cheese in the oven.
✅ Solution: Just cover the skillet and let the residual heat do the work. It melts perfectly without drying out the rice below.
Taco Skillet Substitutions and Variations
This is where the recipe really shines. It’s built to be flexible. The base recipe is a ground beef taco skillet, but you can take it in so many directions.
Protein swaps: Ground turkey or ground chicken are direct substitutes. Just add a tablespoon of olive oil in step 1, since they’re leaner than beef. For a vegetarian taco skillet, use your favorite plant-based meat substitute or double up on beans (black beans or pinto beans work great if you’re adding them as an extra).
Broth swaps: The recipe calls for beef broth, but chicken broth works just as well. If you’re using ground chicken, keeping the broth light makes sense.
Dairy-free: Skip the cheddar or use a dairy-free alternative. Honestly, the dish is still delicious without it, the tomato and taco flavors carry it.
Low-carb: Serve the meat mixture over cauliflower rice instead of cooking the rice in the skillet. Or just eat it straight from the pan with avocado and salsa. It’s that good on its own.
Extra veggies: Zucchini, mushrooms, or spinach stirred in at the end are all great additions. If you add more, you might need to simmer a little longer and add extra seasoning to keep the flavor bold.
Make it spicy: Add a pinch of cayenne, a chopped jalapeño, or a splash of hot sauce in step 2. Or keep it mild for the kids and let everyone add their own heat at the table.
Suggested Toppings and Serving Ideas
This is the fun part. The skillet itself is a complete meal, but the right taco toppings take it from great to unforgettable.
Set up a little topping bar and let everyone customize their bowl. Here’s what I love:
- Sour cream or Mexican crema to cool things down
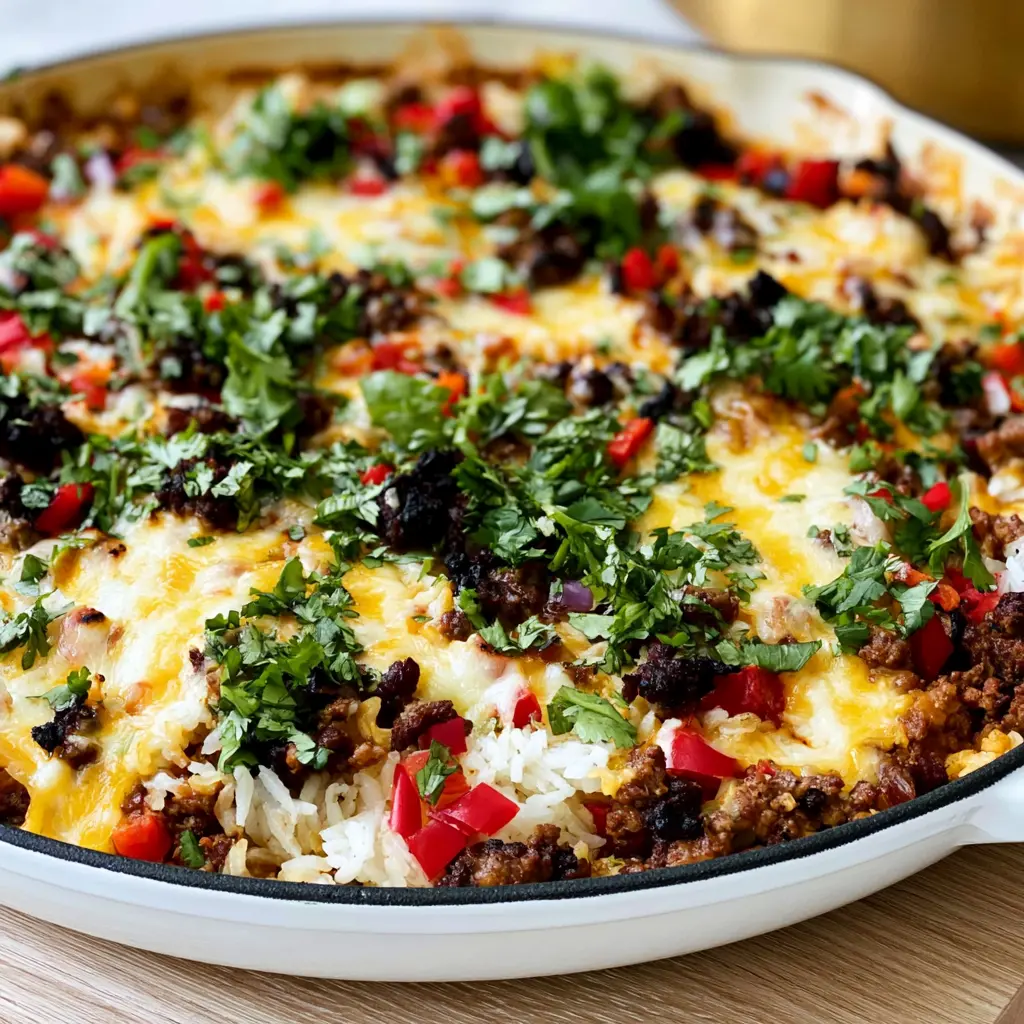
- Fresh cilantro, chopped and scattered on top
- Diced avocado or a quick avocado lime crema (just mash avocado with lime and salt)
- Salsa, either mild or hot depending on your crowd
- Pickled jalapeños, sliced black olives, or green onions
As for serving, you’ve got options. The most popular move is salsa and tortilla chips straight into the pan for dipping. It’s casual, fun, and zero extra dishes.
You can also use it as a filling for flour or corn tortillas, or as a quesadilla filling with extra cheese. If you want a low-carb route, spoon it into big lettuce wraps or over a bed of fresh greens.
For a heartier meal, serve the taco skillet over rice, quinoa, or even baked potatoes. It’s endlessly adaptable, which makes it perfect for a family with different preferences.
Leftovers and Storage
Let’s talk about the best part of making a big skillet meal: leftovers. This dish stores beautifully, which means lunch tomorrow is already handled.
Storage: Transfer leftovers to an airtight container and refrigerate for up to 4 days. The flavors actually get better as they meld overnight.
Reheating: This is where people mess up. The rice absorbs liquid as it sits, so leftovers can get dry. My trick? Add a splash of broth or water before reheating to loosen it back up. Then warm it on the stovetop over medium-low heat or in the microwave.
Freezing: You can absolutely freeze this dish for up to 3 months. If you plan to freeze it, leave the cheese off until you’re ready to eat. Thaw overnight in the fridge, then reheat with that splash of liquid and add fresh cheese on top.
Make ahead: You can prep the onion, garlic, and peppers in advance and store them in the fridge. Or make the whole skillet on Sunday and eat it throughout the week. It’s a 30 minute weeknight meal that thinks ahead.
Frequently Asked Questions
[h2]Final Thoughts[/h2]Look, dinner doesn’t need to be complicated to be wonderful. This one pan taco skillet is proof. It’s the kind of easy dinner for family nights that makes you look like a hero while actually letting you enjoy your evening.
I still remember that first time I made it, when I was running on fumes and just needed something to work. It worked so well that it became a regular in our rotation. When something’s this good, this simple, and this easy to clean up, you’d be crazy not to keep it around.
So go ahead, pull out your biggest skillet, brown that beef, and let the whole house fill with the smell of taco seasoning and simmering tomatoes. Dinner’s got this. And so do you.
If you try this recipe, I’d love to hear how it goes. Tag me or leave a comment below, and don’t forget to check out my Pinterest board for more weeknight dinner inspiration. Happy cooking!
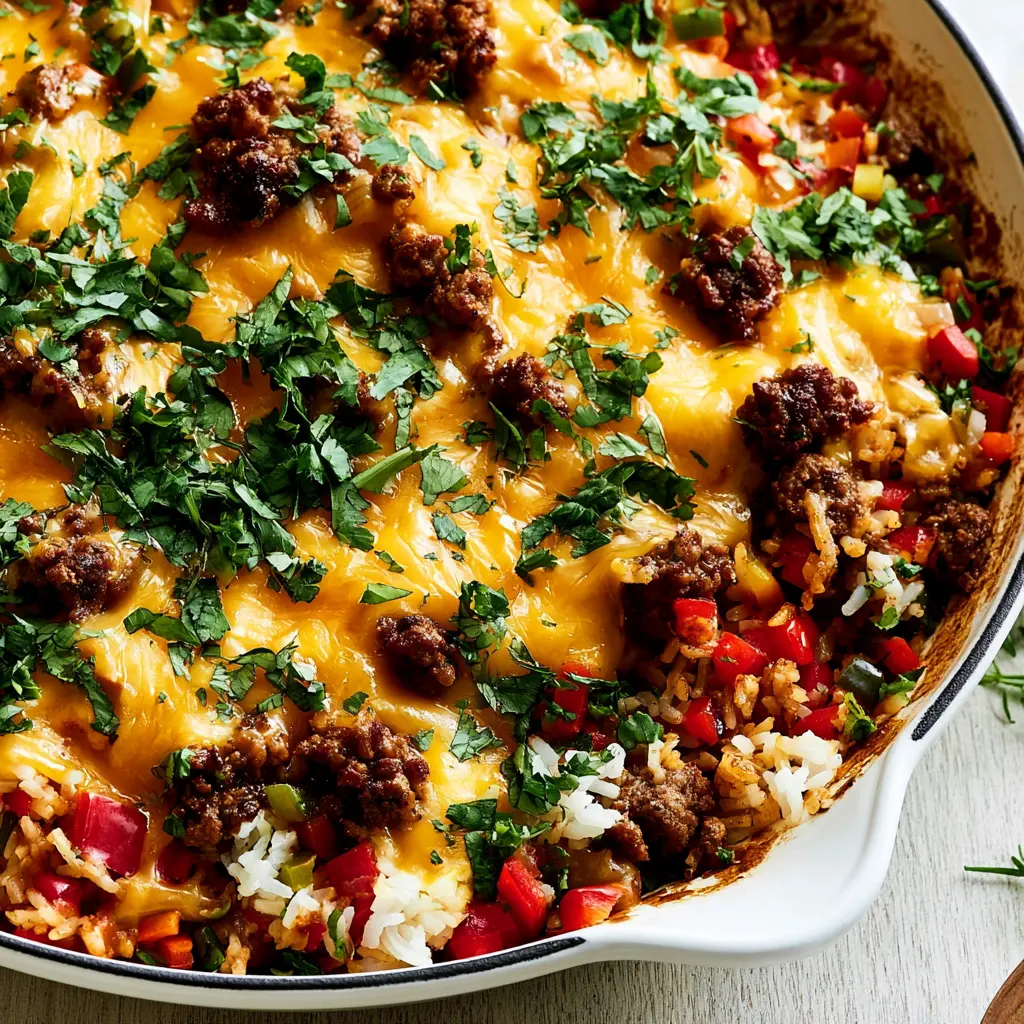
Cheesy One Pan Taco Skillet with Rice and Peppers
Ingredients
Method
- Heat the olive oil in a large skillet or saute pan over medium heat. Add the ground beef and cook, breaking it up with a spatula, for about 10 minutes or until no longer pink. Stir in the onion and garlic and cook for another 5 minutes, until softened.
- Add the taco seasoning, tomato sauce, dry rice, beef broth, and chopped bell peppers. Stir everything together, cover the pan, and bring the mixture to a boil.
- Turn the heat down to low and let it simmer, covered, for 20 to 25 minutes, stirring occasionally, until the rice is tender and has absorbed most of the liquid.
- Once the rice is cooked, sprinkle the shredded cheddar over the top. Cover the pan and let it sit for 1 minute, just until the cheese melts.
Nutrition
Notes
Tried this recipe?
Let us know how it was!Source: Learn More About This Dish
Can I make this taco skillet ahead of time?
Yes. Cook the full one pan taco skillet, let it cool, and store it in an airtight container in the fridge for up to 4 days. Reheat with an extra splash of broth to keep the rice moist and fluffy.
Can I freeze taco skillet?
Absolutely. Freeze for up to 3 months in a freezer-safe container. For best texture, freeze before adding the cheese. Thaw overnight, reheat with a splash of broth or water, then melt fresh cheese on top.
Do I have to use a cast iron skillet?
Not at all. Any large skillet or sauté pan works, as long as it’s 12 inches or bigger. A cast iron skillet holds heat well, but a stainless steel or non-stick pan will get the job done just fine.
Can I use ground turkey or chicken instead of beef?
Yes. Swap the ground beef for ground turkey or ground chicken in equal amounts. Since these leaner meats cook faster and can dry out, add a tablespoon of olive oil in the first step to keep things moist and flavorful.
How do I make this taco skillet low carb?
Skip the rice entirely or replace it with cauliflower rice. Cook everything else as written, then serve the seasoned beef and pepper mixture over the cauliflower rice. Every bit of flavor, none of the carbs.
What’s the best way to thicken taco skillet?
If your skillet is too saucy at the end, leave the lid off and let it simmer on low for an extra 5 to 10 minutes. The liquid will evaporate and the rice will absorb more, leaving you with a thicker, more cohesive texture.