
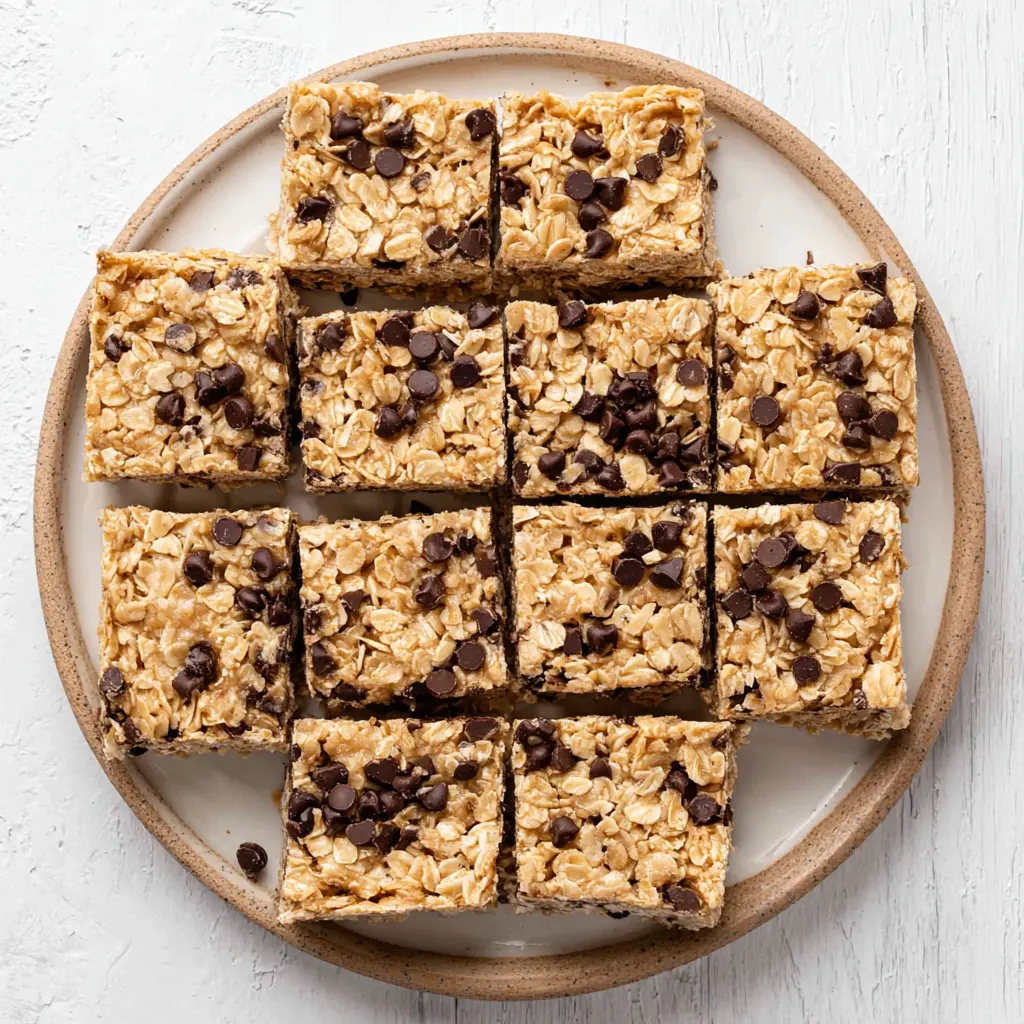
Why You’ll Love These No-Bake Peanut Butter Oat Bars
It’s July in Los Angeles and the kids are asking for snacks every ten minutes. I love them, but I cannot keep up. The store-bought bars are either full of sugar or cost as much as a small car. And turning on the oven? Not happening when it’s 95 degrees outside.
So I started making these no-bake peanut butter oat bars. And honestly? They’re a lifesaver. They take ten minutes of active time, use five ingredients I always have on hand, and my kids actually eat them without complaining. Which is basically a parenting miracle.
These chewy peanut butter oatmeal bars are the kind of snack you can feel good about. They’ve got protein from the peanut butter, fiber from the oats, and just enough dark chocolate to make them feel like a treat. I pack them in lunchboxes, bring them to the beach, and I’ve even been known to grab one for breakfast when I’m running late. No judgment here.
Trust me, once you make these easy homemade granola bars, you’ll never go back to the boxed stuff.
Ingredients You’ll Need
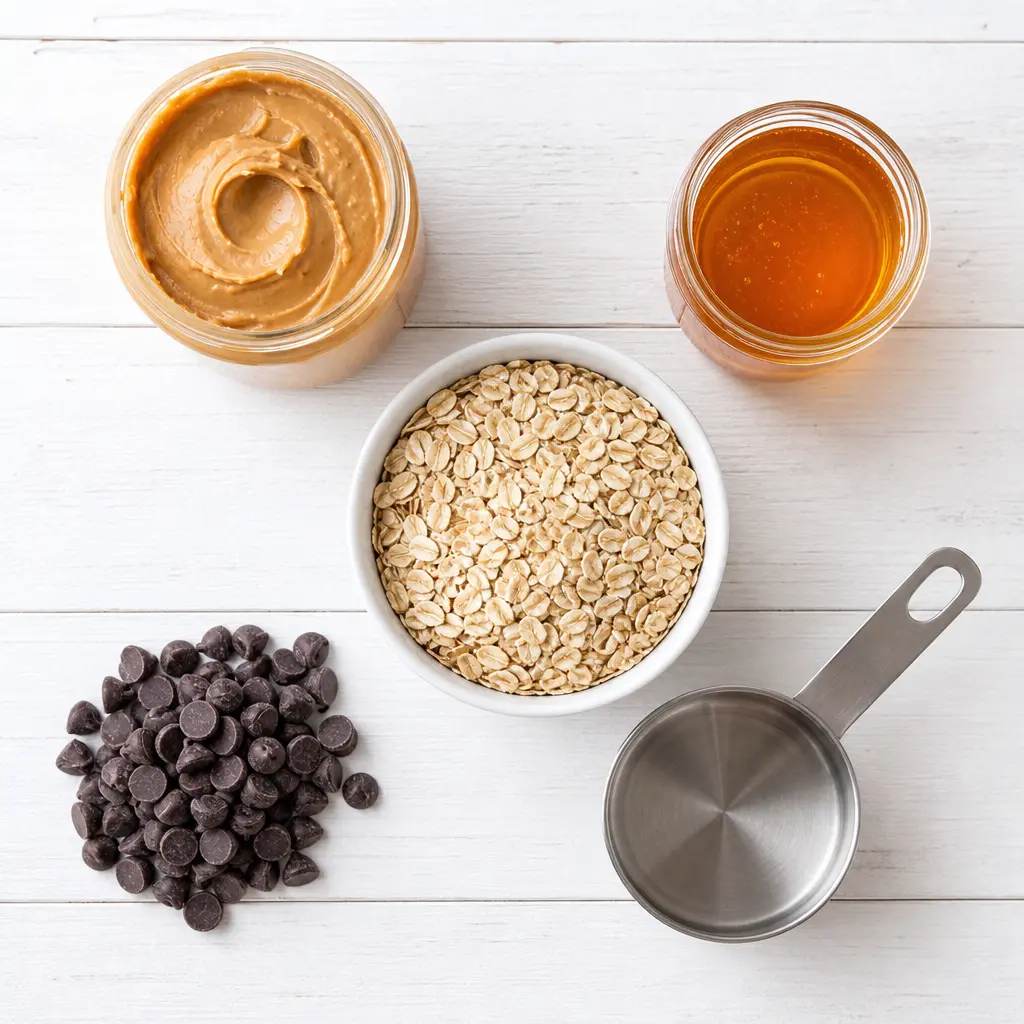
This is where the magic happens. You only need four main ingredients to make these no-bake peanut butter oat bars. I promise, it’s that simple. Here’s what you’ll grab:
- Creamy peanut butter (1 cup): The star of the show. It’s the binder, the flavor, the protein. I use a natural creamy kind, but any creamy peanut butter works. Just stay away from the super oily stuff that separates too much. You want it smooth and spreadable.
- Honey or maple syrup (½ cup): This is your sweetener and your glue. Honey gives a classic flavor, but maple syrup works beautifully for a vegan version. Both help hold the bars together so they don’t crumble.
- Rolled oats (2¾ cups): The hearty base. Old-fashioned oats are the way to go here. They give the bars that perfect chewy texture. Quick oats work in a pinch, but the texture will be softer. I’ll talk more about that later.
- Dark chocolate chips (½ cup): The little pockets of joy. They melt slightly into the bars and make everything better. You can use milk chocolate, but I love the slight bitterness of dark chocolate against the sweet honey and salty peanut butter.
That’s it. Four ingredients. I told you it was easy. And the best part? You probably already have all of them in your pantry right now.
How to Make Peanut Butter Oat Bars
Alright, let’s get into it. This is the no-bake method, which means no oven, no sweat, and no waiting around. Just a few simple steps and you’ll have a batch of perfect peanut butter oat bars ready to go.
I’ve broken it down into four major stages. Each one is important, but none of them are hard. I promise, you’ve got this.
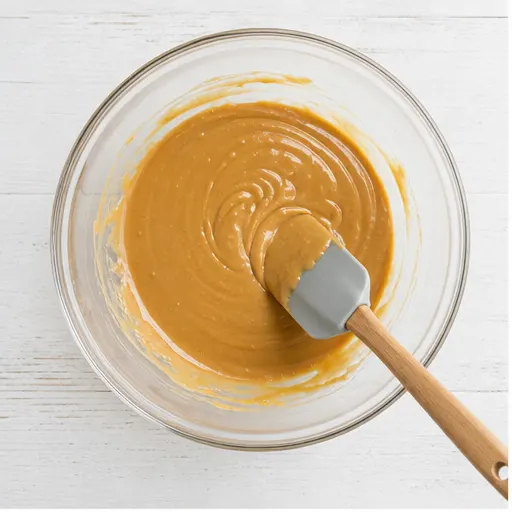
Stage 1: Melt the Peanut Butter and Honey
Start by combining the creamy peanut butter and honey (or maple syrup) in a microwave-safe bowl. Pop it in the microwave in 20-second intervals, stirring between each. You want it completely melted and smooth. It should look glossy and smell amazing. Don’t rush this part if you overheat it, the peanut butter can seize up. Just take it slow.
If you don’t have a microwave, you can do this on the stovetop in a small saucepan over low heat. Just stir constantly until it’s smooth. Either way works.
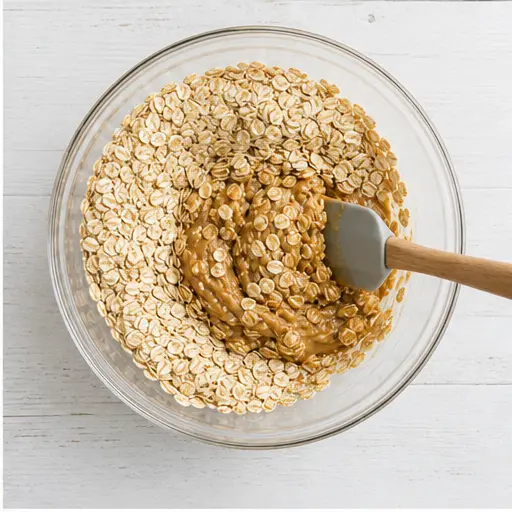
Stage 2: Add the Oats
Once your peanut butter mixture is smooth and warm, pour in the rolled oats. Use a spatula to stir everything together until every single oat is coated. This is where the magic starts. The mixture will look a little sticky and clumpy, which is exactly what you want. Make sure there are no dry spots hiding at the bottom of the bowl.
Stage 3: Fold in the Chocolate Chips
Now for the fun part. Gently fold in the dark chocolate chips. You want them distributed evenly throughout the mixture, not all clumped together in one spot. The warmth of the peanut butter mixture will soften the chips slightly, which is perfect. They’ll melt into little pockets of chocolate goodness as the bars chill.
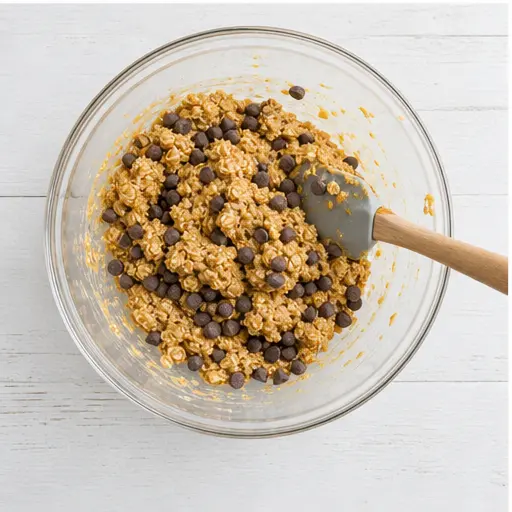
Stage 4: Press and Chill
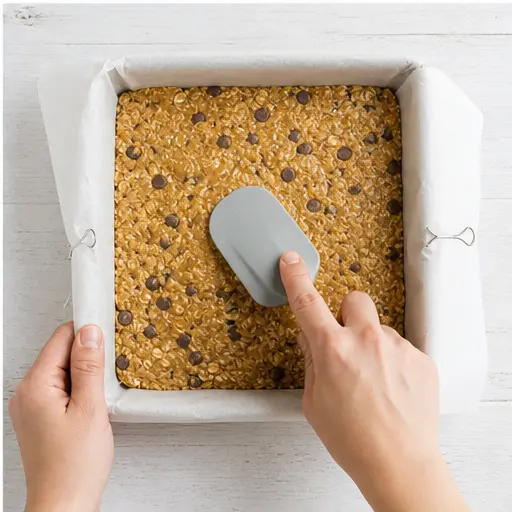
Line an 8×8-inch baking pan with parchment paper. Let some hang over the edges this makes lifting the bars out later super easy. Give it a light spray with nonstick cooking spray. Transfer the oat mixture into the pan and press it down firmly and evenly. Use your hands or the back of a spatula. I mean it, press firmly. The surface should look shiny and hold together. If it’s loose, the bars will crumble later.
Pop the pan in the fridge for 30 to 60 minutes. You want the bars to be completely firm. Once they’re set, lift them out using the parchment paper, cut into 16 squares, and serve.
My Secret for Perfect Bars
The Pressing Trick: Don’t push the oat mixture down too firmly or the bars will become tougher. Gently push them into shape, pressing just enough so they hold together. It’s a fine line, but you’ll get the feel for it. The surface should be even and compact, but not rock hard.
Tips for Perfect Bars Every Time
I’ve made these peanut butter oat bars more times than I can count. And I’ve learned a few things along the way. Here are my best tips to make sure yours turn out perfect every single time.
- Use parchment paper: This is non-negotiable. It makes lifting the bars out of the pan so much easier. Trust me, trying to pry them out with a spatula is a disaster waiting to happen.
- Press firmly, but not too firmly: I know, I just said press firmly. And I meant it. But there’s a difference between firm and aggressive. You want the mixture compacted, not crushed. The bars should hold together without feeling dense.
- Chill for at least 30 minutes: Don’t rush this step. The bars need time to set. If you try to cut them too soon, they’ll fall apart. An hour is even better if you have the time.
- Measure by weight for accuracy: If you have a kitchen scale, use it. Measuring cups can be inconsistent, especially with oats. 2¾ cups of rolled oats is about 250 grams. It makes a difference.
- Adjust sweetness to taste: If you like your bars less sweet, use ⅓ cup of honey instead of ½ cup. The peanut butter and chocolate chips add plenty of flavor.
One more thing: If your bars come out a little crumbly, it’s usually because the peanut butter mixture wasn’t warm enough to coat the oats properly. Next time, make sure it’s fully melted and smooth before adding the oats. You’ll get it right.
Variations and Add-Ins
This recipe is super forgiving. Once you’ve mastered the basic no-bake peanut butter oat bars, you can start playing around. Here are some of my favorite variations:
- Add chopped nuts: Walnuts or almonds add a nice crunch. Throw in a quarter cup when you add the oats.
- Add seeds: Chia seeds, hemp seeds, or ground flaxseed boost the fiber and protein. A tablespoon or two is plenty.
- Swap the chocolate chips: Use white chocolate, butterscotch, or peanut butter chips instead. Or go with sugar-free chips if you’re watching your sugar.
- Add dried fruit: Raisins, dried cranberries, or chopped dried mango add sweetness and chew. Fold in a quarter cup with the chocolate chips.
- Add shredded coconut: A quarter cup of unsweetened coconut gives the bars a tropical twist. I love it for summer.
- Make them vegan: Use maple syrup instead of honey. Everything else is already plant-based.
- Make them gluten-free: Use certified gluten-free oats. That’s the only swap you need.
- Nut-free alternative: Use sunflower seed butter or tahini instead of peanut butter. The flavor will be different, but it works.
The beauty of these bars is that they’re a blank canvas. Use what you have in your pantry. It’s forgiving, I promise.
How to Store and Freeze
These peanut butter oat bars are perfect for meal prep. Here’s how to keep them fresh and tasty.
Refrigerator: Store the bars in an airtight container in the fridge for up to one week. I like to add a piece of parchment paper between the layers so they don’t stick together. They stay firm and chewy this way, even in the summer heat.
Freezer: These bars freeze beautifully. Wrap each bar individually in plastic wrap, then place them in a freezer-safe bag. They’ll keep for up to three months. When you want one, just let it thaw in the fridge overnight. Or eat it straight from the freezer they’re actually really good frozen.
Room temperature: You can keep them at room temperature for a day or two, but in hot weather, they’ll get soft. I recommend keeping them in the fridge, especially during summer. If you’re packing them in a lunchbox, they’ll hold up fine for a few hours.
Reheating: If you want a warm treat, pop a bar in the microwave for 10 seconds. The chocolate chips get all melty and it’s like a warm cookie. So good.
Frequently Asked Questions
So there you have it. My foolproof recipe for no-bake peanut butter oat bars. They’re chewy, satisfying, and so easy to make. I love having a batch in the fridge for those moments when the kids are hungry and I need something quick. Or for when I need a little pick-me-up myself.
Imagine pulling out one of these bars on a beach day or at soccer practice. The kids will love them, and you’ll feel like a hero parent. Trust me, the lunchbox approval rating on these is off the charts. Give them a try and let me know how they turn out. And if you come up with a fun variation, I’d love to hear about it.
Happy snacking!
If you loved this recipe, you can find more ideas and inspiration on my Pinterest board. I’m always pinning new summer snack recipes and quick breakfast ideas.
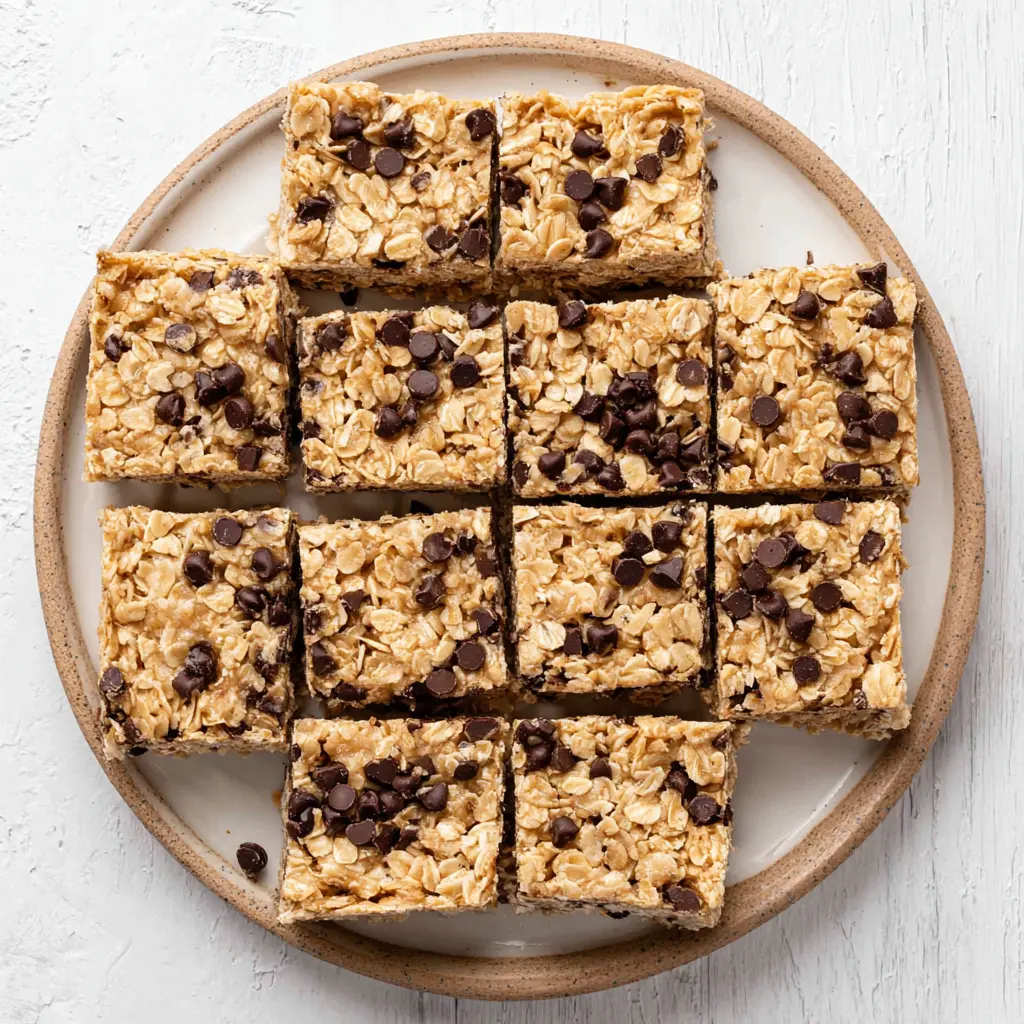
No-Bake Peanut Butter Oat Bars
Ingredients
Method
- In a microwave-safe bowl, combine the creamy peanut butter and honey or maple syrup. Heat in 20-second intervals, stirring between each, until completely melted and smooth.
- Add the rolled oats to the peanut butter mixture and stir with a spatula until all oats are evenly coated.
- Fold in the dark chocolate chips, mixing gently to distribute them throughout the mixture.
- Line an 8x8-inch baking pan with parchment paper, letting some hang over the edges for easy removal. Lightly spray with nonstick cooking spray. Transfer the oat mixture into the pan and press it down firmly and evenly with your hands or the back of a spatula.
- Refrigerate for 30 to 60 minutes until the bars are firm. Lift out, cut into 16 squares, and serve.
Nutrition
Notes
Tried this recipe?
Let us know how it was!Source: Nutritional Information
Are peanut butter oat bars healthy?
Yes, these peanut butter oat bars are a healthy snack option. Each bar has 210 calories, 7 grams of protein, 3 grams of fiber, and no cholesterol. The oats provide complex carbs for energy, while peanut butter adds healthy fats and protein. They’re much better for you than most store-bought granola bars.
What is the best binder for oatmeal bars?
Peanut butter combined with honey or maple syrup is the best binder for oatmeal bars. The peanut butter adds fat and protein that holds the oats together, while the honey acts as a sticky sweetener. Together, they create a firm, chewy texture that doesn’t crumble.
Can you make these oat bars gluten free?
Absolutely. To make these oat bars gluten free, simply use certified gluten-free rolled oats. All the other ingredients peanut butter, honey, and dark chocolate chips are naturally gluten free. Just double-check the labels on your chocolate chips to be safe.
Rolled oats vs. quick oats, which is better?
Rolled oats are the better choice for these bars. They provide a hearty, chewy texture that holds up well. Quick oats are more processed and will result in a softer, more crumbly bar. If you only have quick oats, you can use them, but the texture won’t be as good.
Are the bars supposed to be soft?
Yes, these peanut butter oat bars are meant to be soft and chewy, not hard or crunchy. After chilling, they should be firm enough to hold their shape but still have a tender bite. If they’re too soft, chill them longer. If they’re too hard, let them sit at room temperature for a few minutes.
Do I need the chocolate topping?
No, the dark chocolate chips are optional but highly recommended. They add little pockets of sweetness that make these bars feel like a treat. If you want a simpler bar, you can leave them out. The bars will still taste great, just with less chocolate flavor.