
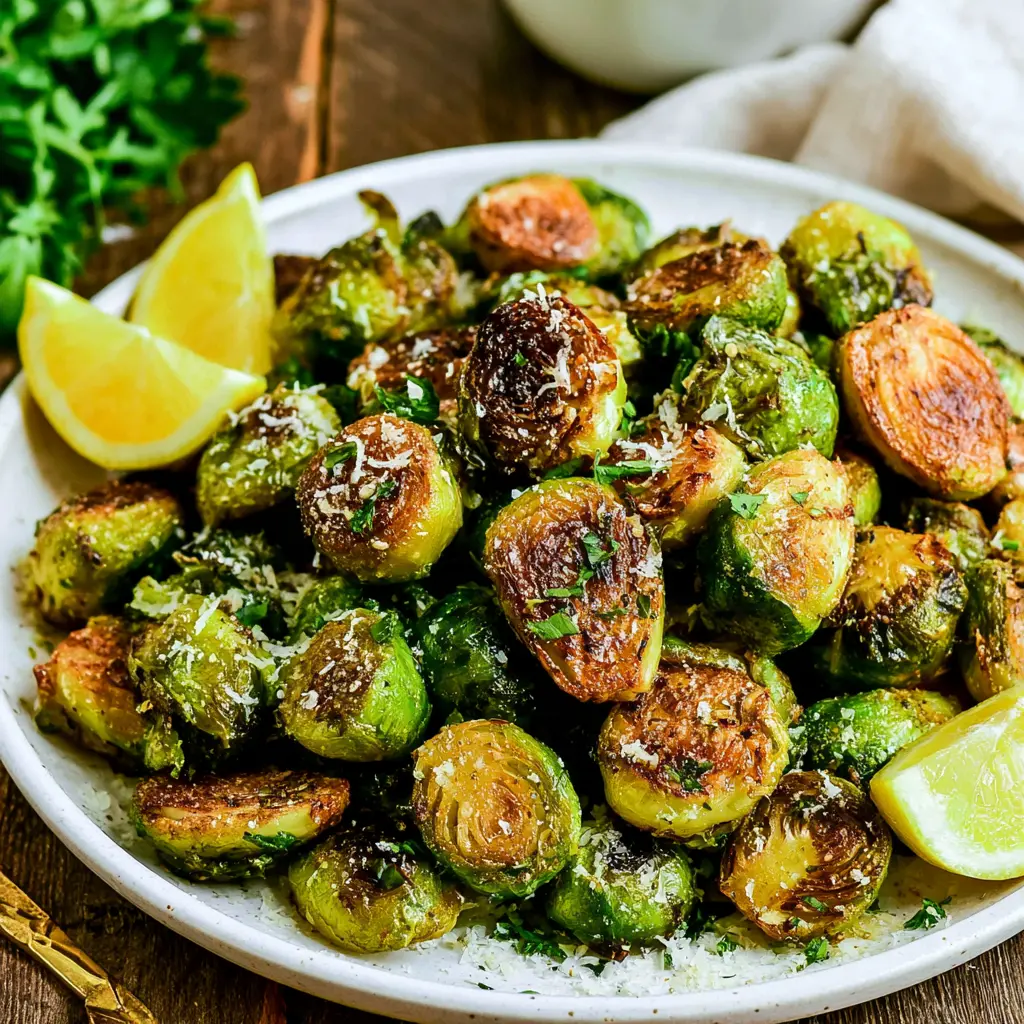
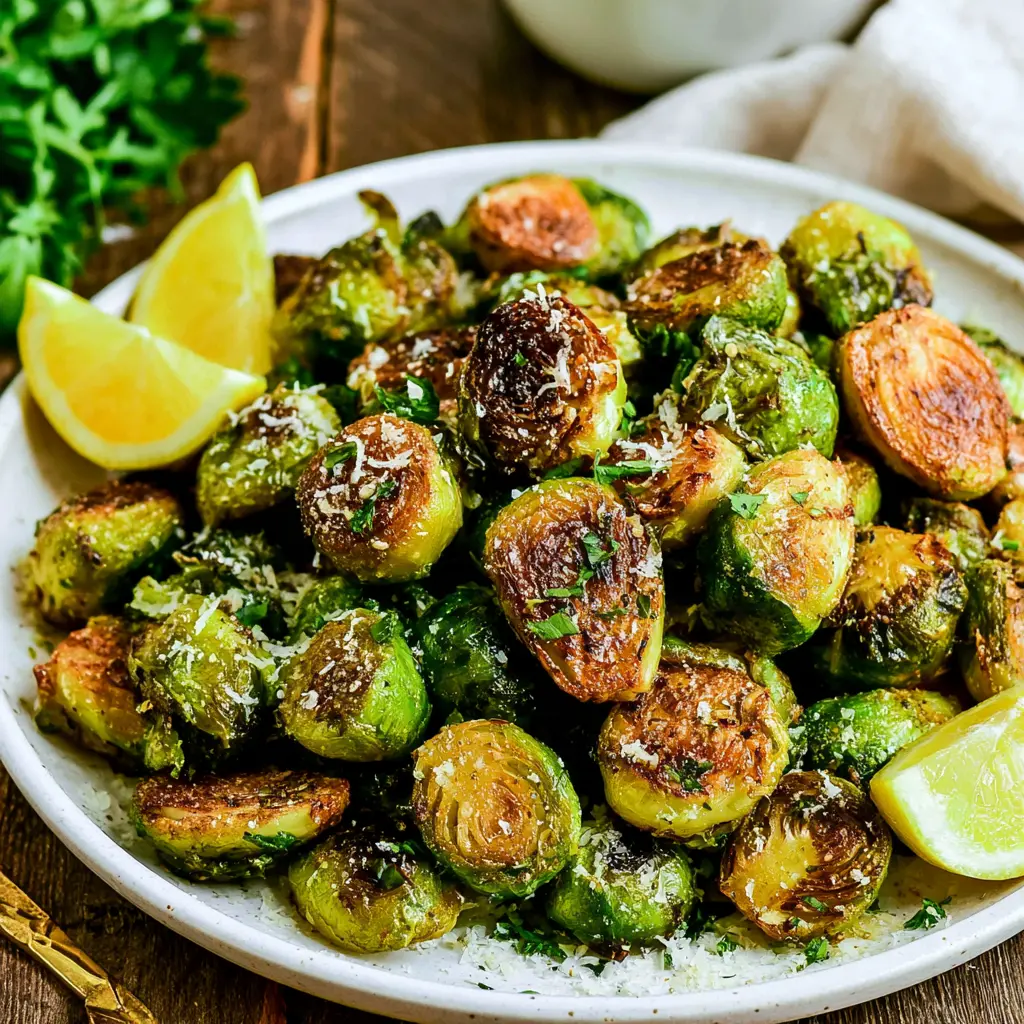
Zesty Sauteed Brussels Sprouts with Lemon and Parmesan
Ingredients
Method
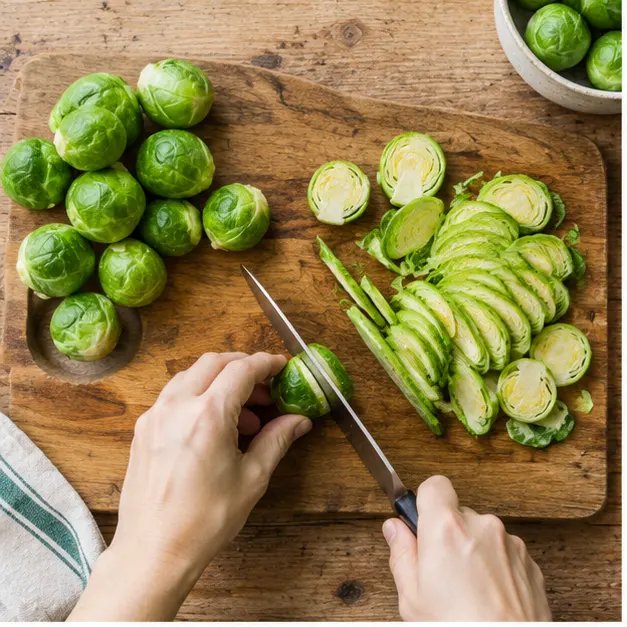
- Begin by thoroughly washing and rinsing the Brussels sprouts, then trim off their tough stem ends.
- Carefully slice each Brussels sprout lengthwise into thin strips, approximately ⅛ to ¼ inch thick.
- Heat 2 tablespoons of the olive oil in a large nonstick skillet or a cast-iron pan over medium-high heat until shimmering.
- Add the prepared Brussels sprouts to the hot pan, tossing them gently to ensure they are evenly coated with the oil.
- Cover the skillet and cook for 2 to 3 minutes, stirring once or twice, until the sprouts just begin to develop a light golden-brown color.
- Once browning starts, pour in the remaining 1 tablespoon of olive oil and stir again to coat the sprouts.
- Sprinkle the garlic powder, sea salt, and black pepper evenly over the sprouts, then stir well to distribute the seasonings.
- Cover the pan once more and continue cooking for another 2 to 3 minutes, or until the sprouts have softened to your liking.
- Uncover the skillet, add the fresh Meyer lemon juice, and cook for an additional 1 to 2 minutes, allowing the sprouts to become nicely browned and slightly crispy.
- Transfer the sauteed Brussels sprouts to a serving dish immediately and generously sprinkle with freshly grated Parmesan cheese before serving.
Nutrition
Notes
Tried this recipe?
Let us know how it was!Why You’ll Love These Zesty Sauteed Brussels Sprouts
Well, there you are! Thanksgiving is just around the corner, and if you’re anything like me, you’re already thinking about what’s going on the table. This year, don’t let those beautiful fall vegetables get pushed to the side. I’ve got a secret for you: these Zesty Sauteed Brussels Sprouts with Lemon and Parmesan are going to be the dish everyone talks about.
I know, I know. Brussels sprouts have a bad rap. My own son, Mike, used to eye them like they were poison. But let me tell you, this easy Brussels sprouts recipe turns those little cabbages into something truly special. They come out perfectly tender-crisp, with those lovely caramelized edges that just sing.
You’ll get a healthy side dish that’s ready in a flash, perfect for a busy weeknight or a big holiday feast. You won’t believe how simple it is to get such flavorful results. No more mushy, bitter sprouts, I promise you.
Winifred’s Kitchen Wisdom
The Secret: The trick to really good sauteed Brussels sprouts is a hot pan and not fussing with them too much. You want them to get a good sear, to develop those crispy Brussels sprouts edges. That’s where the flavor lives, honey.
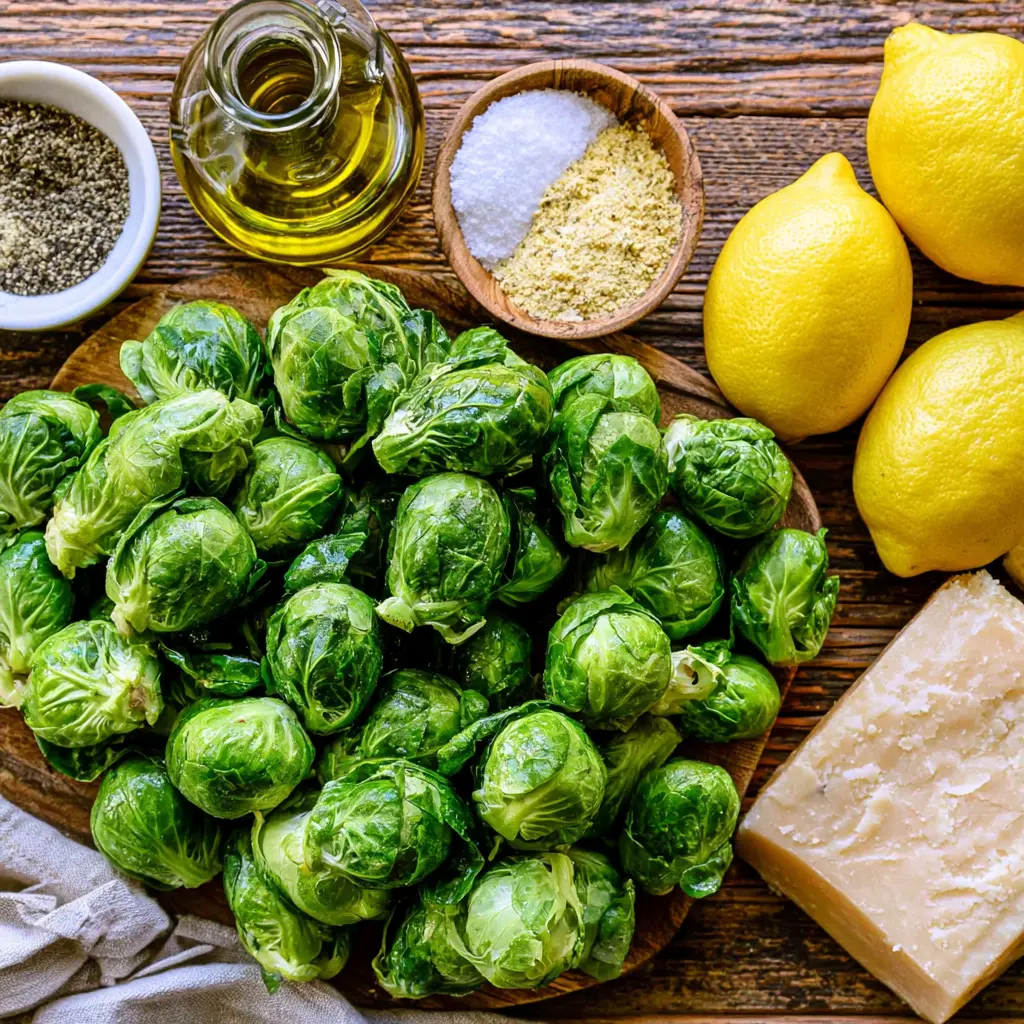
What You’ll Need for a Perfect Batch
You don’t need a pantry full of fancy things for this, just some good, honest ingredients. We’re going for fresh, vibrant flavors here, the kind that make your taste buds perk right up. It’s a simple recipe that really lets the vegetables shine.
- Fresh Brussels Sprouts: Look for firm, bright green sprouts. The smaller ones are often sweeter, but any size will do if you slice them properly.
- Napa Valley Olive Oil: Or any good quality extra virgin olive oil you have on hand. Don’t be shy with it; it helps with that lovely caramelization.
- Sea Salt & Freshly Ground Black Pepper: Salt is not a polite invitation, it’s a requirement. And fresh pepper just makes everything taste better.
- Garlic Powder: This gives a nice, even garlic Brussels sprouts flavor without burning. If you’re a fresh garlic fiend like me, you can swap it for a teaspoon of minced fresh garlic, just add it in with the other seasonings.
- Fresh Meyer Lemon Juice: A squeeze of this at the end brightens everything up. Meyer lemons are a little sweeter, but regular lemon juice works just fine too.
- Freshly Grated Parmesan Cheese: This adds a savory, salty finish that’s just divine. Don’t skimp on the fresh stuff, it makes all the difference.
These ingredients come together to make a truly flavorful side dish. You’ll find them all easily at your local Ralphs or Vons, and if you’re lucky, maybe even some beautiful California-grown Meyer lemons at the farmers’ market.
Ingredient Notes & Simple Substitutions
Now, I’m not saying this is what your grandmother did, but it’s what my grandmother did, and she had a good reason. You use what you have. If you don’t have olive oil, a little avocado oil or even unsalted butter will work just as well for pan-fried Brussels sprouts.
And for the Parmesan? If you’re looking for a dairy-free option, a sprinkle of nutritional yeast can give you a similar savory punch. Always remember, the recipe is a suggestion, but the pan is boss, and your taste buds are the final say.
Getting Your Brussels Sprouts Ready
Proper preparation is half the battle, especially with a vegetable like this. You want to make sure your Brussels sprouts are clean and cut just right so they cook evenly and get that lovely tender-crisp texture. This isn’t hard, mind you, just a few quick steps.
- Wash Them Well: First things first, give those sprouts a good wash and rinse. You don’t want any garden dirt making its way into your skillet!
- Trim the Ends: Next, grab a sharp knife and trim off those tough stem ends. Any yellow or damaged outer leaves should come right off too. We want the good, green parts.
- Slice Thin: Now, this is important for our sauteing technique. Slice each Brussels sprout lengthwise into thin strips, about ⅛ to ¼ inch thick. This helps them cook faster and get those beautiful caramelized edges. Don’t worry if they fall apart a little; that just means more surface area for browning!
Once they’re all prepped, they’re ready for the hot pan. You’ve got this!
How to Make Zesty Sauteed Brussels Sprouts
This is where the magic happens, and it happens fast. We’re going to use a two-stage cooking method for these sauteed Brussels sprouts, first to get them tender, then to get them perfectly browned and crispy. It’s the best way to cook them, really.
Stage 1: Heat and Sauté
Get your large nonstick skillet or cast-iron pan good and hot over medium-high heat. Add 2 tablespoons of that good olive oil. You want it shimmering, just barely smoking. Then, toss in your prepared Brussels sprouts. Stir them gently so they’re all coated. You’ll hear that lovely sizzle, that’s the sound of dinner getting ready!
Stage 2: Cover and Soften
Now, here’s a little secret for tender-crisp sprouts: cover that skillet. Let them cook for 2 to 3 minutes, stirring once or twice. This traps the steam, helping them soften up without getting mushy, and they’ll just start to develop a light golden-brown color. It’s a quick side, so don’t wander too far!
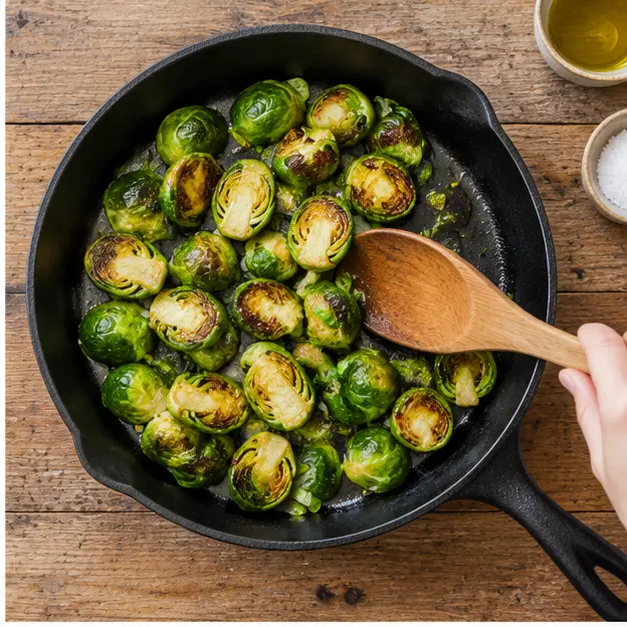
Stage 3: Season and Continue Cooking
Once they’re starting to brown, pour in that last tablespoon of olive oil and give them another good stir. Sprinkle in your garlic powder, sea salt, and black pepper. Stir well again, making sure every little sprout gets its share of that flavorful seasoning. Cover the pan again for another 2 to 3 minutes, letting them get to your preferred softness.
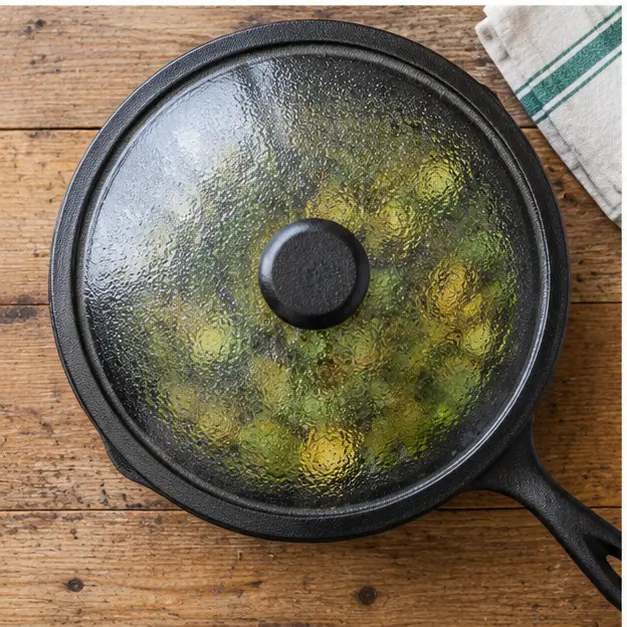
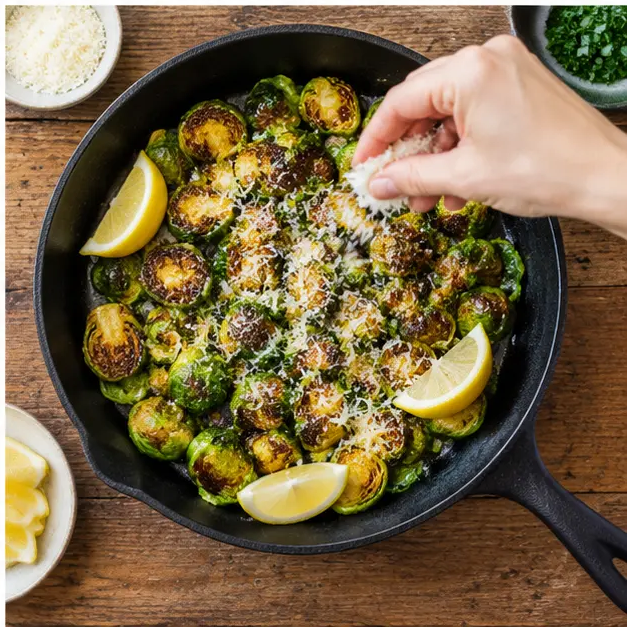
Stage 4: Lemon and Crisp
Alright, almost there! Uncover the skillet now. Add your fresh Meyer lemon juice. Let them cook for another 1 to 2 minutes, stirring occasionally. This is where they really become crispy Brussels sprouts, getting beautifully browned and slightly crunchy. That lemon juice brightens everything right up, a little bit of this and a little of that. Look at that color!
Tips for Golden-Brown & Crispy Sprouts
You want those truly crispy edges, don’t you? Of course you do! Here’s what I’ve learned over the years for the best sauteed Brussels sprouts:
- Hot Pan is Key: Make sure your skillet is good and hot before those sprouts go in. A cold pan means steaming, not searing, and we want searing!
- Don’t Crowd It: If your pan isn’t big enough for a single layer, work in batches. Overcrowding makes them steam and get mushy, and that dog won’t hunt.
- Let Them Be: Resist the urge to stir constantly. Let them sit in contact with the hot pan for a few minutes at a time to develop that lovely caramelized crust.
- A Splash of Oil: Don’t be afraid to use enough olive oil. It helps them brown and get tender, not dry out.
- Taste as You Go: Always taste and adjust your seasonings. You can always add more salt or pepper, but you can’t take it away unless you have lots of potatoes, and we don’t today.
Sauteed vs. Roasted Brussels Sprouts: My Take
Now, some folks love their Brussels sprouts oven roasted, and that’s just fine. Roasting gives you a slower, more even browning, usually a softer interior, and sometimes a deeper, nuttier flavor. It’s a lovely way to do them, especially if your oven is already on for something else.
But when you want a quick side, a truly speedy vegetable that still feels special, sauteed Brussels sprouts win every time. Sauteing, or pan-frying, gives you those intense, quick bursts of heat that create super crispy edges and a tender, but not soft, interior. It’s faster, for one, and you get a bit more direct control over that browning in the skillet.
I find sauteing brings out a sweetly nutty flavor that you might lose if you boil them first, which, heaven forbid, some people still do! For a busy weeknight, or when the oven is full with a Thanksgiving turkey, sauteing is your best friend.
The Right Tools for the Job
You don’t need a fancy kitchen full of gadgets for this easy Brussels sprouts recipe. I’ve used the same cast iron skillet since 1974, and it still does the job just fine. Here’s what helps:
- Large Nonstick Skillet or Cast-Iron Pan: This is your star player. A good heavy-bottomed pan holds heat well, which is crucial for getting those crispy Brussels sprouts.
- Sharp Chef’s Knife: Essential for trimming and slicing those sprouts evenly. A knife that won’t hold an edge is a bother, I tell you.
- Cutting Board: A sturdy surface for your prep work.
- Tongs or Wooden Spoon: For tossing and stirring those sprouts in the hot pan.
- Measuring Spoons: For your seasonings, though a little bit of this and a little of that works too, after you’ve made it a time or two.
Serving Up Your Delicious Sprouts
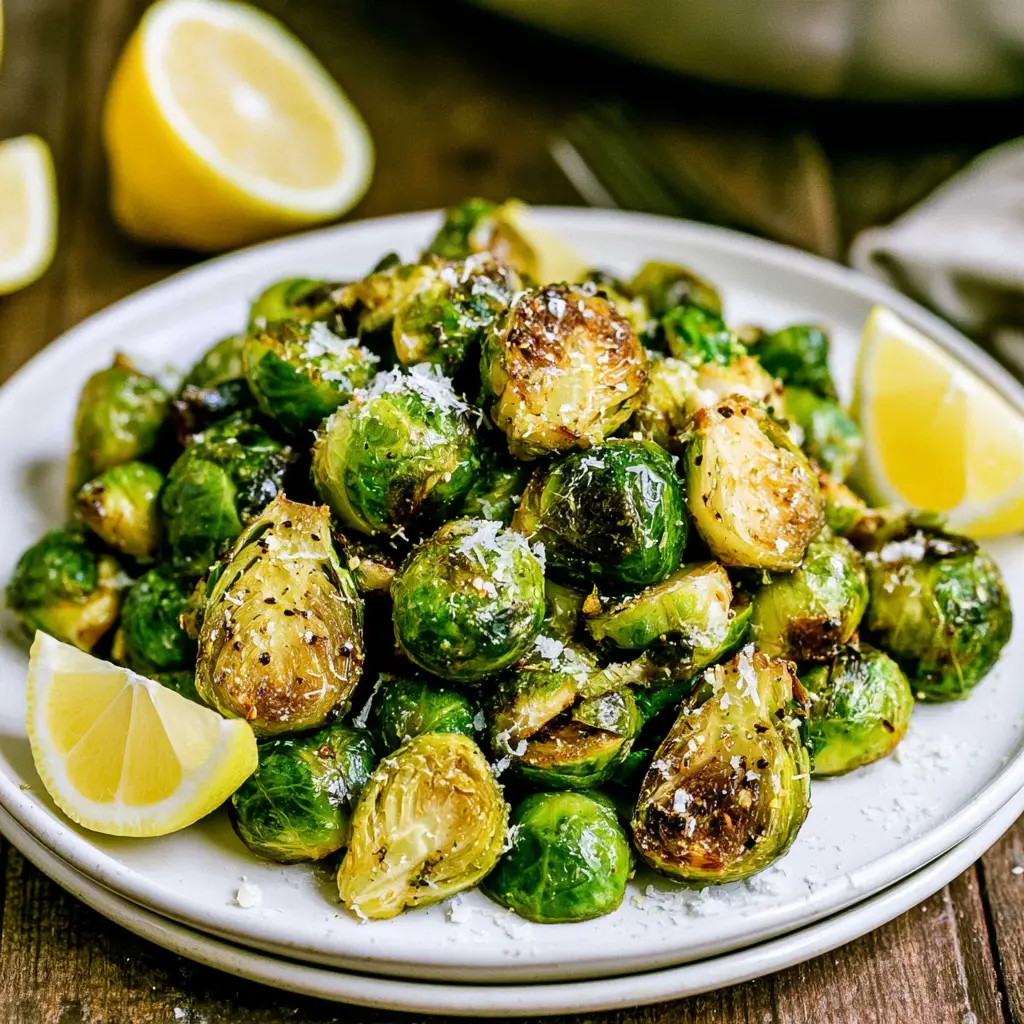
Once those sauteed Brussels sprouts are done, transfer them right away to a serving dish. Don’t let them sit in the hot pan, or they’ll keep cooking and lose that perfect tender-crisp texture. Then, be generous with that freshly grated Parmesan cheese!
These zesty sprouts are such a versatile side dish. They make a fantastic accompaniment to so many things. Tom liked them with his roasted chicken, and they’re just wonderful with pan-seared salmon or a grilled steak. For fall vegetables, they’re just perfect with any hearty meal you’re putting together.
I even like to serve them with a simple pasta dish, or just as a healthy vegetable snack all on their own. My granddaughter Emma says food tastes better at Nanny’s because I don’t make her eat at the table with a napkin, and I bet she’d gobble these up.
Keeping Them Fresh: Storage & Reheating
The good Lord gave us leftovers and a brain to use them, I always say. If you happen to have any of these delicious sauteed Brussels sprouts left, you can certainly save them. They’ll be just as good tomorrow, maybe even better!
- Refrigeration: Pop your cooked Brussels sprouts into an airtight container and keep them in the refrigerator for up to 3 days.
- Reheating on the Stovetop: My preferred method. Gently rewarm them in a large skillet over medium-low heat. You can add a splash of olive oil, or even a tiny bit of balsamic vinegar, to perk them right up. This helps bring back some of that crispness.
- Microwave: For a quick reheat, you can microwave them on a microwave-safe plate until warm. They won’t be as crispy, but they’ll still be flavorful.
Now, about freezing. While you *can* freeze cooked Brussels sprouts in an airtight, freezer-safe container for up to 2 months, I’ll be honest with you: the texture won’t be quite the same. They can get a little soggy when thawed. I usually just make a fresh batch, it’s a quick side anyway!
Common Questions About Sauteed Brussels Sprouts
Well, I hope you give these Zesty Sauteed Brussels Sprouts a try. They’re a simple recipe, but sometimes simple is best, isn’t it? When you pull these off the stove, you’ll be amazed at how quickly you made something so flavorful and delicious. Your family will thank you, and maybe even ask for seconds!
If you love this easy Brussels sprouts recipe, or if you make some of your own variations, I’d just love to hear about it! You can find more of my thrift cooking ideas and simple recipes over on my Pinterest board, where I pin all my favorite practical dishes.
Source: Learn More About This Dish
What is the best way to saute Brussels sprouts?
The best way to get truly flavorful sauteed Brussels sprouts is to use a hot pan with good olive oil, cook them covered at first to soften, then uncover to let them brown and get crispy. Don’t stir too often, let that caramelization happen!
Is it better to roast or saute Brussels sprouts?
It depends on what you’re after. Roasting gives a deeper, slower cooked flavor and softer texture. Sauteing, like this easy Brussels sprouts recipe, gives you faster results with more crispy, golden-brown edges. Both are good, but sauteing is quicker and offers more direct control over the sear.
Should you boil Brussels sprouts before you saute them?
No, honey, absolutely not! Boiling Brussels sprouts before sauteing them will make them mushy and leach out a lot of their good flavor. Our method of covering the skillet for a few minutes helps them tenderize perfectly without boiling, keeping that lovely texture and taste.
Why are my Brussels sprouts bitter?
Brussels sprouts can taste bitter if they’re overcooked or not browned enough. High heat and caramelization help break down the compounds that cause bitterness, bringing out their natural sweetness. Also, adding a touch of lemon juice at the end helps balance any lingering bitterness, making them much more palatable.
Can I use frozen Brussels sprouts for this recipe?
You certainly can, but fresh is always best for that tender-crisp texture. Frozen Brussels sprouts tend to release more water, which can make them steam instead of sear. If you use them, make sure they’re completely thawed and patted very dry before they hit the hot skillet to encourage browning.
How do I properly trim Brussels sprouts?
It’s simple enough. First, wash them well. Then, trim off the tough, woody stem ends with a sharp knife. Pull away any loose, yellow, or damaged outer leaves. Finally, for this sauteed Brussels sprouts recipe, slice them lengthwise into thin strips, about ⅛ to ¼ inch thick, to ensure even cooking.